Raspberry Pi Homelab
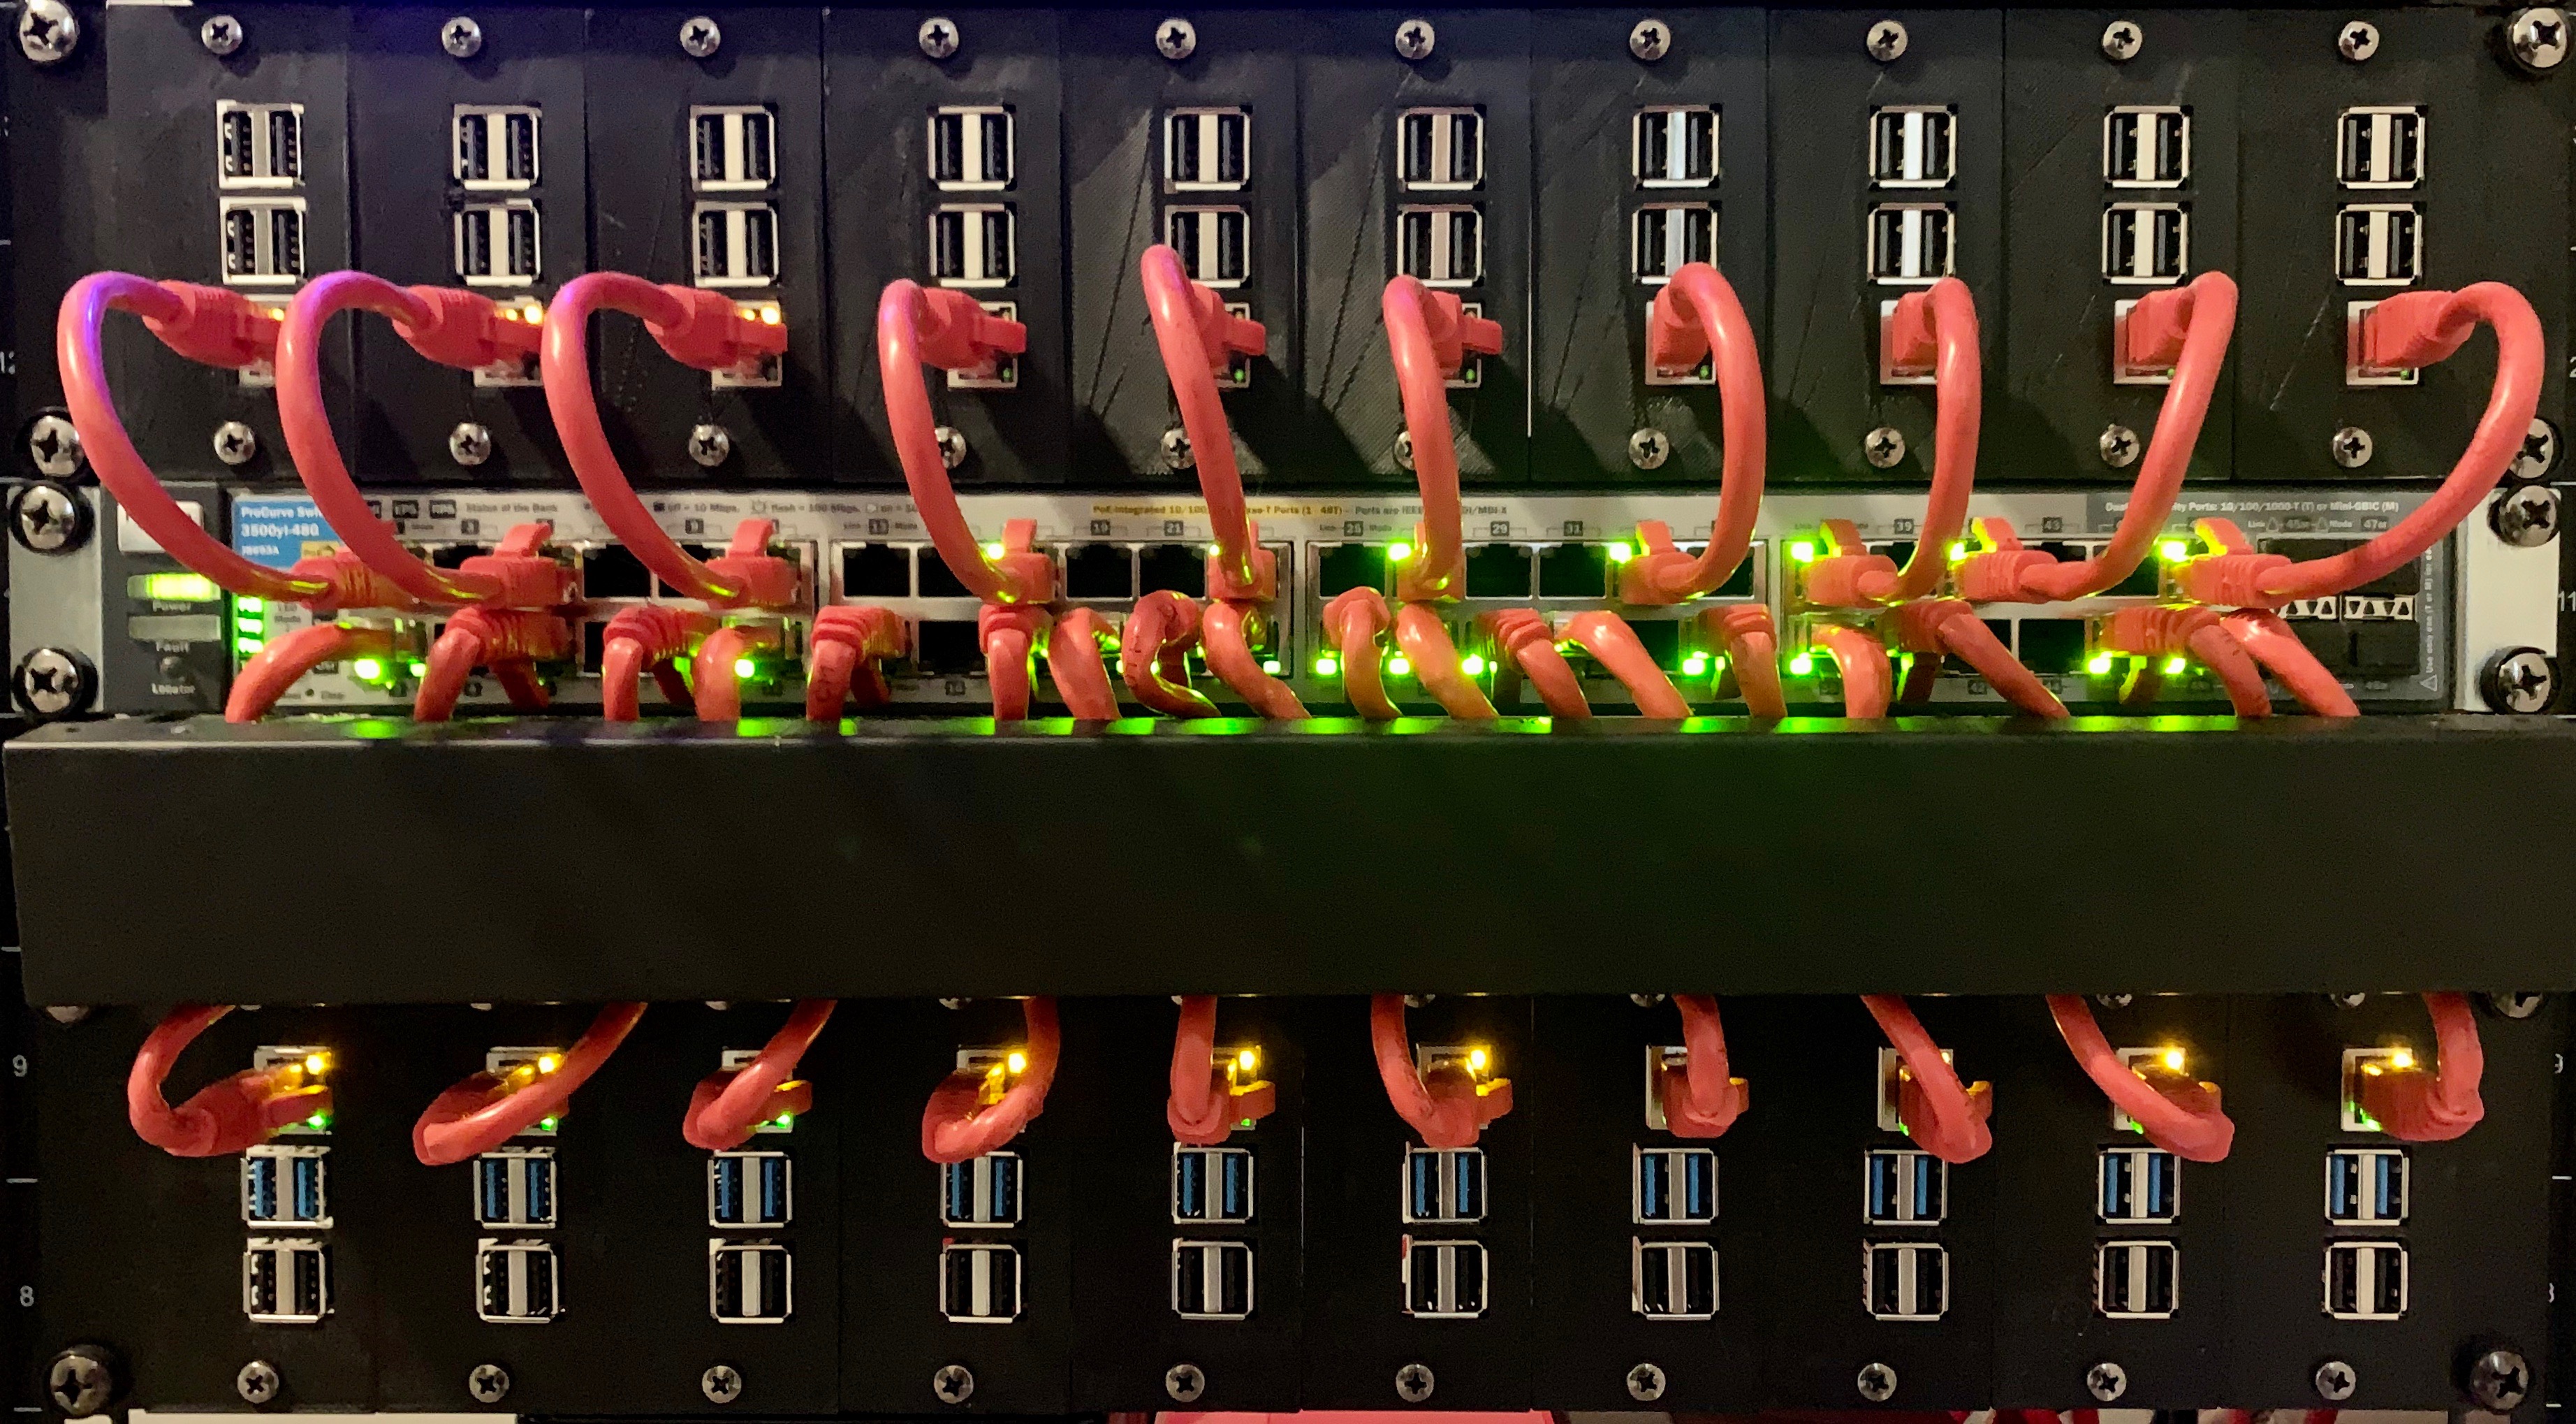
Homelab With 20 Raspberry Pis
Homelab Overview
I’m sure a lot of you have seen my previous post “My Humble Homelab (With Raspberry Pi Rack)”.
I’ve made a few big changes to my server rack since that post so I thought I’d share. Most notably, I’ve gotten rid of my 2 Dell R710 enterprise servers and replaced them with…10 Raspberry Pi 4 Model B.
Below is a table explaining in order, exactly what I’ve got in the rack now.
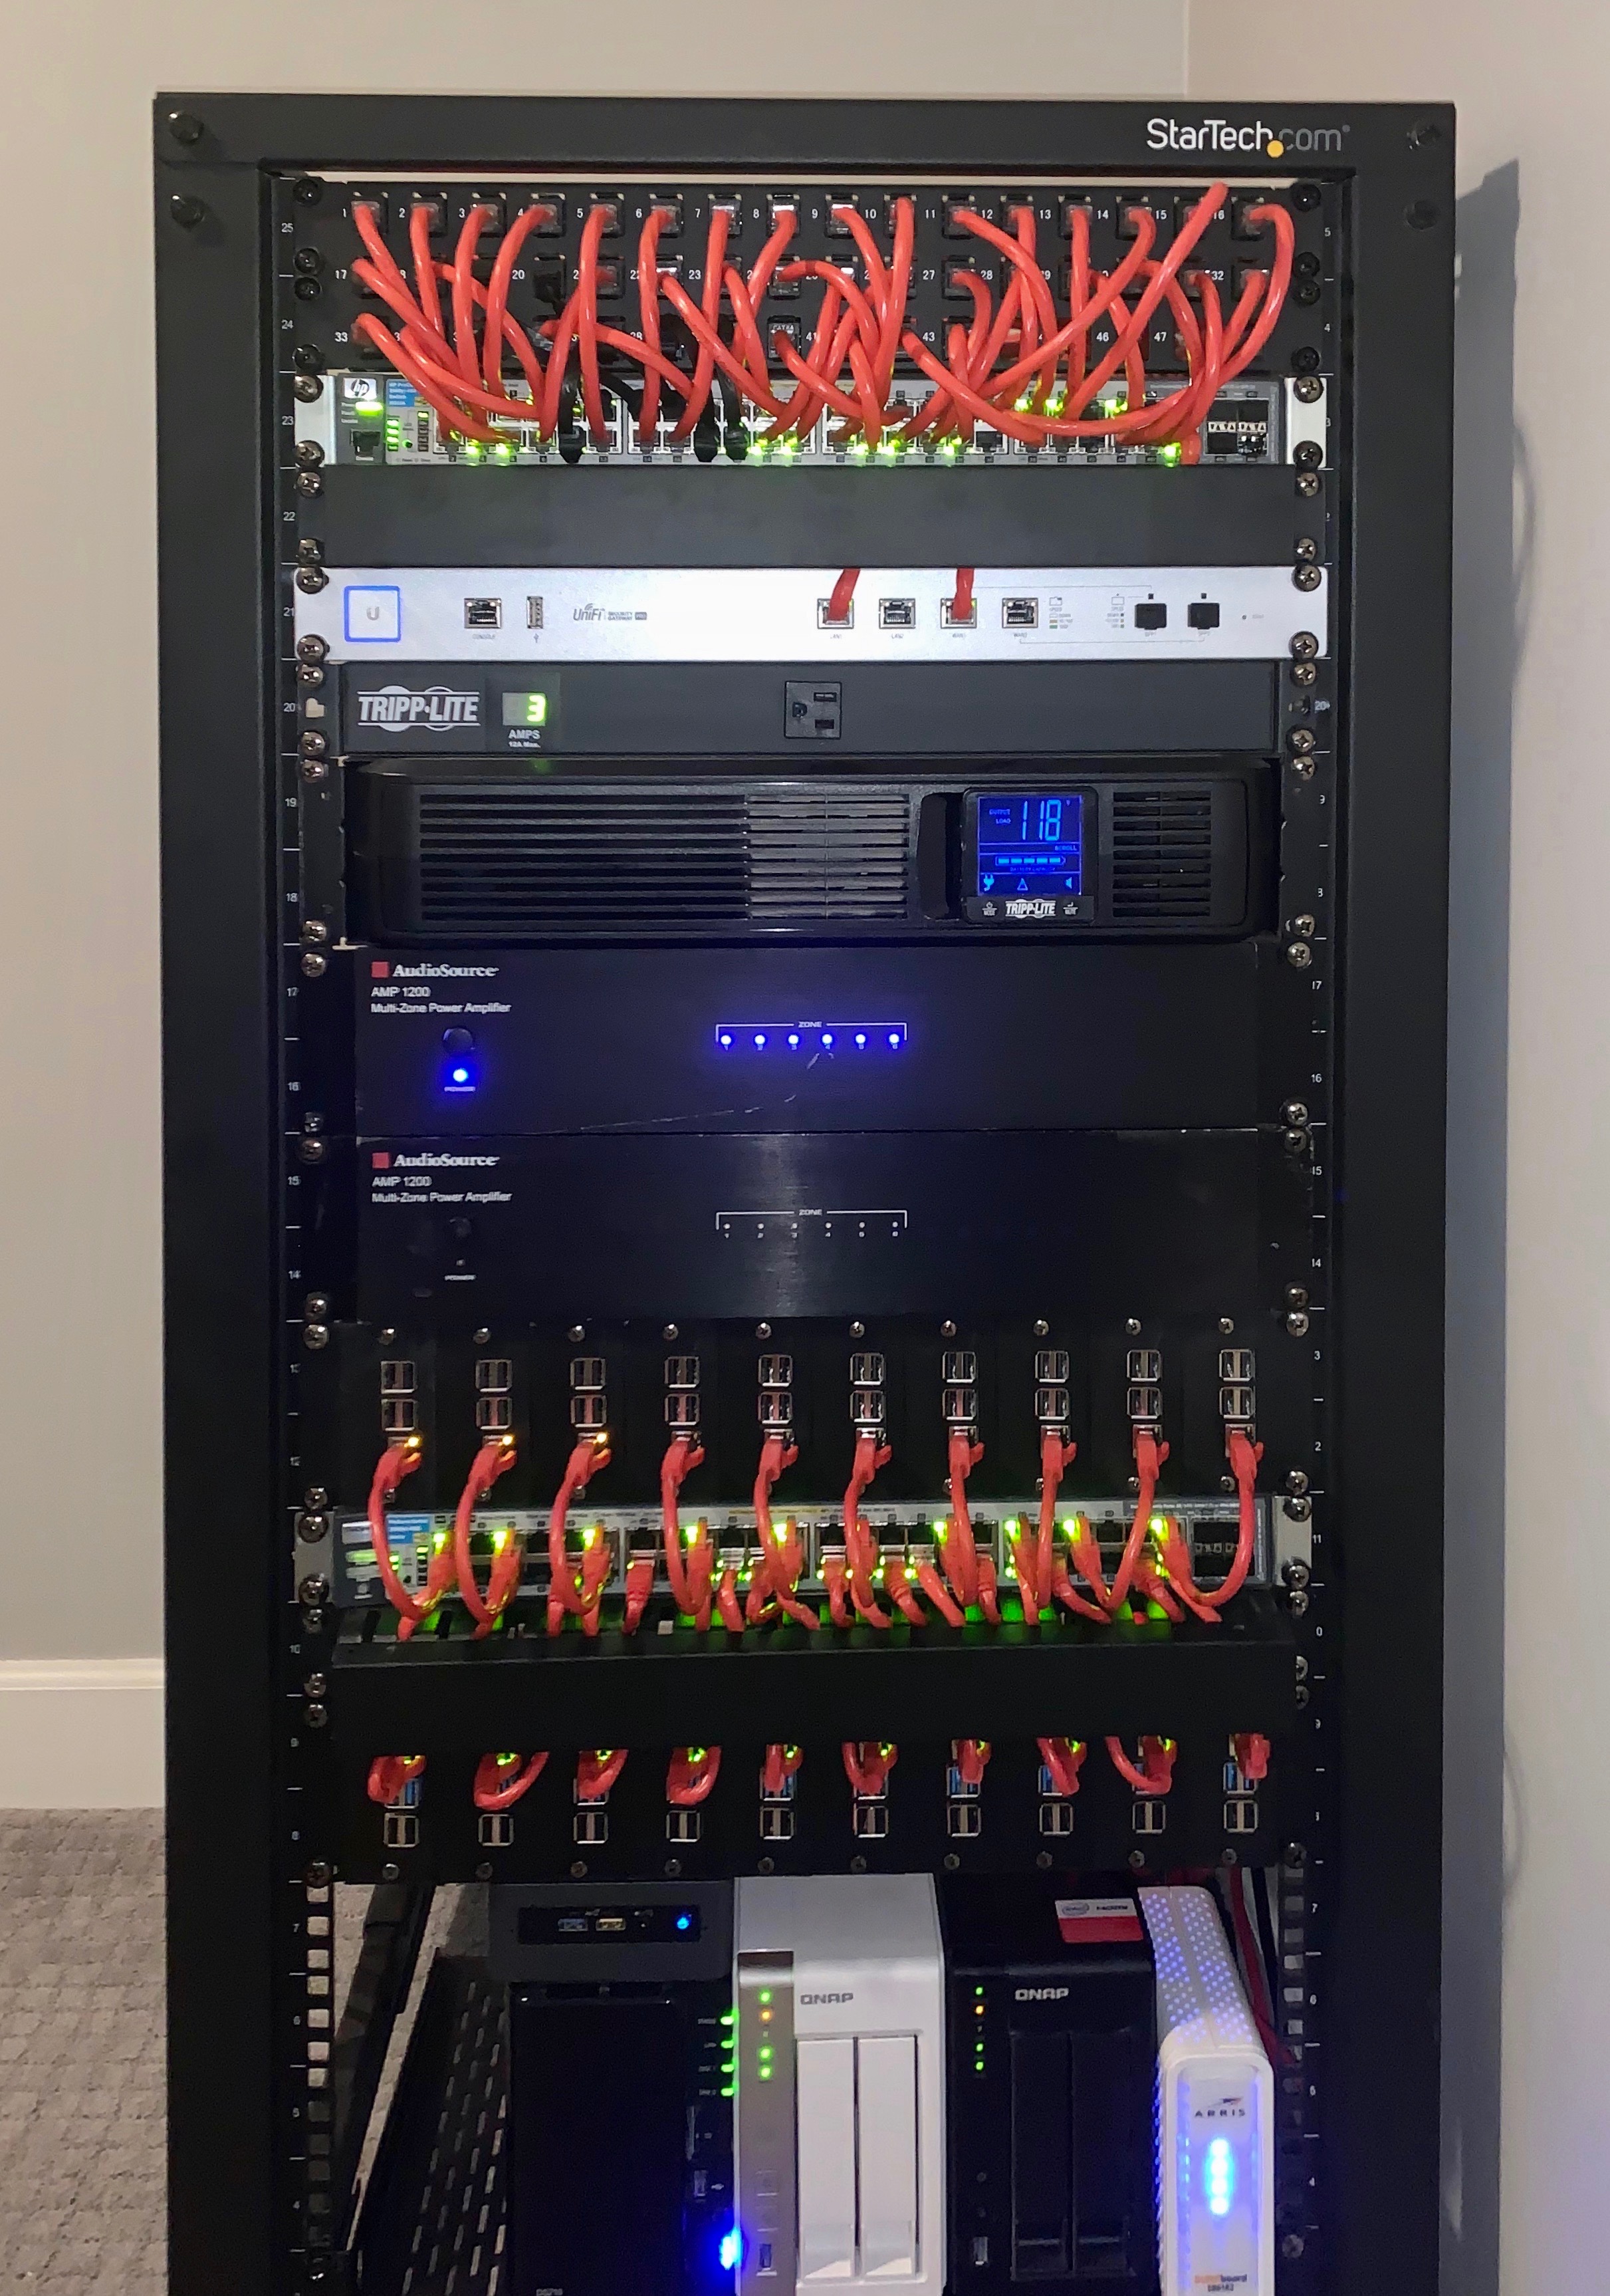
Scroll down to the corresponding section for a closeup picture and a breakdown of what I am using it for.
| Rack Position | Name/Link |
|---|---|
| 25-24 | Monoprice 48 Port Keystone Patch Panel |
| 23 | HP ProCurve 48 Port PoE+ Switch |
| 22 | Horizontal Rack Mount Cable Management Unit |
| 21 | Ubiquiti Unifi Security Gateway Pro 4 |
| 20 | TRIPP-LITE Metered PDU |
| 19-18 | TRIPP-LITE 1500VA Smart UPS |
| 17-16 | 6-Zone 12-Channel Amplifier |
| 15-14 | 6-Zone 12-Channel Amplifier |
| 13-12 | Raspberry Pi 3B+ Server Rack with Raspberry Pi PoE HATs |
| 11 | HP ProCurve 48 Port PoE Switch |
| 10 | Horizontal Rack Mount Cable Management Unit |
| 9-8 | Raspberry Pi 4 (4GB) Server Rack with Raspberry Pi PoE HATs |
| 7-3 | Synology NAS, 2x QNAP NAS, Intel NUC i5 |
| 2-1 | EMPTY |
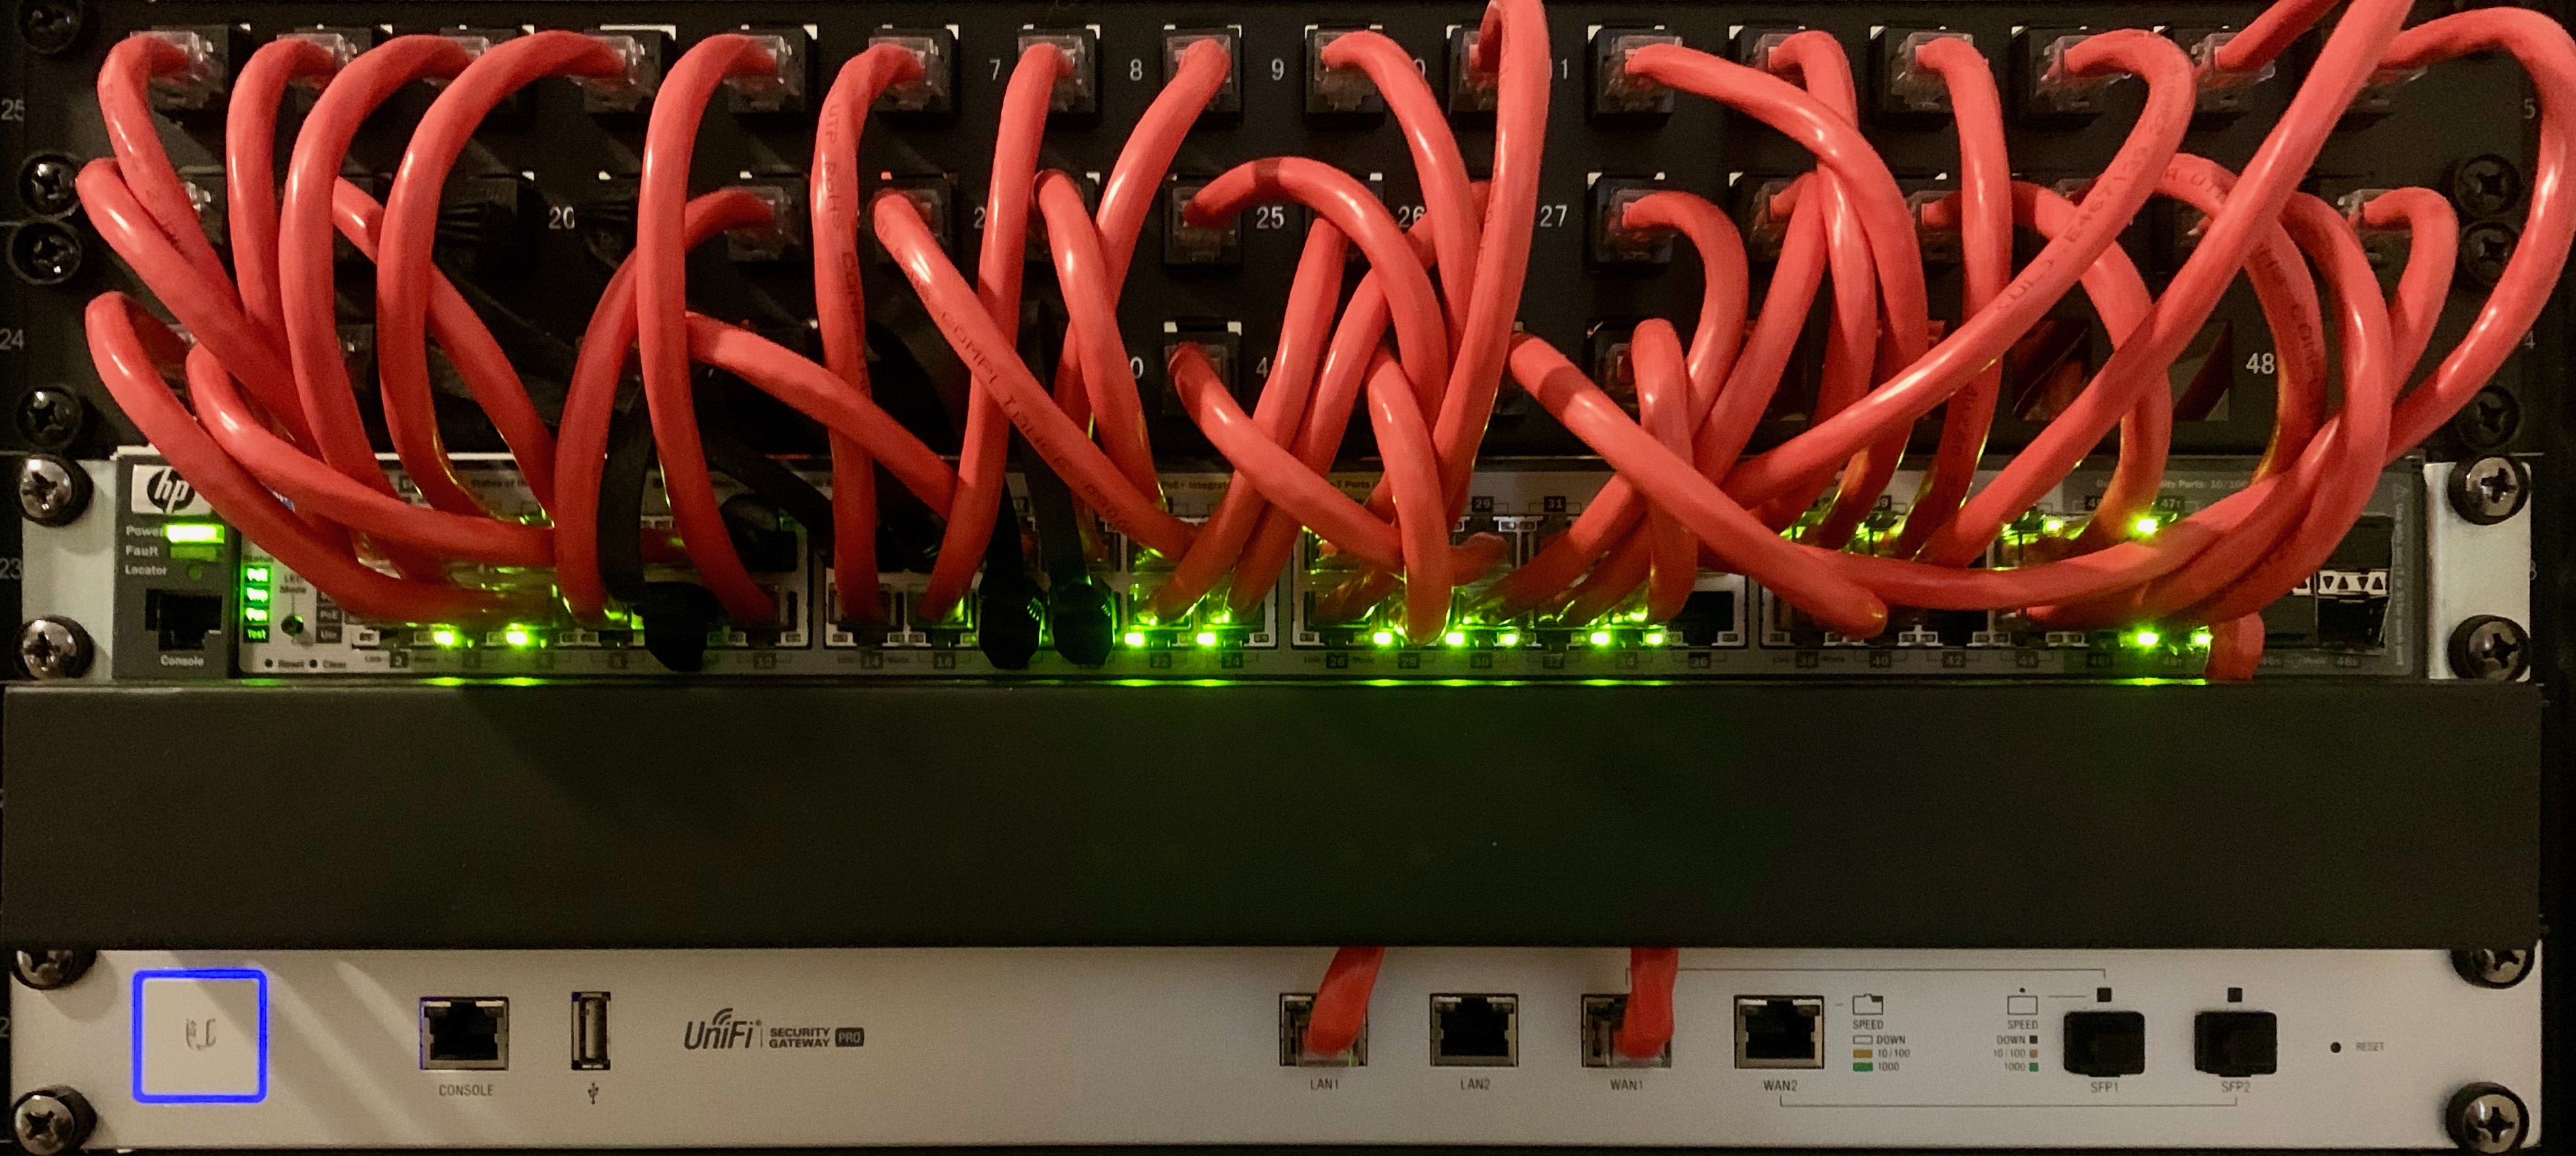
Most of the network lives here.
Monoprice 48 Port Keystone Patch Panel
All of the Cat6a drops for the walls, security cameras and UniFi Access Points terminate into this patch panel.
I prefer using keystone panels over a traditional patch panel. It makes changes so much easier down the road.
HP ProCurve 48 Port PoE+ Switch
This is my main switch. It handles the uplink to the Ubiquiti USG Pro 4.
This was formerly a standard PoE HP ProCurve but was recently replaced to accommodate a new PTZ camera that required PoE+ to operate.
All of the Cat6a drops in my house are fed to this switch from the patch panel. This allows me to plug in a Raspberry Pi, network camera or access point into any jack and get power and data. It’s pretty handy.
As I’ve mentioned in my previous Homelab Post, I’d love to replace these with UniFi switches but I just can’t justify the price right now.
Used HP ProCurve switches can be had on eBay for a pretty fair price.
Horizontal Rack Mount Cable Management Unit
This cable management unit allows me to run wires from the front of the rack to the inside of the rack and keep the cables looking fairly clean.
I recommend these to anyone looking to clean up their cable management a bit.
Ubiquiti Unifi Security Gateway Pro 4
I’m sure you’ve seen one of these before if you’ve been to r/homelab even once in your life.
I am very happy with it. I know it doesn’t make me a master of networking but I don’t care.
It allows me to create multiple VLANs and subnets for things like my Raspberry Pis and security cameras.
It also runs DHCP for me and allows me to point it at another device on my network to handle DNS.
The interface and dashboards are great.
I highly recommend the USG for home networks. It’s been very reliable.

Everything in the rack is powered by these 2 pieces of equipment.
TRIPP-LITE Metered PDU
Not much to say about this one. It distributes power to the devices in my rack. I haven’t had any issues with it and would buy again.
I like that it reports power usage too.
TRIPP-LITE 1500VA Smart UPS
I’ve had 2 batteries fail in less than 2 years.
That’s not great when you are depending on it to keep your devices up in the event of a power failure. Maybe my unit is defective but I will probably look elsewhere when the warranty runs out.
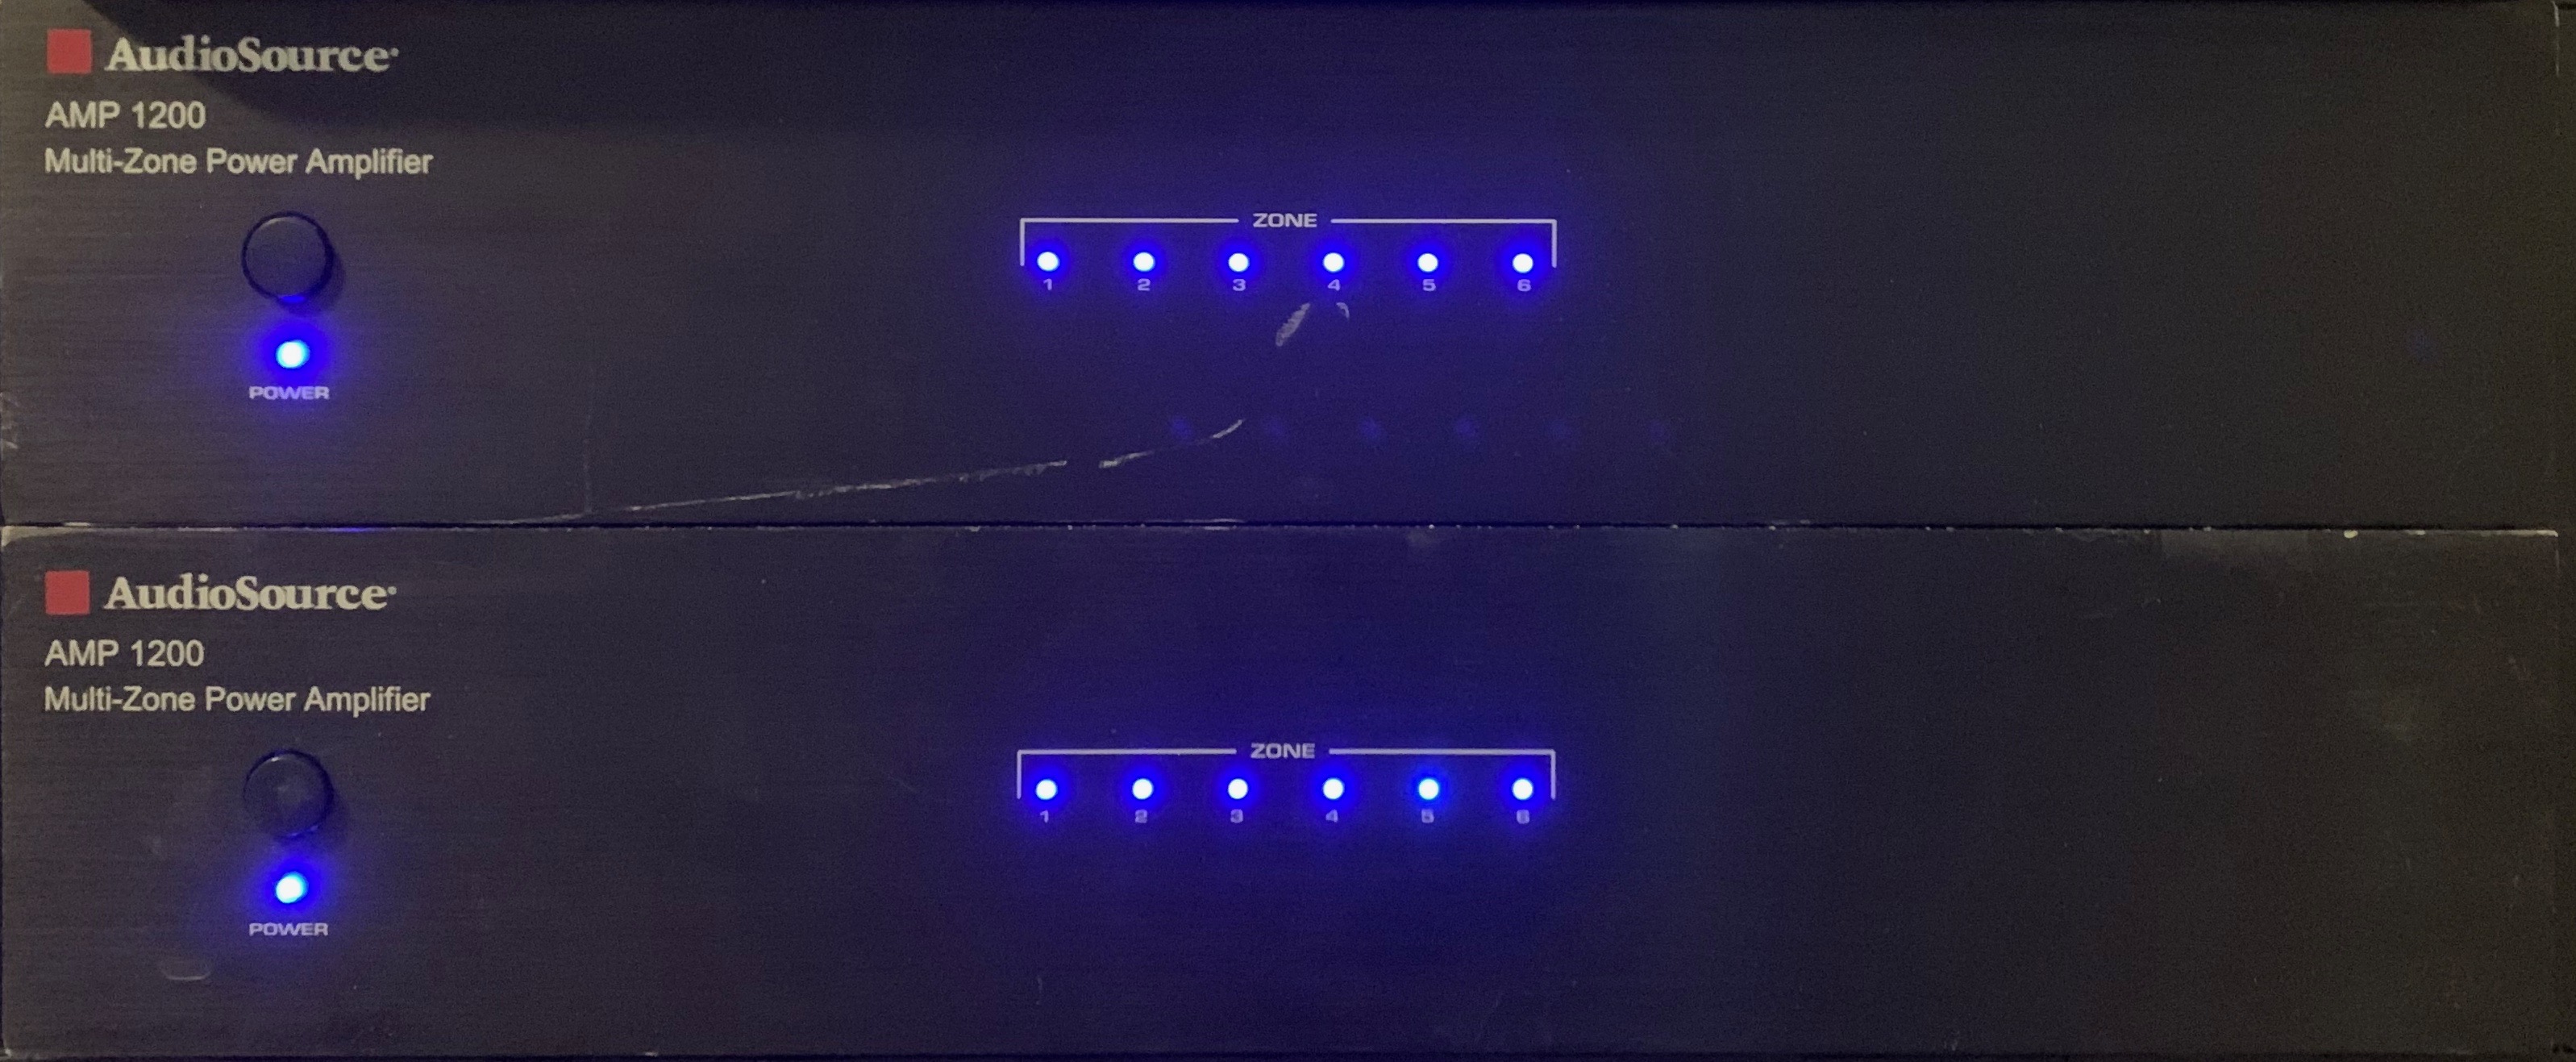
These amps have a couple scuffs but I got them for a great price used on eBay.
Before I explain what these amps do, I want to confess that this project isn’t finished. I only have 3 zones setup currently. I explain the plan for each below though.
I planned to have this done by now but as I mentioned in my previous post, I live in Phoenix, AZ. I was waiting for it to get cooler out before I crawled around in the attic because I don’t like dying.
Just as fall hit us this year in Phoenix, I got this really awful thing called Valley Fever. It’s pretty exclusive to regions that are mostly desert like AZ, CA and MX. Everyone reacts differently to it but I don’t wish it on anyone.
I’m doing much better now so hopefully I can get up there soon. Anyway…
Each of the zones will have speakers/wire ran from the location back to the amp.
6-Zone 12-Channel Amplifier #1
This first amp is the only thing with something connected to it right now.
A Bus Input is a way to make a single input send an output to 1+ channels at a time. I am doing that with certain zones. For example, if I connect something to Bus 1 input, I can make Zone 2-4 all play the sound from the Bus 1 input rather than their individual zone inputs.
This is helpful if you have multiple zones that will always be playing the same thing. I have 3 zones in my backyard and they are all within earshot of each other. It wouldn’t make sense to play different music through them at the same time.
This is how everything will be setup once I’m finished.
| Zone # | Amp Input | Location |
|---|---|---|
| Zone 1 | Zone 1 | Living Room |
| Zone 2 | Bus 1 | Backyard Pond |
| Zone 3 | Bus 1 | Backyard Palm Bed |
| Zone 4 | Bus 1 | Back Patio |
| Zone 5 | Zone 5 | Garage |
| Zone 6 | Zone 6 | Server Room |
6-Zone 12-Channel Amplifier #2
Here are the plans for the second amplifier.
| Zone # | Amp Input | Location |
|---|---|---|
| Zone 1 | Zone 1 | Kitchen |
| Zone 2 | Zone 2 | Master Bedroom |
| Zone 3 | Zone 3 | Master Bathroom |
| Zone 4 | Zone 4 | Guest Bedroom |
| Zone 5 | Zone 5 | Guest Bathroom |
| Zone 6 | Zone 6 | Front Yard/Patio |
You might wonder why I need speakers in my front yard. The Raspberry Pi section below will give a little more info on that.

20 Raspberry Pis powered by the PoE switch in the middle.
All Raspberry Pi mounts were 3d printed using these files from Thingiverse. Again, props to SliderBOR for creating this awesome Raspberry Pi mount!
Raspberry Pi 3B+ Server Rack
This is the first full rack of Raspberry Pis I put together. They are all powered by PoE.
This rack is now exclusively for outputting sound to the amplifiers above that you just read about.
Even though I have 12 zones, I am only using 10 different inputs. It worked out perfectly for the amount of Raspberry Pis in this rack.
I run an AirPlay server on each Raspberry Pi. This allows me to pull out my phone and broadcast music to any room or zone that I desire as long as I am connected to my WiFi network.
It’s great when having a party. I can output music from iTunes running on my Mac Mini to every zone that people are using. Everything is synced up perfectly and I can control volume individually.
I have a TTS(text-to-speech) server running on each Pi that I use to talk to certain zones when events happen within SmartThings.
Another cool thing I recently built is a Slack bot that listens to certain channels and then outputs the speech to that zone.
For example, if there is a salesperson at my front door, I can type, “go away”, in my #frontyard Slack channel. The speakers in the front yard will announce, “go away”.
The #livingroom channel is handy for scolding your dogs when they are chewing on your couch while you are at work.
I’d be happy to sanitize the code and open source this if there is interest. It’s written in Python. I got the idea when I saw a Silicon Valley episode. The house tells the child (Aspen) to go to bed so that Russ Hanneman doesn’t have to be the bad guy.
Here is a link to that exact scene if you want to know what the hell I am talking about.
HP ProCurve 48 Port PoE Switch
This is a regular PoE switch that is used to power all 20 of the Raspberry Pis in my rack. I got this one on eBay for a pretty fair price too.
It also handles the networking for all of my NAS devices and the Intel NUC running Blue Iris.
Horizontal Rack Mount Cable Management Unit
Just another cable management unit to clean up wiring around the second switch.
Raspberry Pi 4 Server Rack
10 Raspberry Pi 4 Model B/4GB with 10 Raspberry Pi PoE HATs!
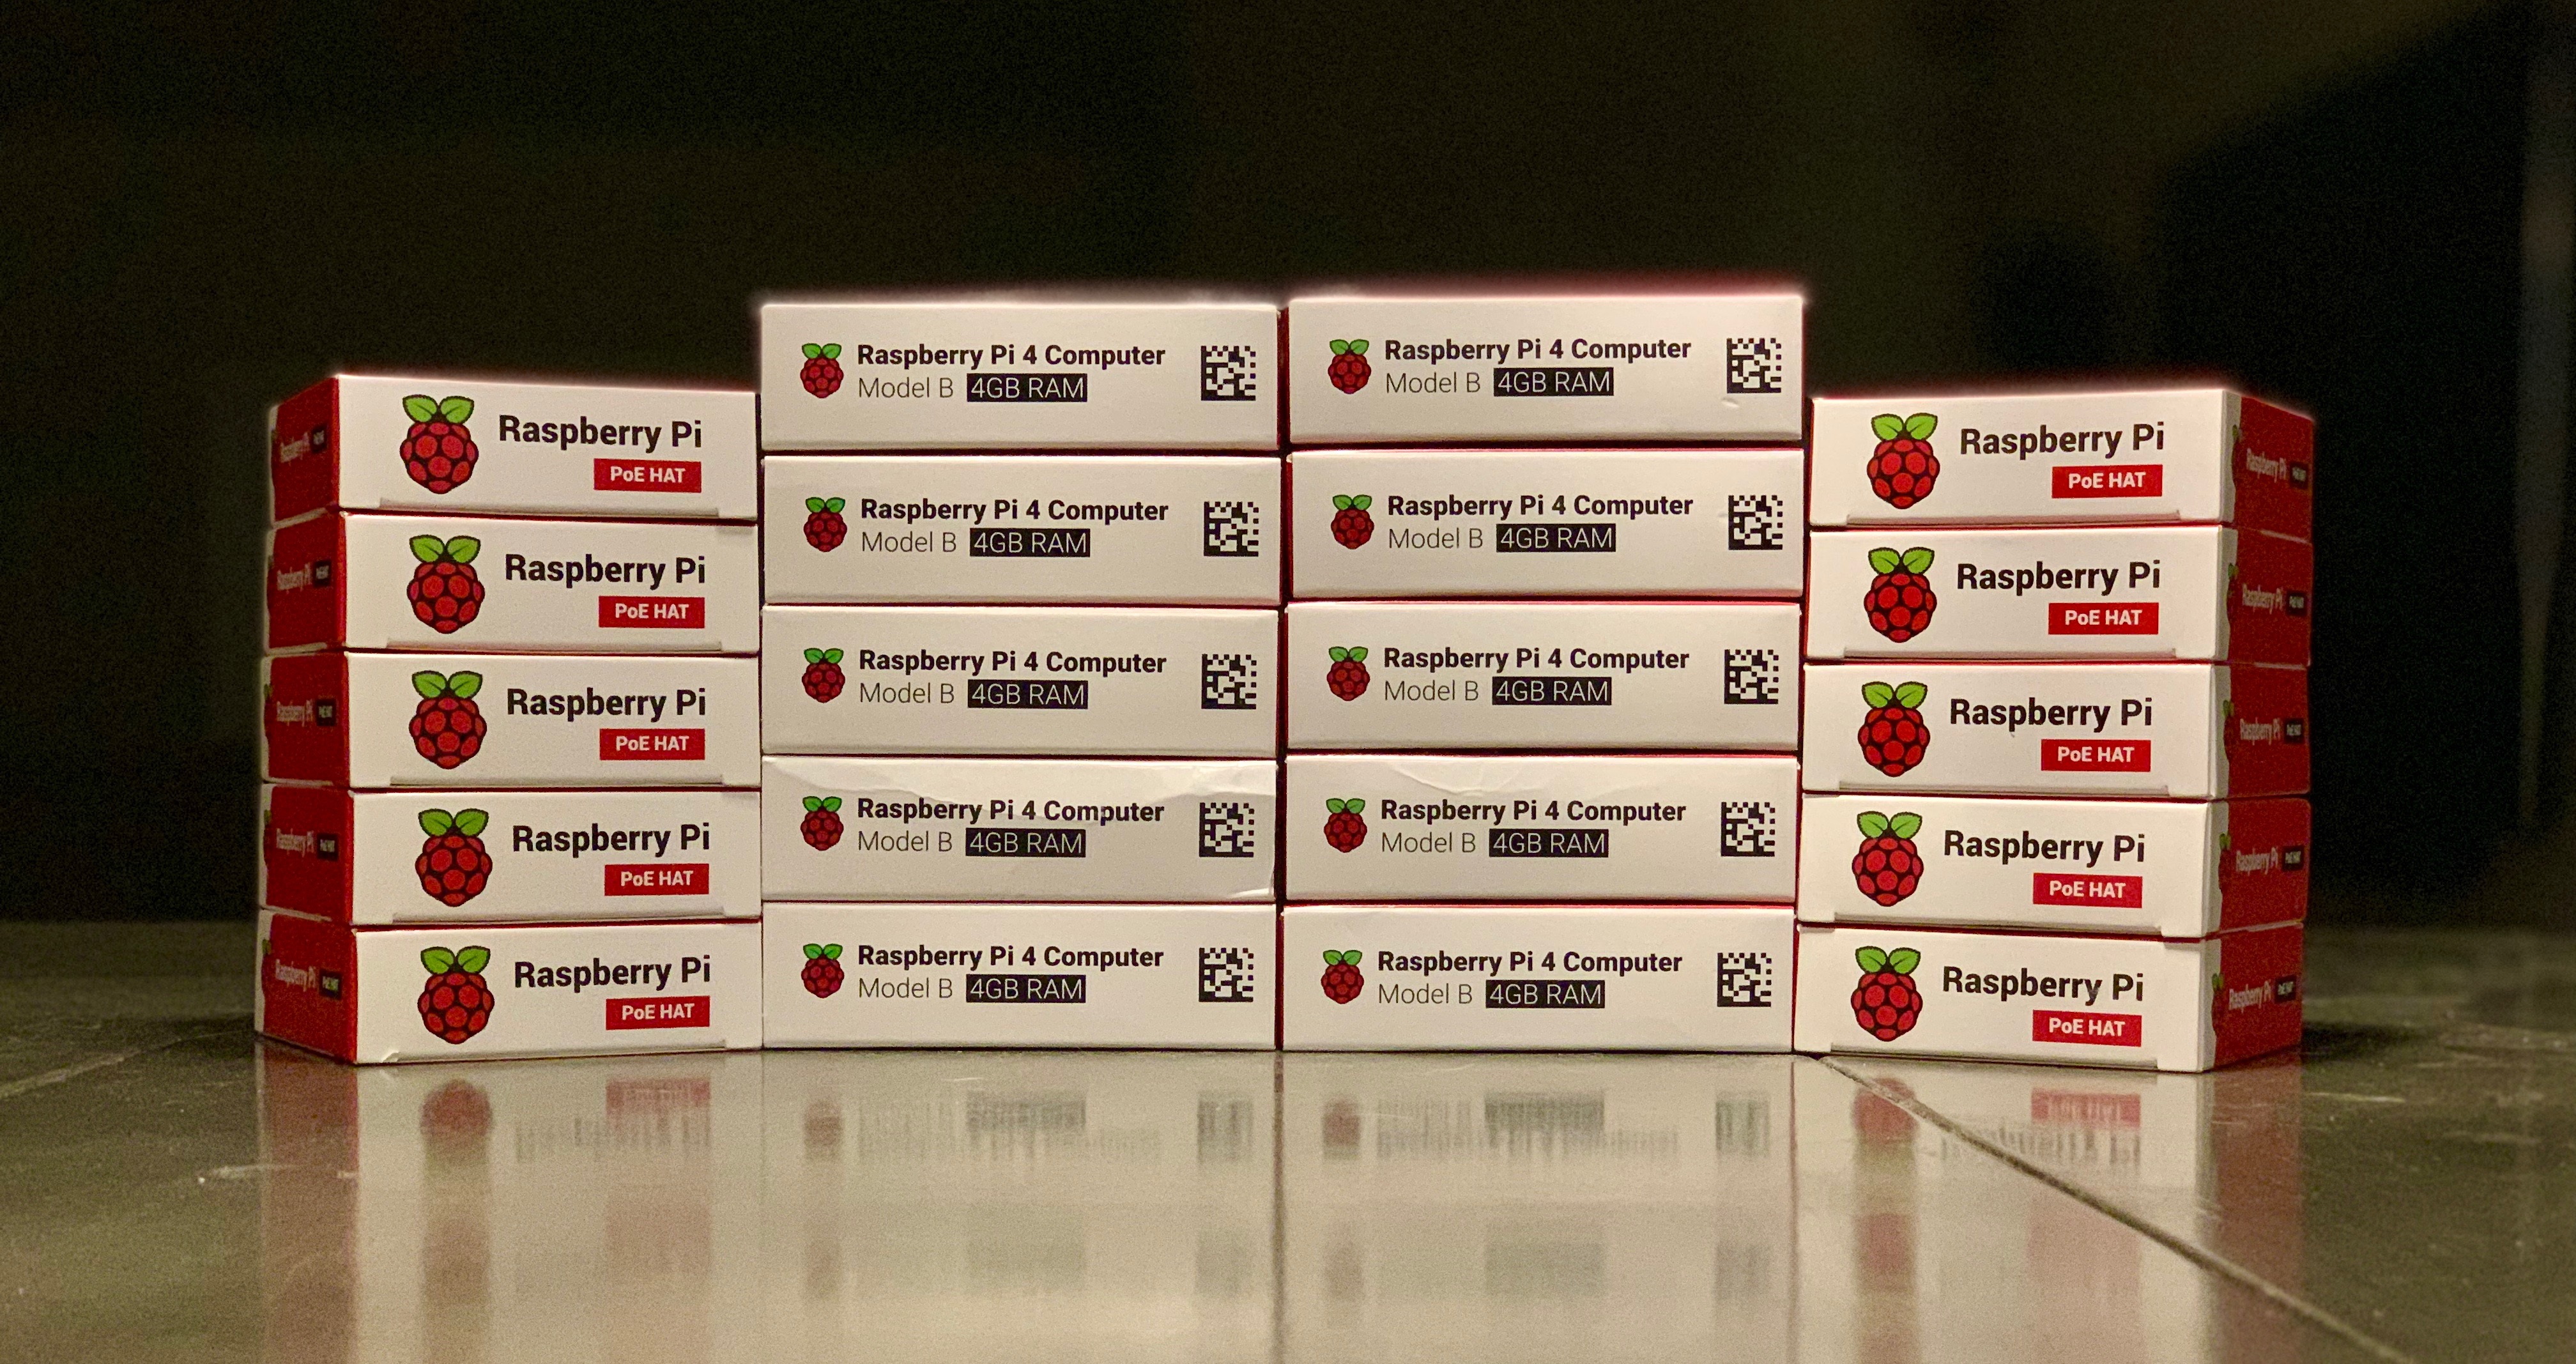
Before opening the Raspberry Pi 4 and PoE HAT boxes.
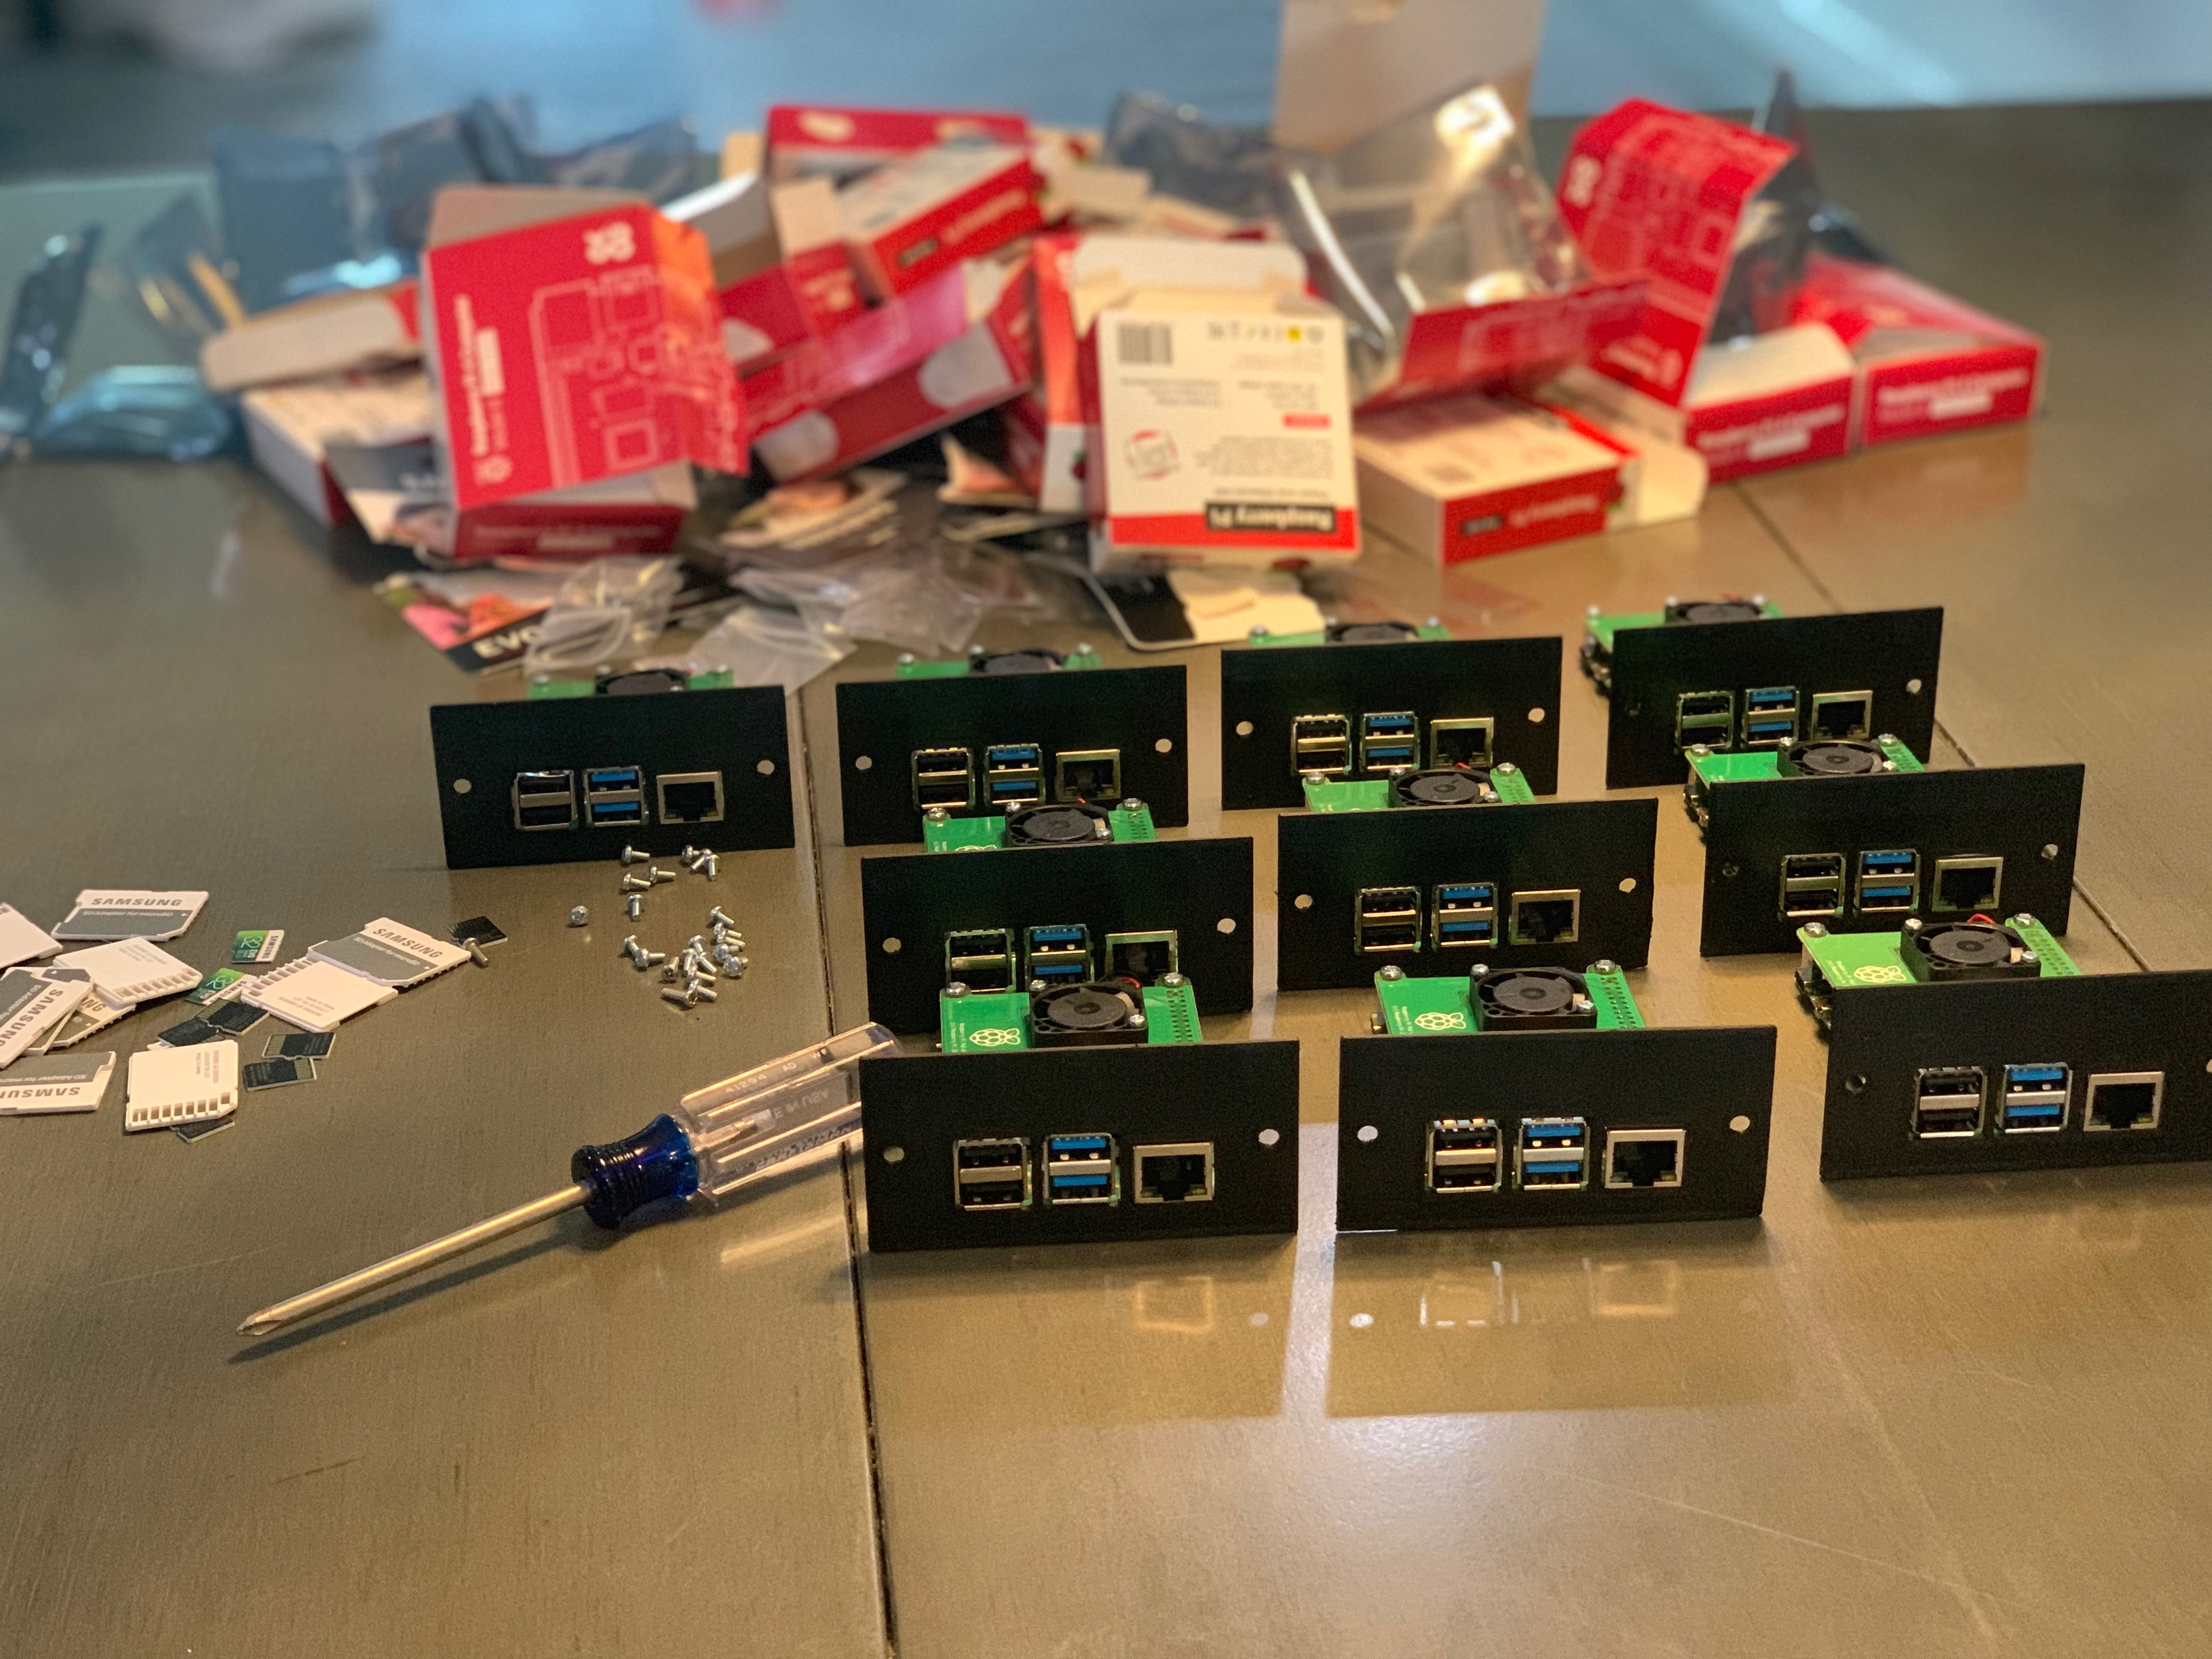
Raspberry Pi 4 rack assembly
There are 3 main reasons I got rid of the 2 Dell R710s running Proxmox and replaced them with Raspberry Pis.
- Heat
- Energy Cost
- Noise
Heat was killing me. My “server room” isn’t a data center. It’s secretly just an extra bedroom that my wife doesn’t care about. I don’t have a warm/code side. It’s just got a regular air condition vent. Not ideal but it gets the job done if I leave the door open so the heat can escape.
Dell R710s are enterprise servers and they take a ton of power. That’s not the only cost though. The door that I just mentioned that needed to remain open to get rid of heat, my thermostat is right outside of it. My air conditioning was running constantly because of this. This isn’t ideal if you live in Phoenix and have SRP as your power company. They have “peak rates” during the weekdays. You are supposed to shut things down to lower demand. It was getting expensive!
Dell R710s aren’t fun to be in the same room with. The Poe HATs on the Raspberry Pis do have fans but they are so much quieter than an enterprise server. I wish I would have measured the sound level in the room before and after. It’s not silent but it is better.
The most common question I get is with this new Raspberry Pi rack is…
How much did this cost?
The answer is about $900 for everything. That includes Raspberry Pis, PoE HATs, sd cards, Cat6a cables and the 19” audio rack they are mounted to. This is obviously a big chunk of change but it was so easy to justify.
I sold my 2 Dell R710s together for $450 and I will easily save another $450 just in AC costs next summer. The enterprise servers were costing me a fortune and I am much happier with this setup.
It’s also more unique than other homelabs because of this. Having 40 CPU cores with 40GB of RAM in a 2U space is kind of cool.
There are definitely things I miss being able to do when running a hypervisor on 2 dual Hex Core enterprise servers.
Not being able to take snapshots (easily) really sucks. I “solved” that by having a dedicated Raspberry Pi for testing things so I don’t ruin a working install on one of the other 9. I can also take the SD card out and copy it before doing something I’ve never done before..
The pros of the Raspberry Pi rack outweigh the cons for me and I would do it again in a heartbeat. 4GB on each Pi is more than enough for anything I need to run at home.
Here is a breakdown of what each Raspberry Pi in this rack does.
| Pi # | Hostname | Description |
|---|---|---|
| 1 | pihole-pi-01 | I run Pi-hole as my DNS server. |
| 2 | vpn-pi-01 | This is how I get into my network when I am out and about. |
| 3 | unifi-pi-01 | Runs my UniFi Controller |
| 4 | slackbot-pi-01 | I wrote a Slack bot that I use for quite a few things around the house. |
| 5 | puppet-pi-01 | This is my puppet development server. I don’t use puppet much at home but I do at work. This is where I practice and learn most of that. |
| 6 | plex-pi-01 | To my surprise, I can run Plex on a Raspberry Pi 4 without issue. Checkout the post here if you’d like to set this up |
| 7 | automation-pi-01 | This is probably the Raspberry Pi I tinker with the most. It runs all the random scripts I write via cron when I need them. It does a lot of weird shit. Here is a pretty good example. That’s what I love about being in System Administration and DevOps. If you have a problem, you just invent a solution with a little code and time. |
| 8 | docker-pi-01 | This is where I play with Docker occasionally. Some scripts are better suited for the Jenkins server running on this host than they are on the automation-pi-01 host. |
| 9 | dev-pi-01 | I “break” this one a lot. This is where I go when I am trying something new and don’t want to ruin an existing install on a different Pi. |
| 10 | dev-pi-02 | A lot of my tutorials are written using this Pi. It frequently has the SD card overwritten so I can have a fresh install to make sure everything works. |
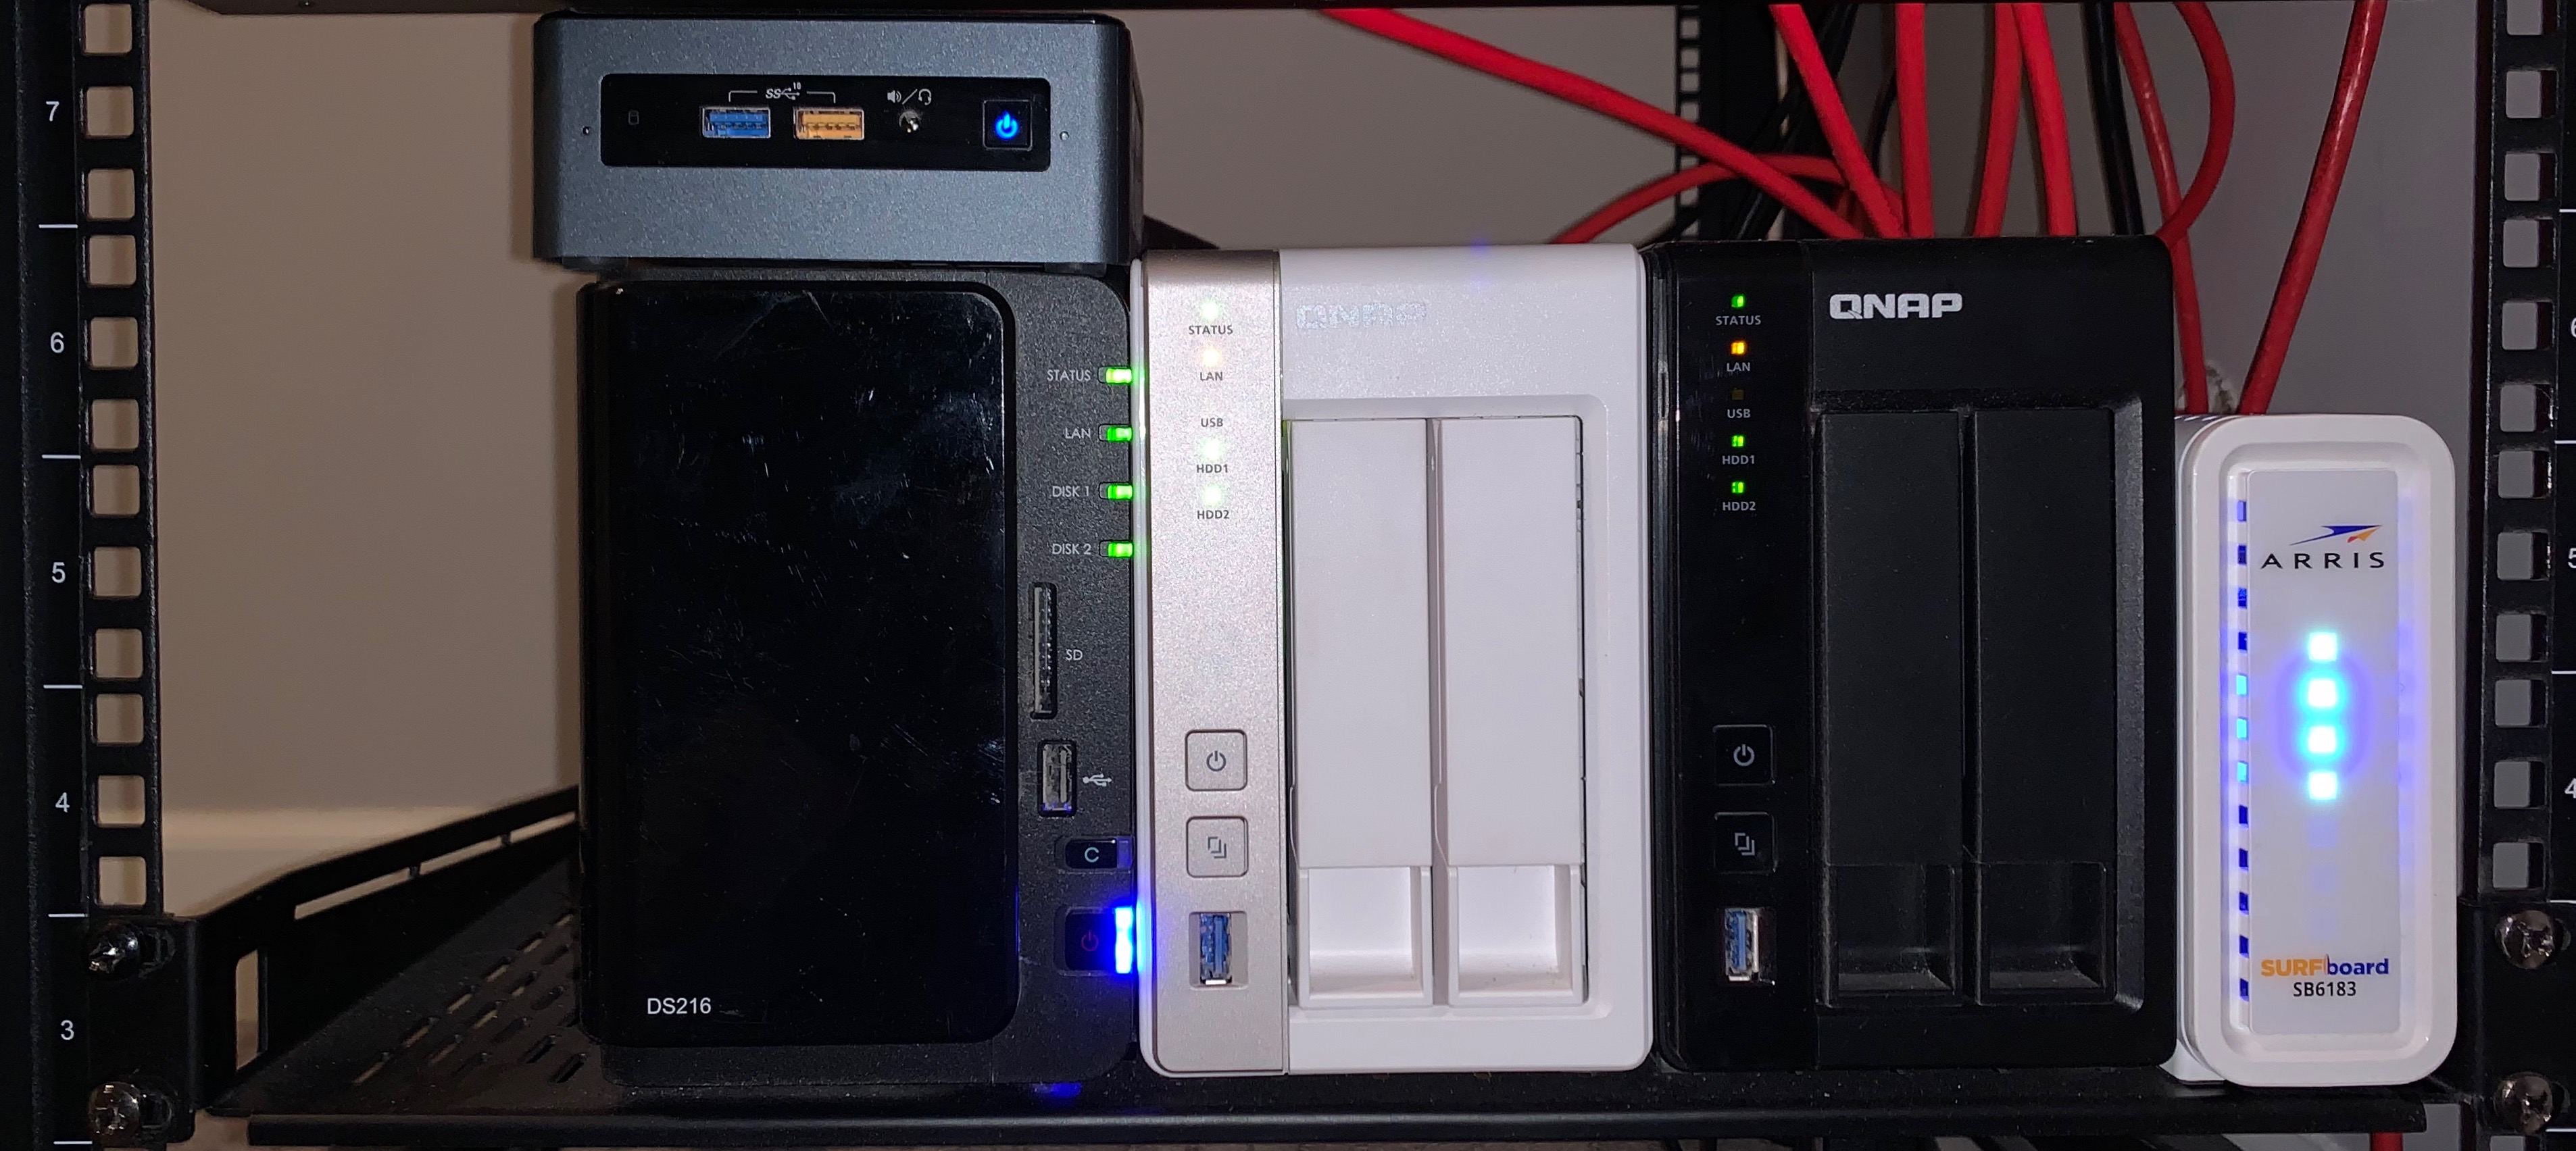
Intel NUC, NAS Devices, Modem and a rat’s nest of Cat6a.
Non-Rack Mounted Equipment
The Intel NUC is my Blue Iris Server and the only thing that is running Windows in my house. The CPU is an i5-8259U and it has 16GB of RAM.
I’ve been adding cameras recently so I wil probably upgrade to an Intel NUC with an i7 soon. Blue Iris loves eating up CPU.
One of the NAS devices is dedicated to my Blue Iris recordings.
Another is backups and shared storage for all of the Raspberry Pis.
The last is just personal storage for photos, music and whatever. A lot of things on this NAS are replicated in Amazon Glacier too.
What’s Next?
There are a few things on this list…
- Finish running speakers/wire to all zones.
- Install WS2811 LEDs in the rack and control them with WLED.
- Look for a ~25U enclosed rack. I want to be able to hide my mess.
That’s about all there is to my homelab. I love doing this stuff at home and at work. My homelab has helped me learn so much since I started my career as in IT.
I honestly don’t think I would be where I am at today if the Raspberry Pi wasn’t invented. It is such an awesome learning tool.
I want to mention again that you don’t need a ton of money to start your homelab. Seriously, just browse Craigslist or r/homelabsales/.
If you don’t have enough money for that, a Raspberry Pi Zero W can be purchased for $10. You probably already have a micro sd card and micro USB cable laying around that you can use with it. Just go do it!
Holler at me on Twitter if you have any questions. Always happy to help!
Subscribe to my mailing list below if you want updates when I make new posts.

