Remote Server Management With TinyPilot Voyager
Remote Server Management with TinyPilot Voyager (Raspberry Pi KVM)
The TinyPilot Voyager is a fast, easy, and fairly inexpensive KVM (KeyBoard/Video/Mouse) over IP solution. Suitable for data centers and homelabs that need out-of-band management.
Out-Of-Band Management
If you don’t have experience working as a system administrator or in a data center, you might not be familiar with Out Of Band (OOB) Management. If you are a system administrator or you work in a data center, you almost certainly know of the OOB offerings from Dell (Drac/iDrac) and HP (iLO).
OOB management platforms allow you to access a device (server/computer) for configuration even if the devices in-band management (things like web GUI, Remote Desktop, SSH, and Telnet) aren’t currently available on the network. OOB management devices use their own network interface so you don’t have to rely on the network interface for the actual server.
Here is a scenario where OOB management would be useful to a system administrator…
You are in the office and you need to make a configuration change on a server in the data center via SSH. Unfortunately your SSH command fails with Connection timed out.
You have 3 options…
- Get in your car and drive to the data center if it’s local to you.
- Have someone (remote hands) in the data center connect a “crash cart” (keyboard and monitor) to the server to see what’s wrong.
- Use out-of-band management to see what the console is showing, send keyboard output, and even reboot the server if needed.
As a system administrator, I am going to choose option #3 first every time.
Data centers are the most popular place to find devices with OOB management but having this capability in your homelab would be extremely useful too.
Remote Homelab
Being a super nerd, I setup a remote homelab at my mom’s house. It’s mostly contained in one of these Mini 10” Server Racks. Most things in the remote homelab are very similar to what I am running in my own local homelab but on a smaller scale.
One problem that I occasionally have in my local homelab is with my Blue Iris server. Blue Iris is amazing NVR software but it only runs on Windows. It’s the only computer in my house that runs windows. Coincidentally it’s the one I have the most issues with.
I run Blue Iris on an Intel NUC without a keyboard or monitor (headless) connected to it. When I need to configure/administer something on this server, I use Windows Remote Desktop.
If Windows decides that it’s going to restart or update and it becomes unreachable, I need to drag out a keyboard/mouse/monitor so I can see what is going on. This is doable but very annoying when it happens.
I am also running Blue Iris on an Intel NUC at my mom’s house for her own security camera recordings. It comes with the same exact problems as my own but it’s harder to administer because it’s remote.
Imagine talking one of your own parents through the process of troubleshooting why a server isn’t working. I have done it multiple times and I can tell you that it’s not my favorite thing to do.
There must be a better way…
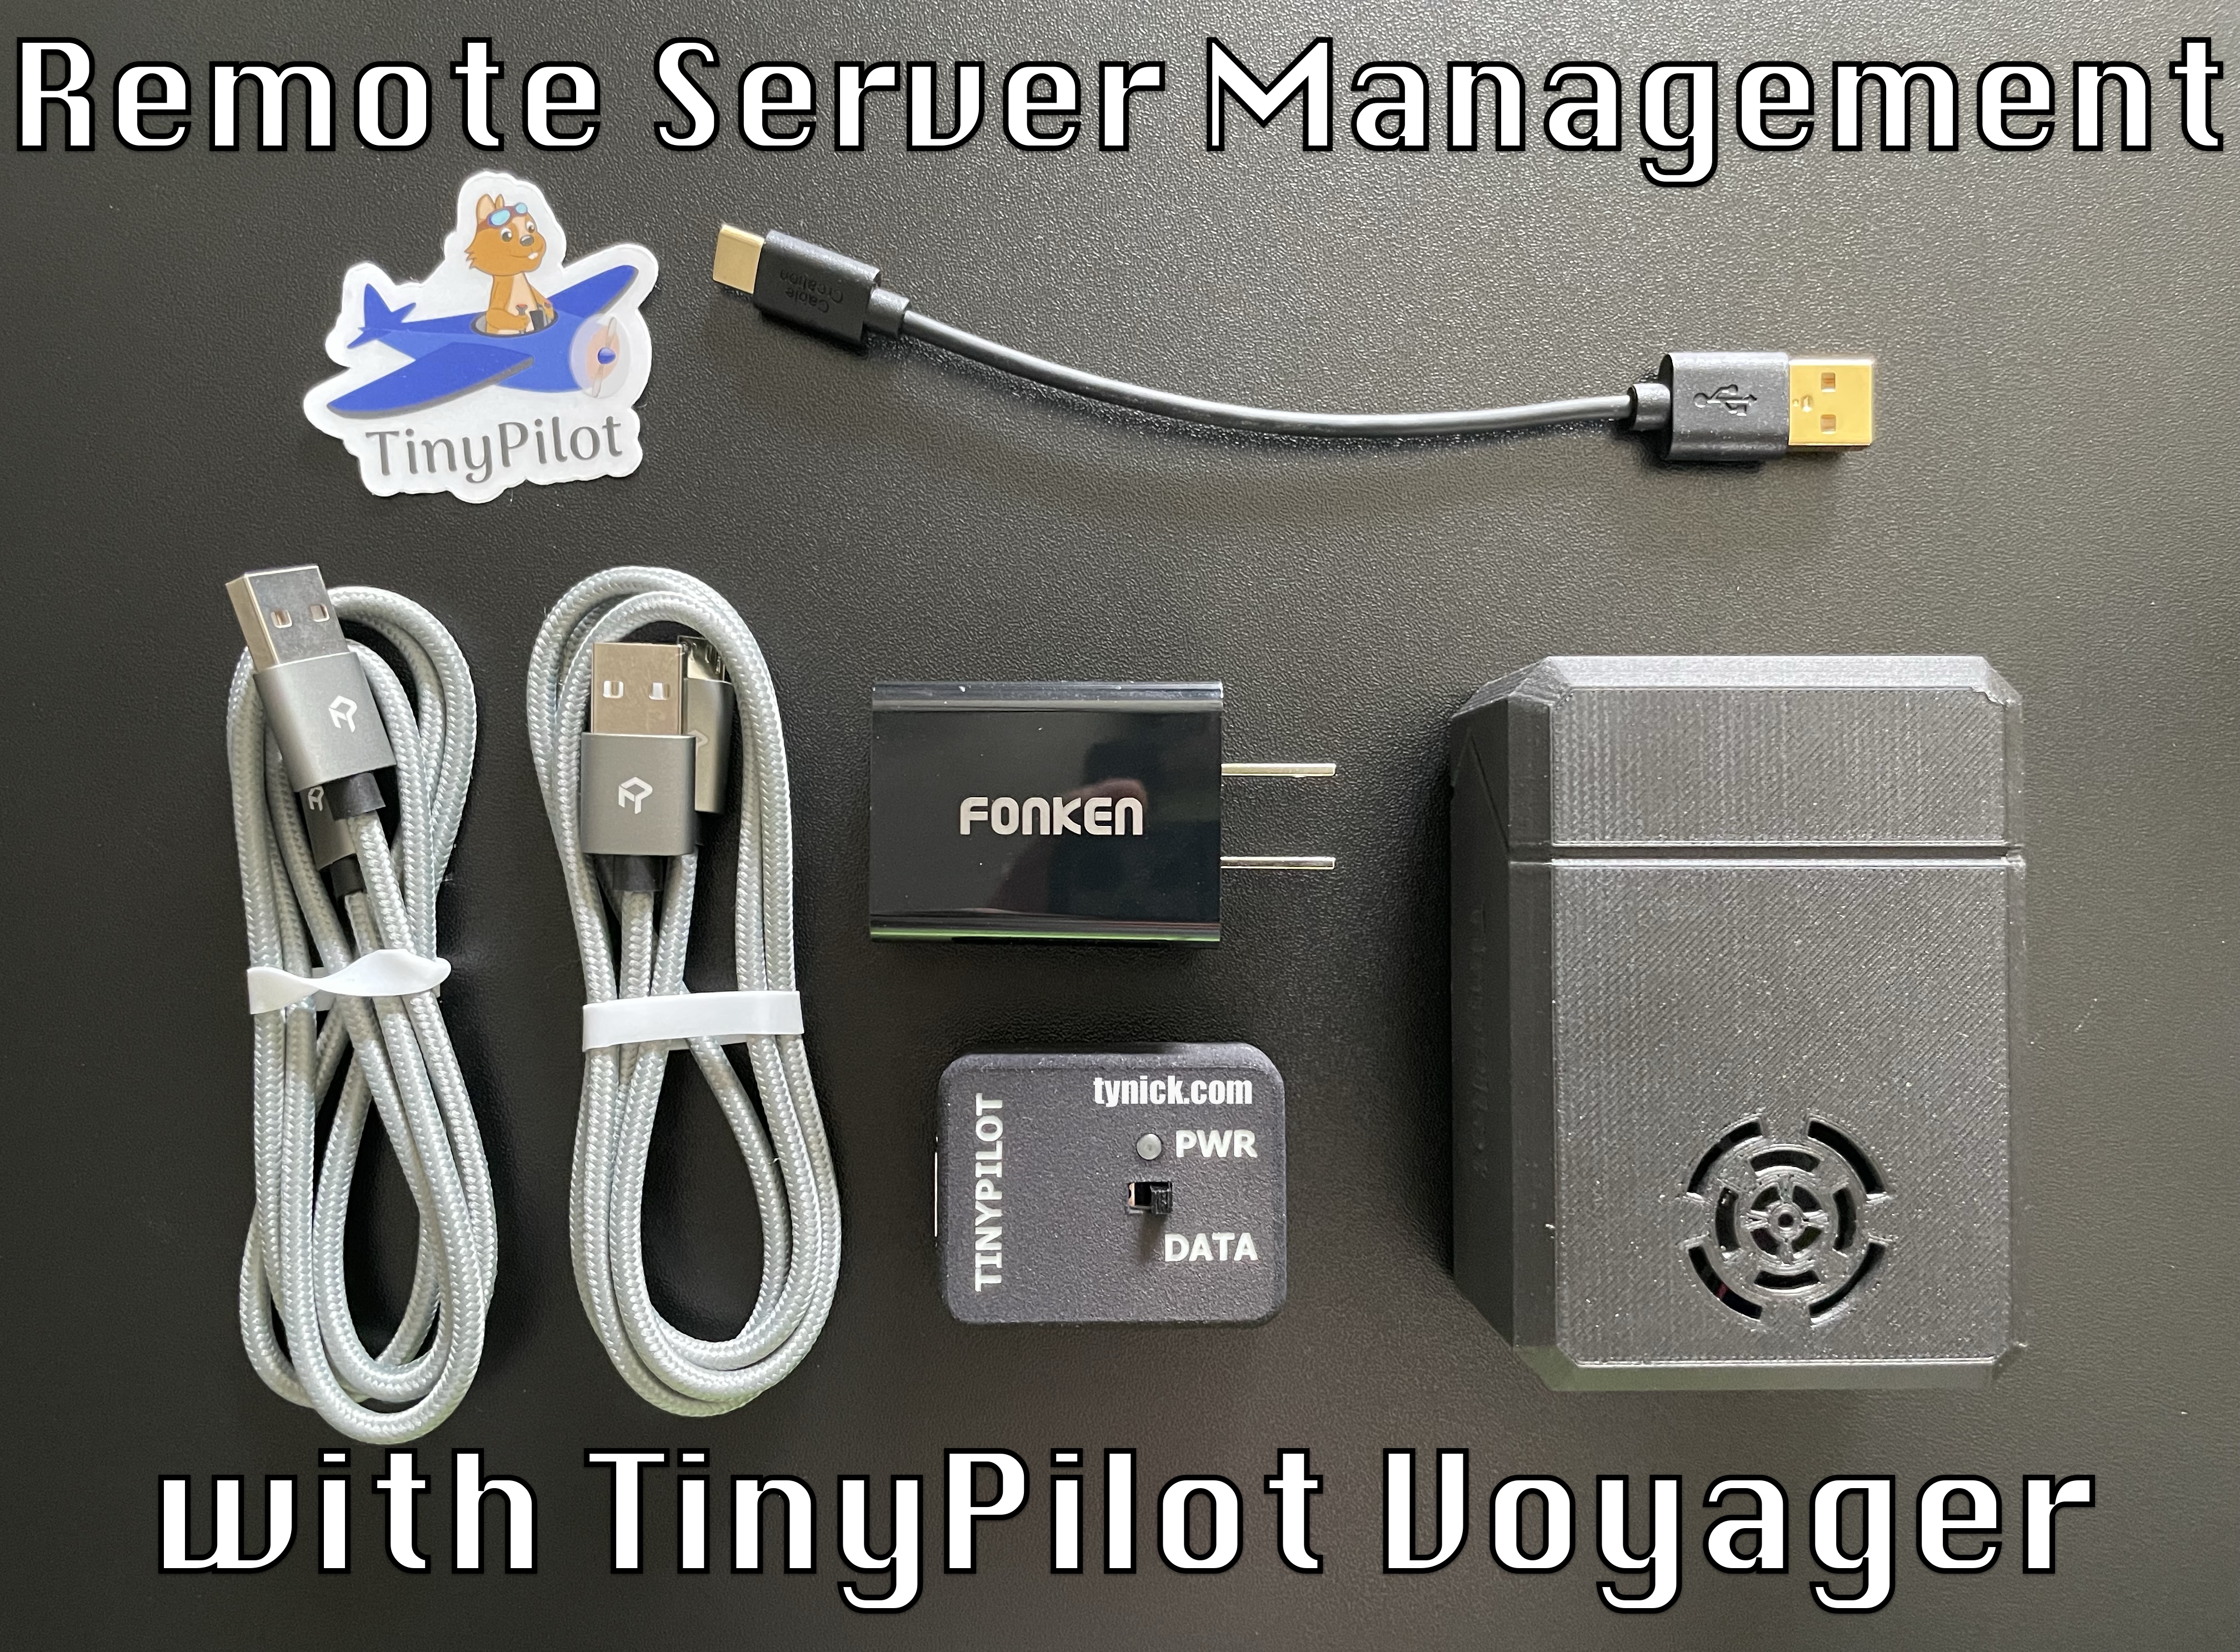
TinyPilot Voyager KVM
I was searching for ways to solve this problem when I stumbled upon the TinyPilot Voyager KVM(Keyboard/Video/Mouse).
It’s built with a Raspberry Pi 4 (4GB) and a few other things inside a very professional looking 3D printed case.
After plugging in a network cable and power, you’ll connect an HDMI and USB cable from the Voyager to the computer/server. This will allow you to access the video output and control the keyboard/mouse via the TinyPilot web interface.
That means I can use this to check the status of the Intel NUC if Windows updates and restarts. Remote Desktop is (obviously) not available during/after the restart until the update is complete. I can now connect and watch the update progress screen. It’s a game changer for me.

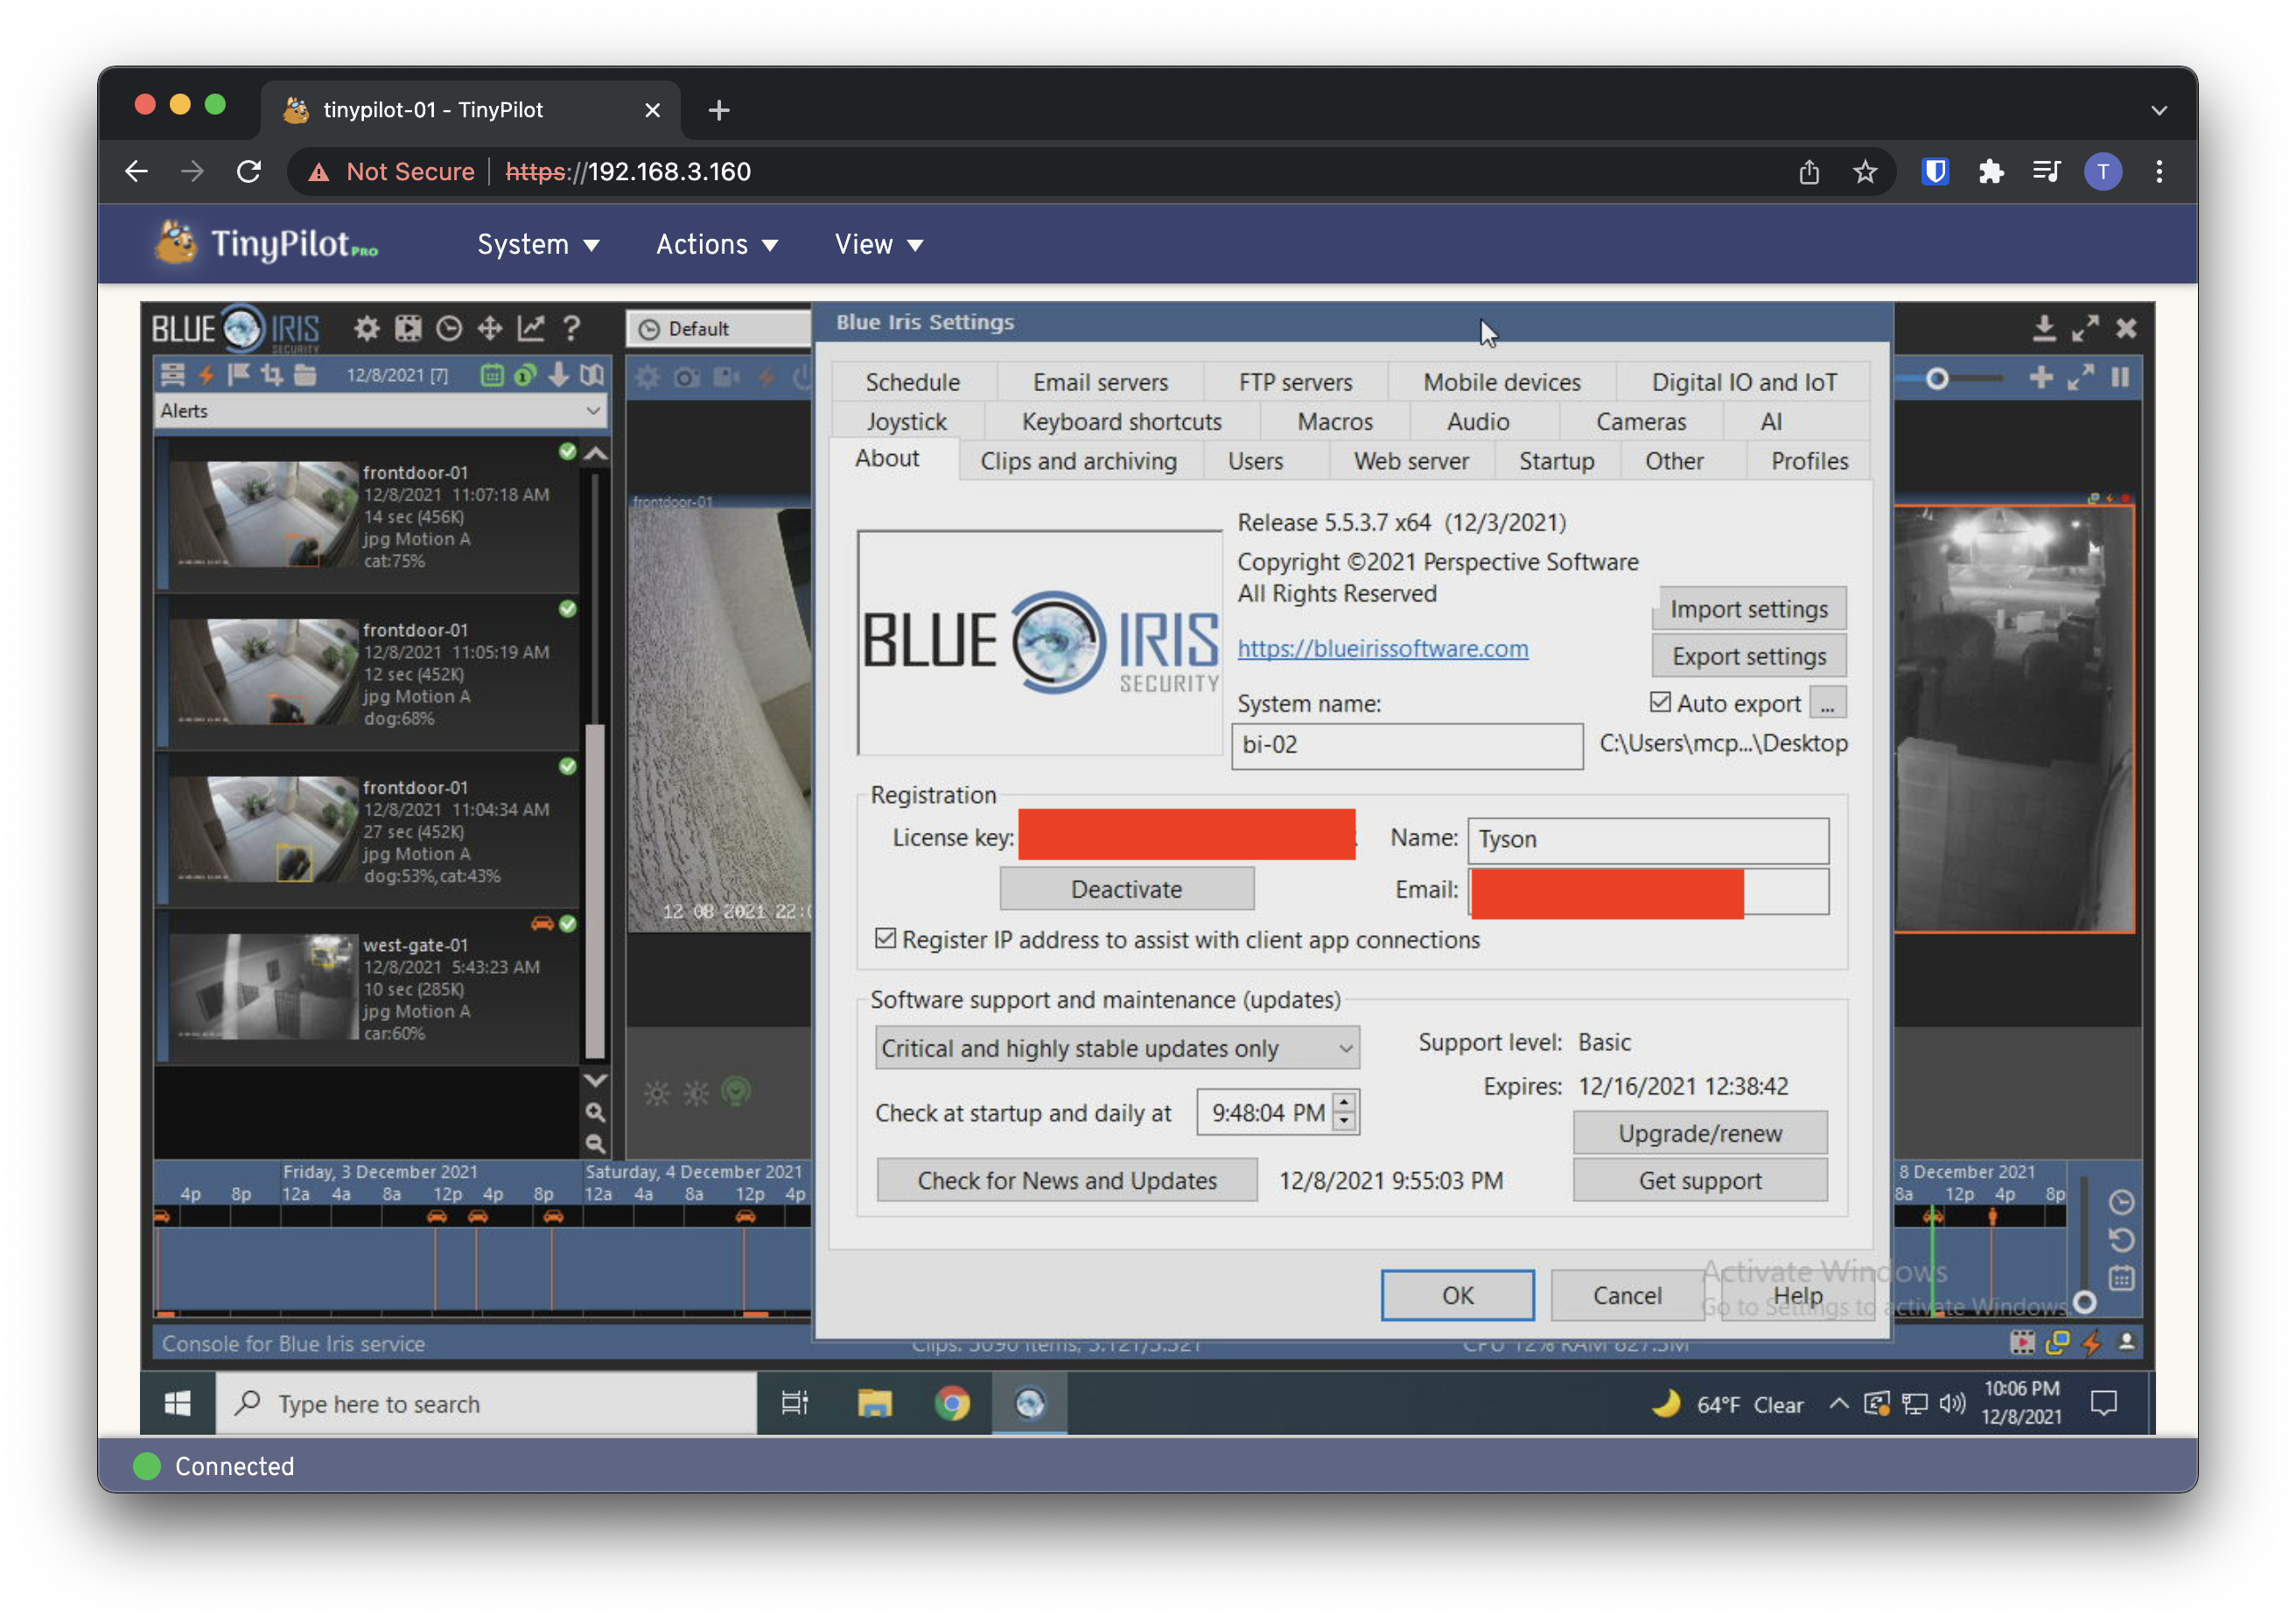 Checking on Blue Iris via the TinyPilot Voyager
I want to note that you can also use WiFi as a means of network connectivity but I have mine hardwired so I haven’t tested that. I have not encountered any major lagging while hardwired. The GUI is very responsive.
Other than doing a great job of being a KVM over IP device, here are some other features I found to be pretty useful.
Update the TinyPilot Voyager from the GUI
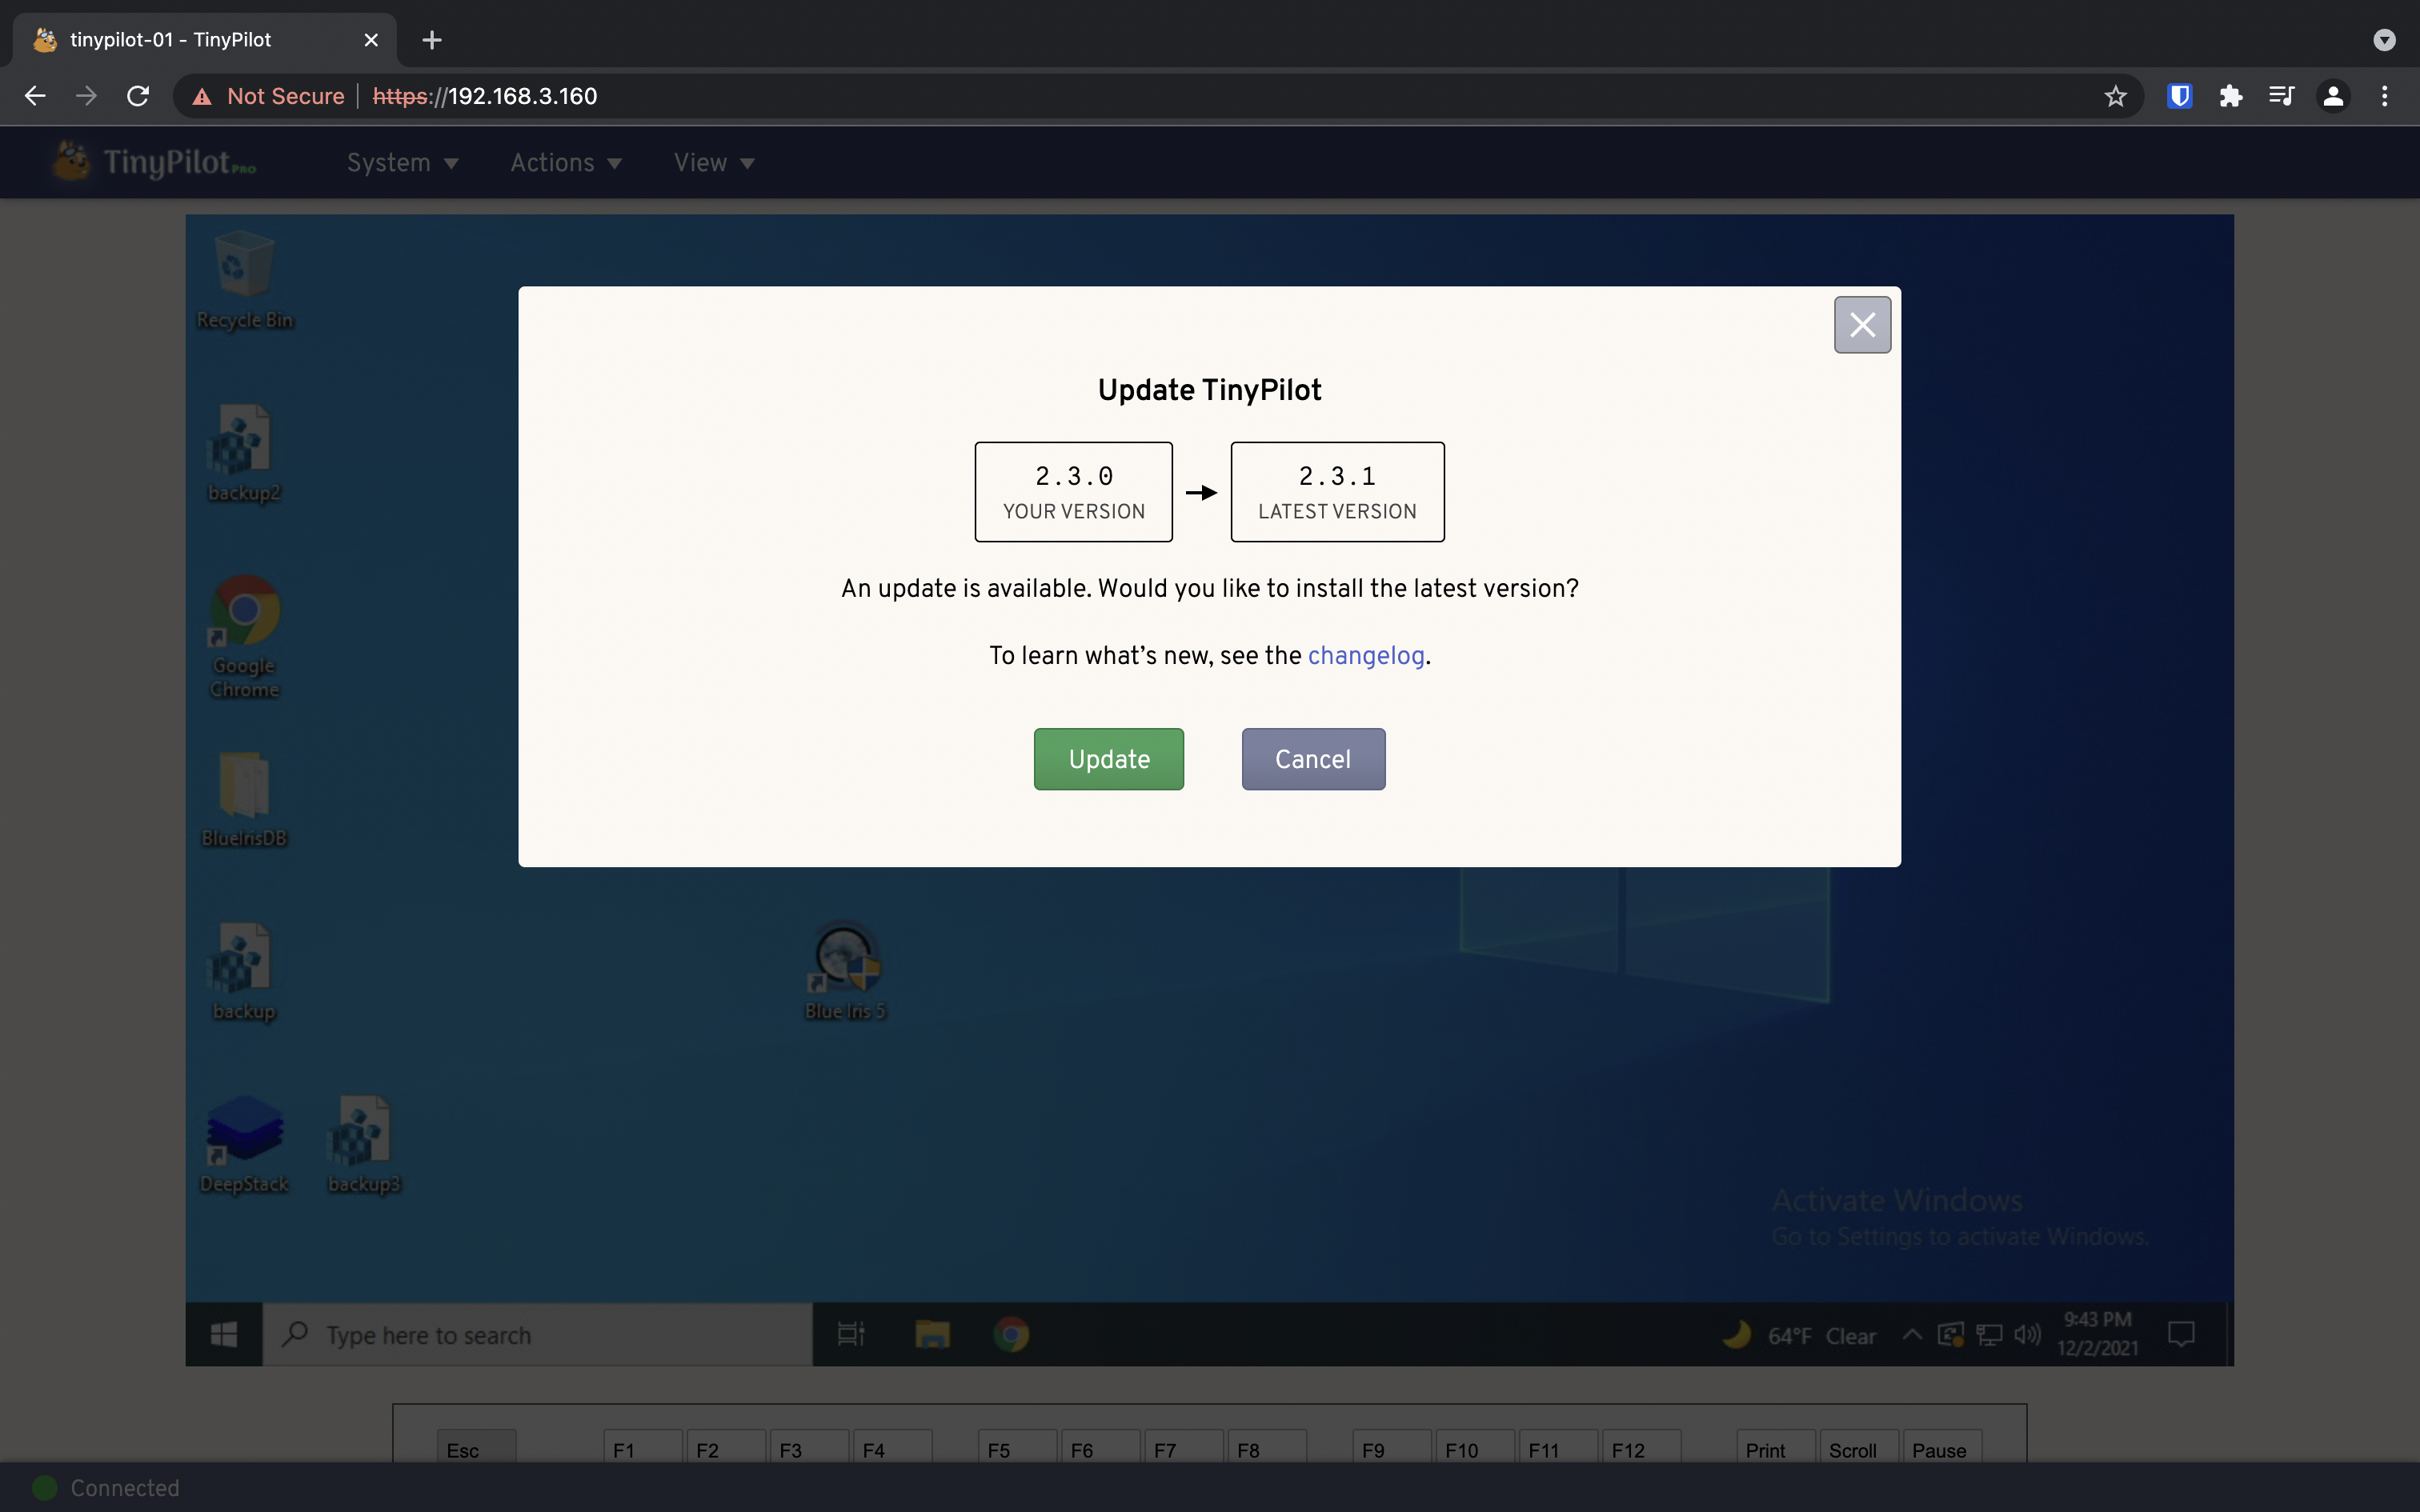
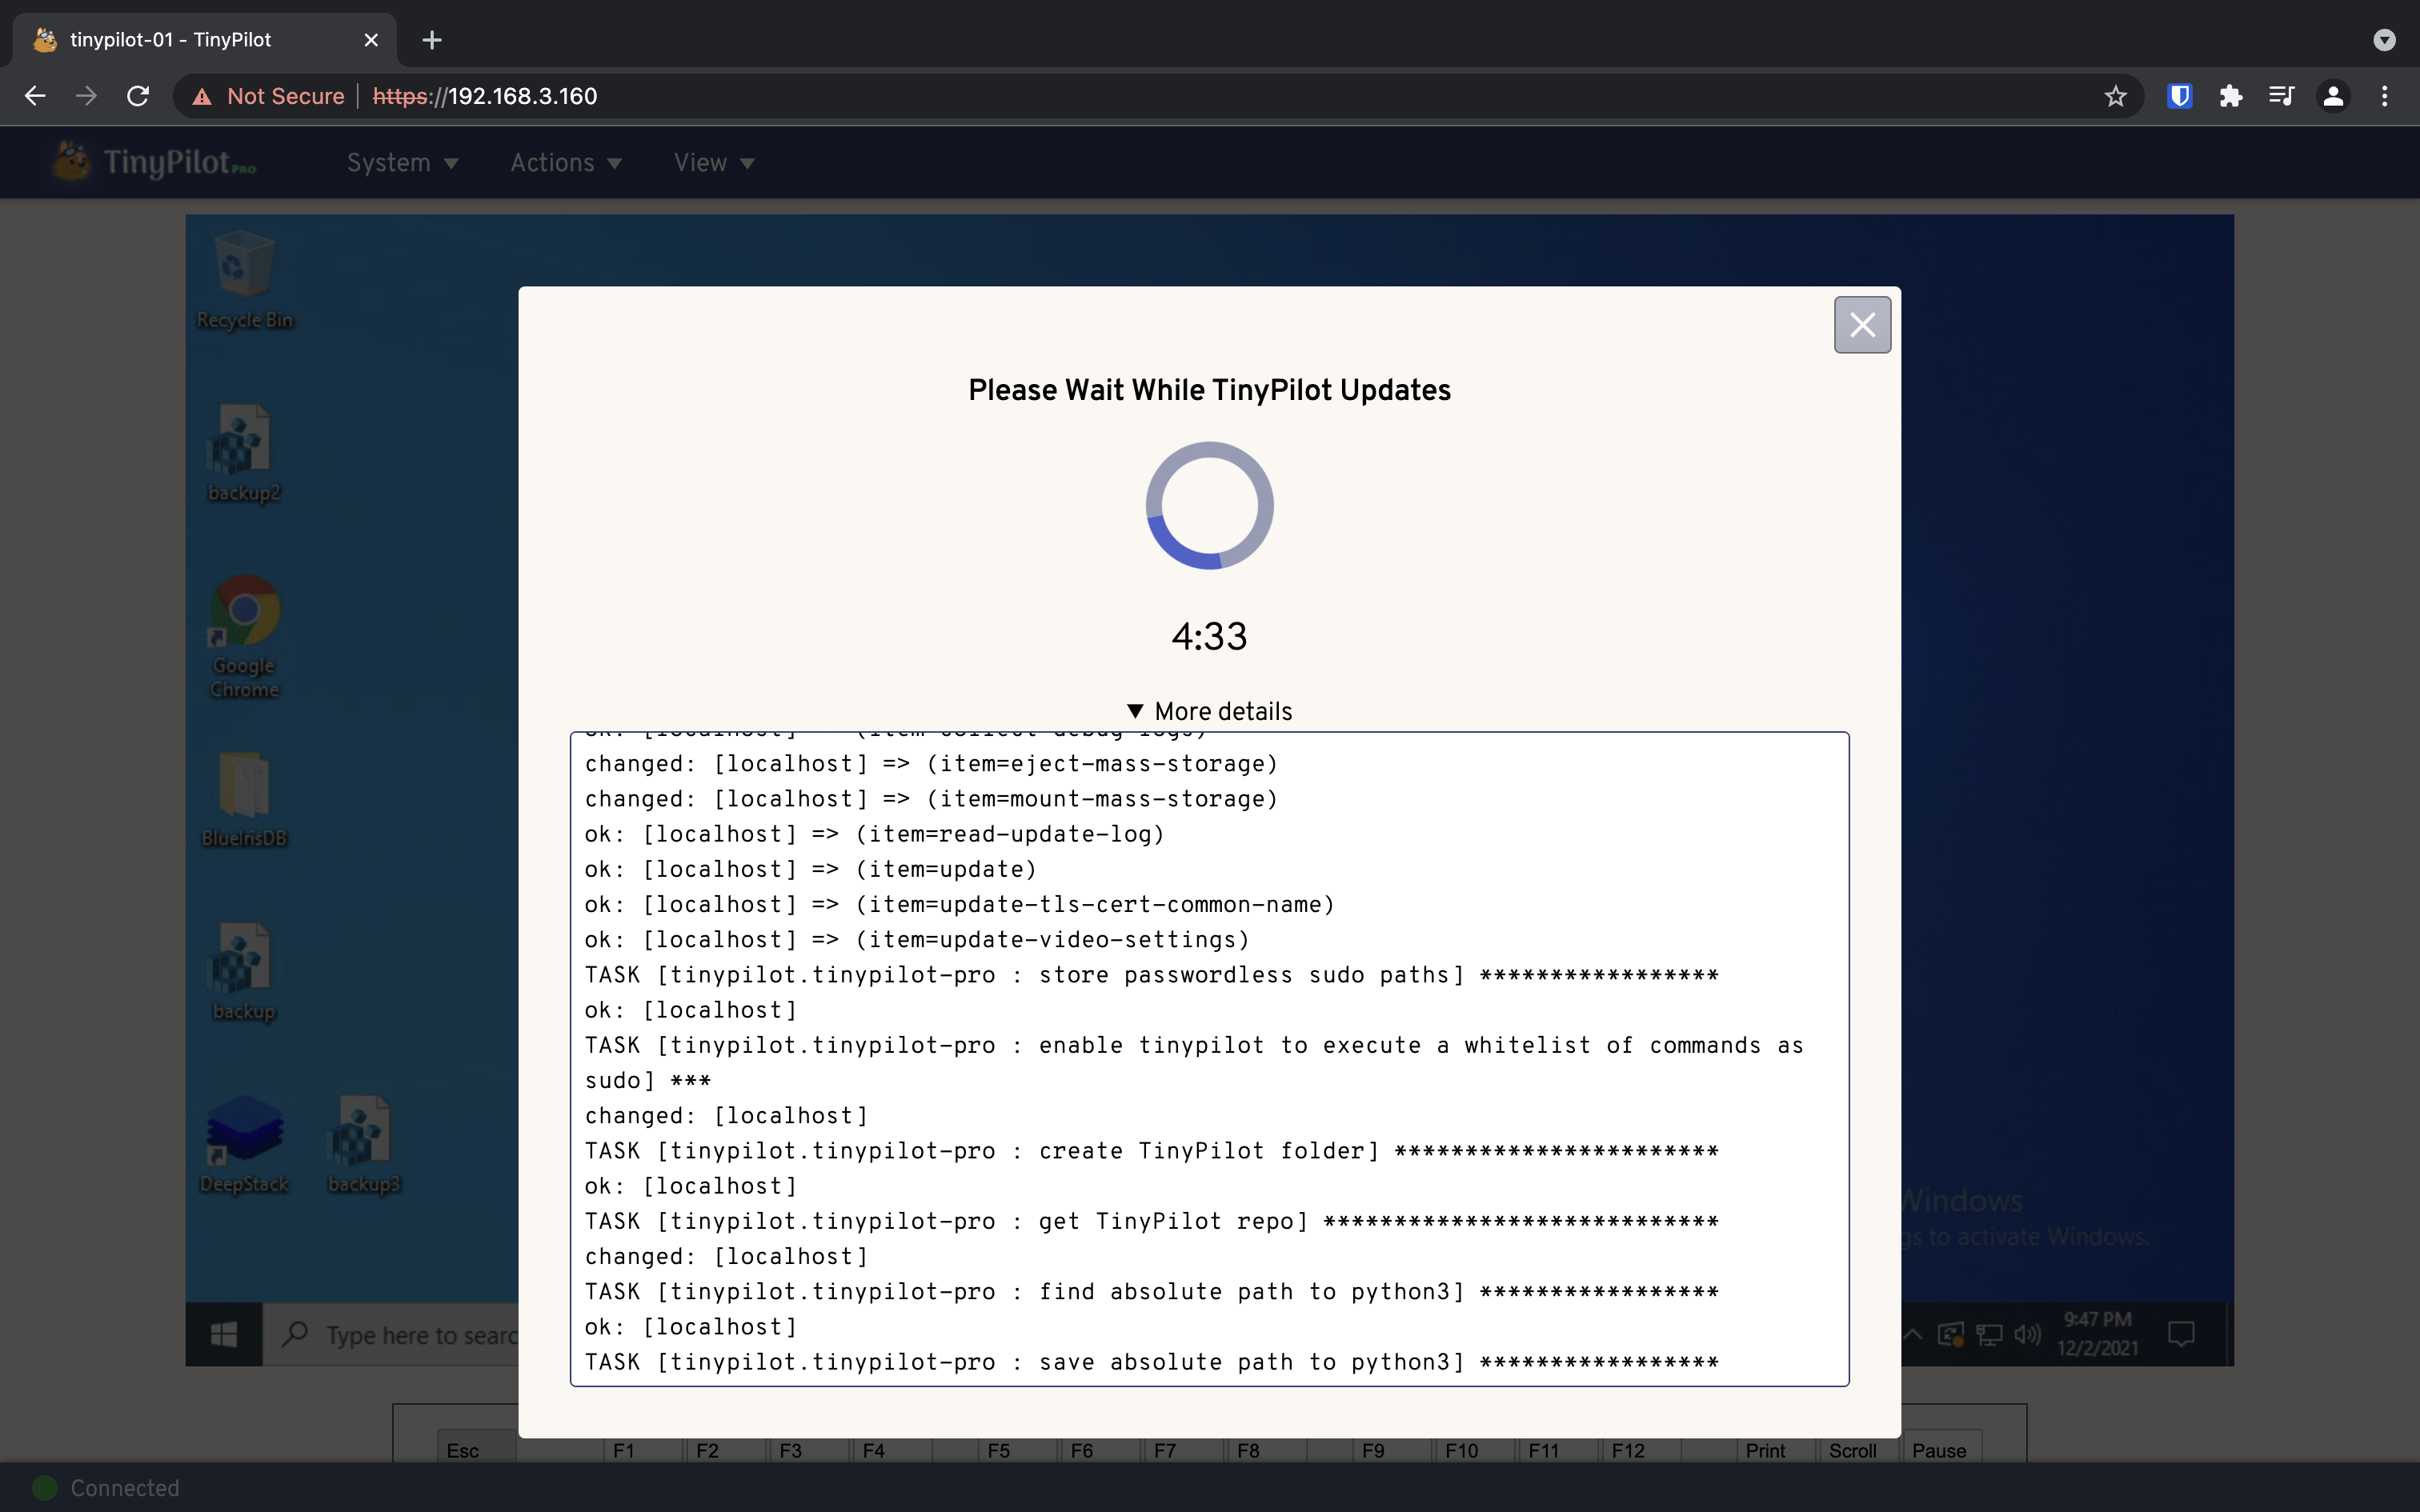
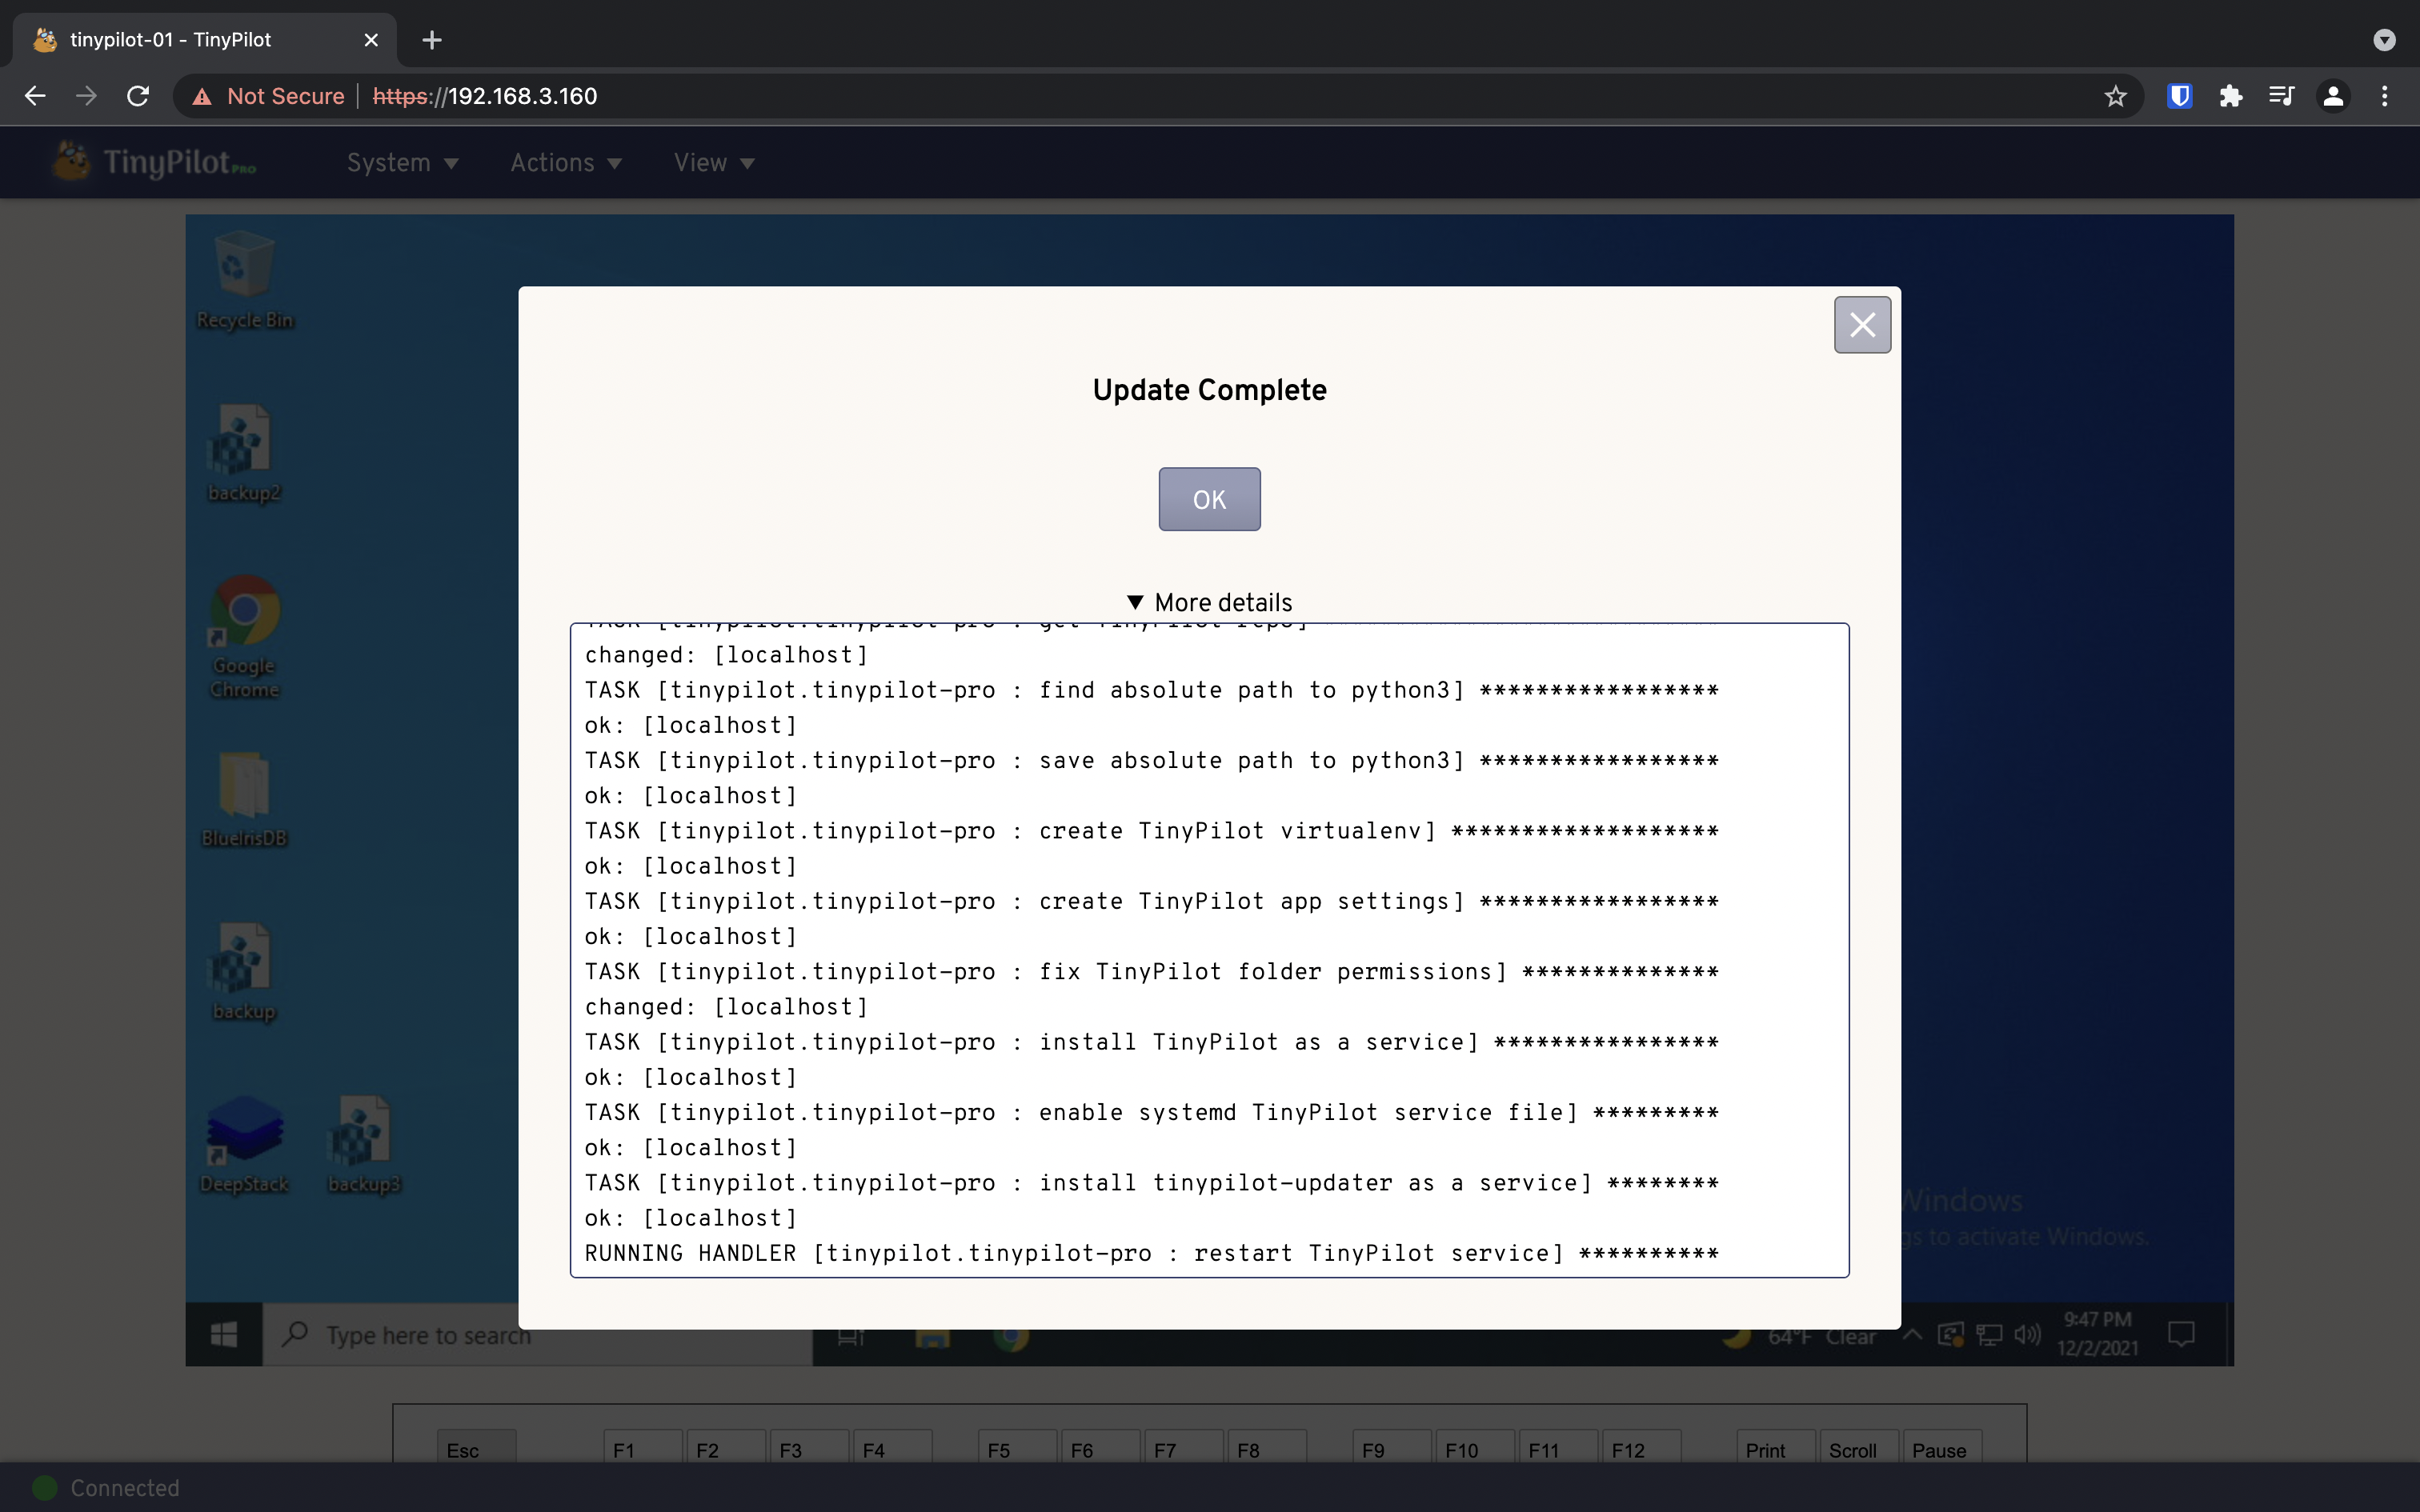
You can easily update the software on the TinyPilot from the web interface. Once you press “Update” you will see a stream of package updates until it is complete. In which case you can continue using the TinyPilot.
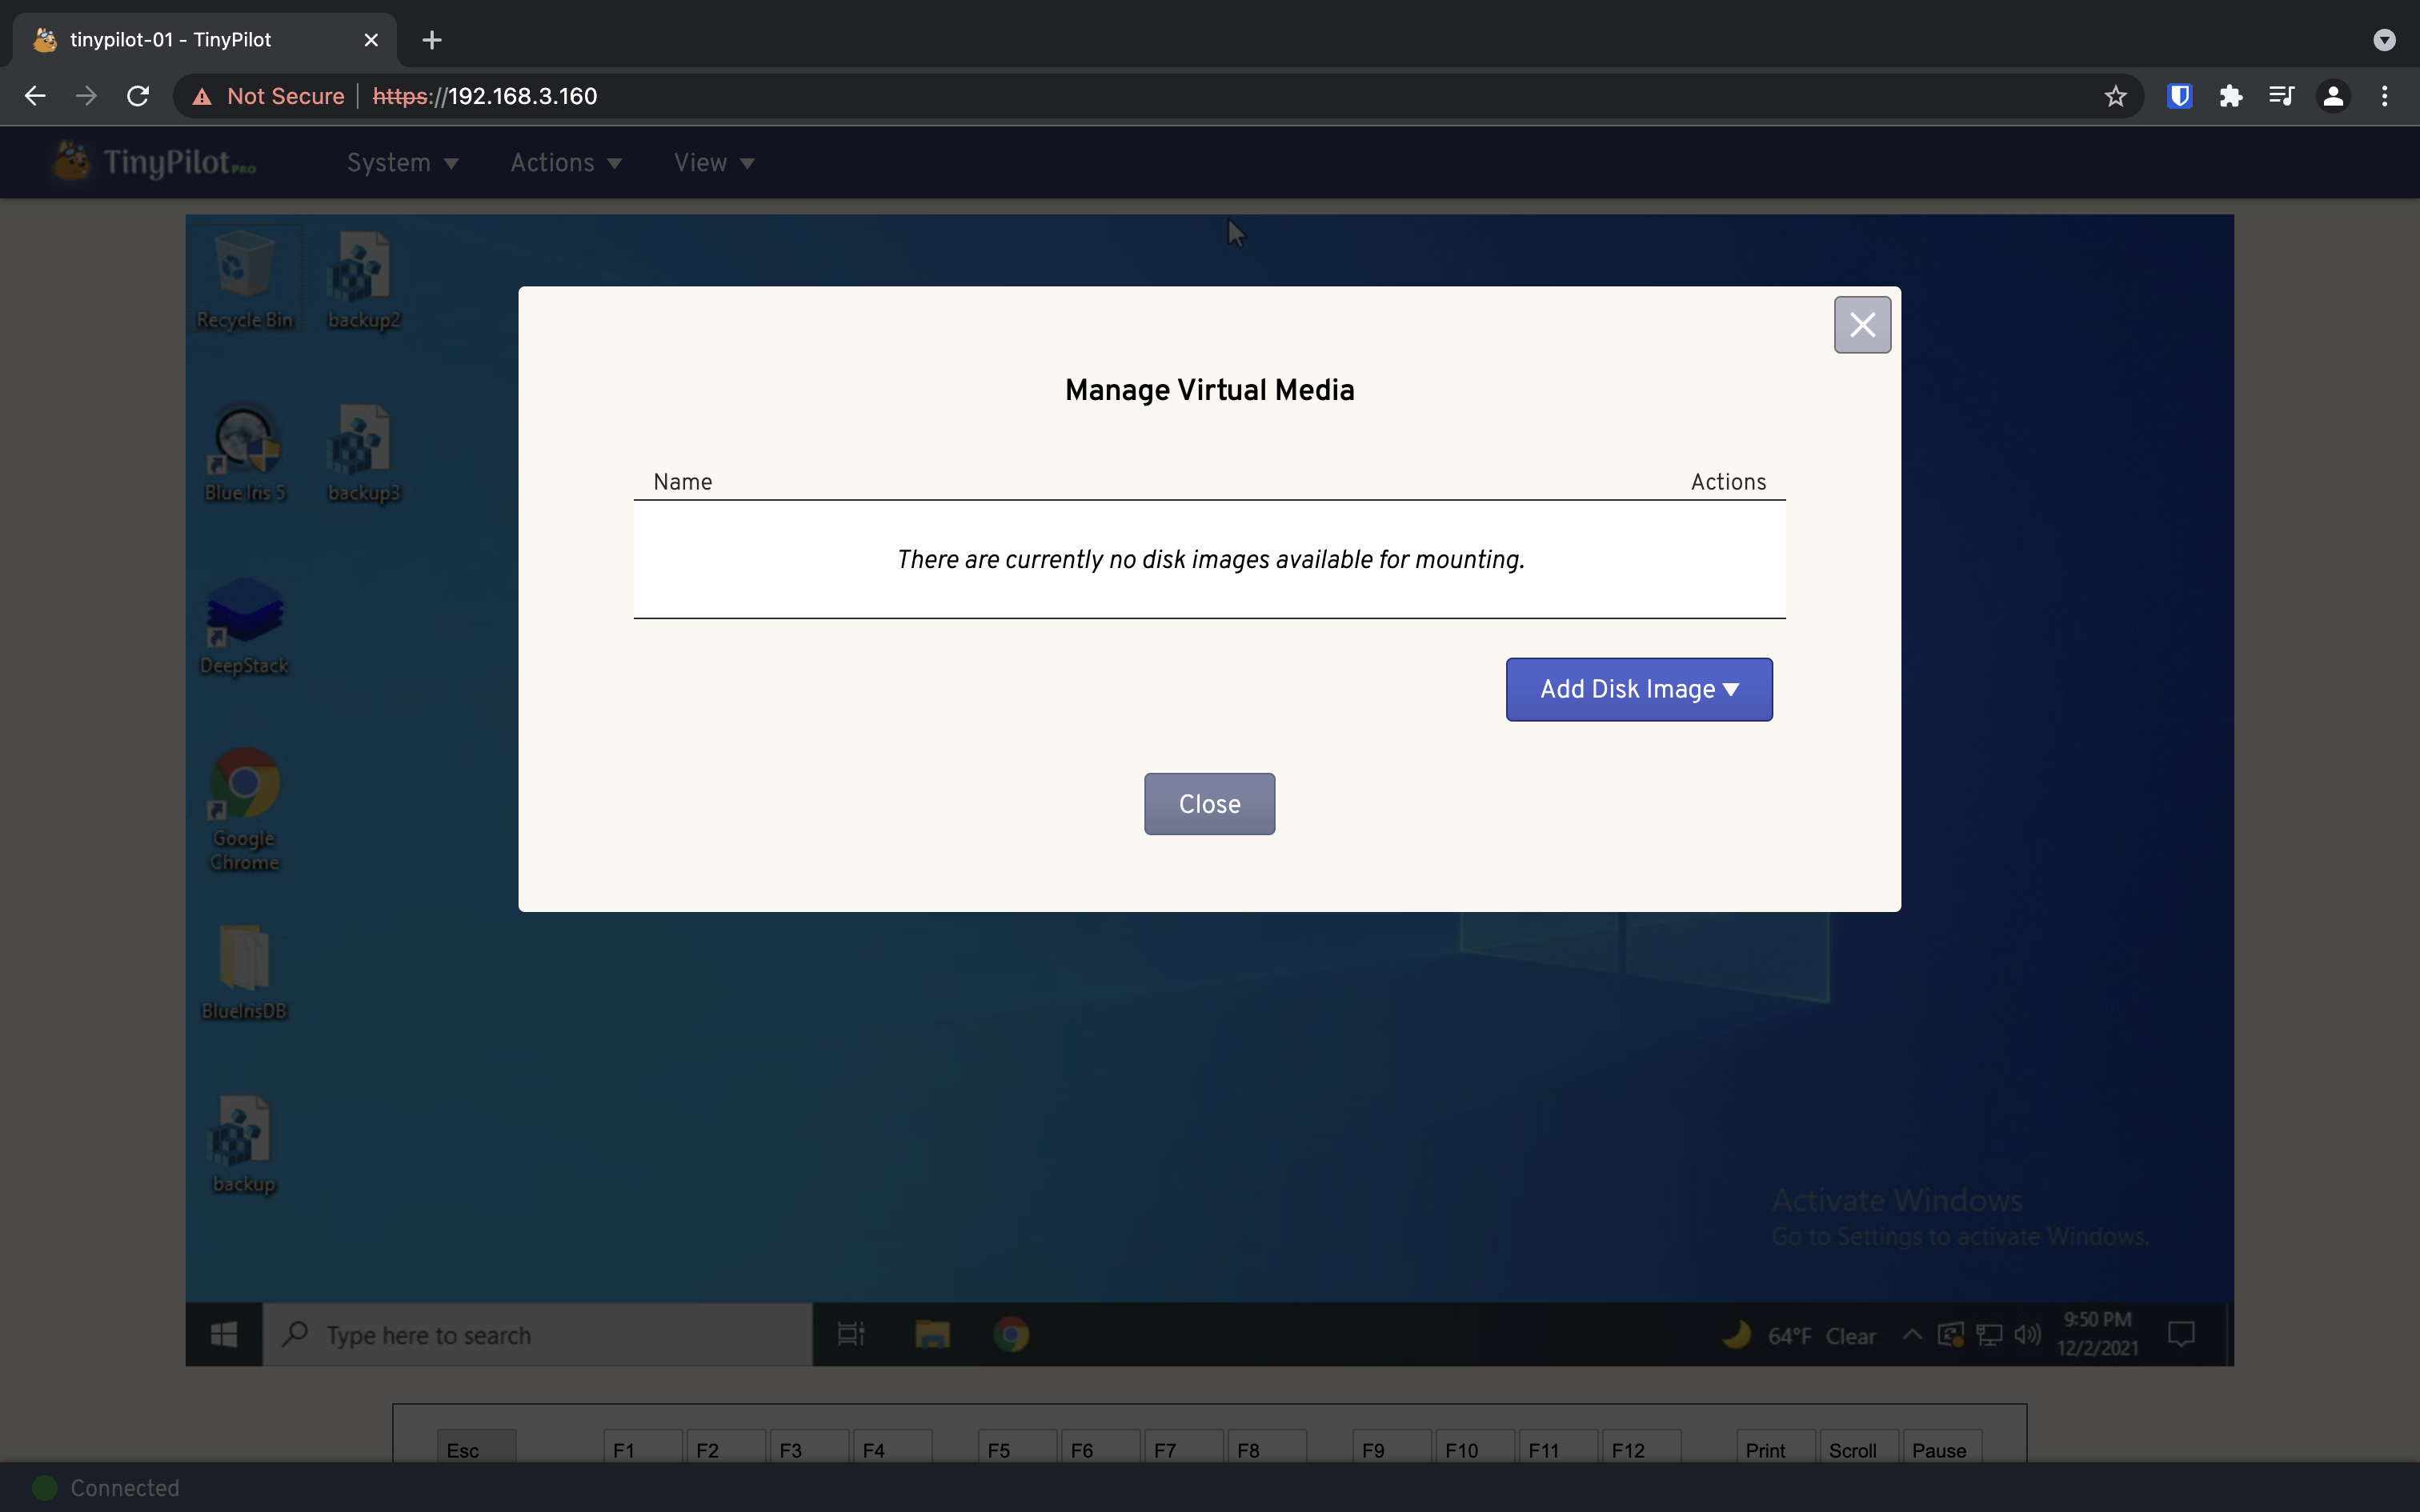
Install Virtual Media
Even if you usually have RDP or SSH access to your machine, it can come in handy when you need to do things like reload the OS if something goes wrong. It acts just like a normal keyboard and monitor because it isn’t dependent upon the OS of the target machine being stable or even installed.
You can use the add virtual media (like a Windows or Linux disk image) and attach it to the server for installation. It will appear to your server as if it were any other type of installation media (USB/Disk).
Conclusion
Overall the TinyPilot Voyager is an amazing device if you have a server/computer that running headless (no keyboard or monitor). I highly recommend it for your homelab if you have a use case like I did.
Imagine being able to fix your parents computer year round instead of just when you visit during the holidays!
You can read more on the TinyPilot Voyager Product Page if you are interested.
Feel free to holler at me on Twitter if you have any questions.