Christmas Lights With WLED
Christmas Lights With WLED and WS2811 LEDs
I’ve had WS2812 LED strips permanently installed on my roofline for about a year now. Truth be told, the protective clear coating hasn’t held up great with the hot Phoenix, AZ sun beating down on them. I will probably end up redoing them with WS2811 LEDs in the near future.
Previously the roofline LEDs were run using a cheap wifi controller. It had a really bad interface and wasn’t reliable at all.
Ever since I discovered WLED I’ve been adding LEDs to everything and automating it with SmartThings. I’m happy to report that my roofline WS2811 LEDs are now controlled by an ESP8266/NodeMCU running WLED.
Aircoookie did an amazing job on this project and it really just keeps getting better with each update.
Recently my wife said that the house needed something to make it more “Christmassy”. We decided on making a wreath to hang on the top of the garage.
She would decorate it with the strings of WS2811 LEDs and I’d be in charge of wiring it up to an ESP8266/NodeMCU and installing WLED.
This post is just a quick rundown of how we built it.
Because I’ve already written a full tutorial on getting started with WLED, I am going to skip that part.
If you are completely new to WLED, read that post to learn how to install and configure WLED on your ESP8266.
Parts Used For Project
| Part | Comment | Link |
|---|---|---|
| Wreath | Any wreath will work. However, the fuller the branches are, the easier it will be to hide your wires. You can get bare wreaths for cheap at craft stores if you have any in your area. | Christmas Wreath |
| WS2811 LEDs | 50 LEDs per string. We used one full set of these. They all light up just fine. | WS2811 RGB Individually Addressable LEDs |
| Project Box | I started using these to contain the guts of my ESP8266 projects. You will have to drill a small hole for the USB cable and the WS2811 LED wires. | Black Waterproof Plastic Project Box |
| Florist Wire | My wife used this to secure and hide the LEDs, project box and wires to the wreath. I honestly didn’t know this stuff existed. I would have probably just used zip ties or something ugly. | 24 Gauge Florist Wire |
| NodeMcu ESP8266 Module | I’ve purchased a few of these 4 packs just because I have been building so many LED projects recently. I’ve had zero failures so far. | NodeMcu ESP8266 Module |
| Micro USB Data Cable | You probably already have a few of these laying around the house. I did so many WLED projects that I needed to order more. These cables also carry data so they can be used to flash the ESP8266 as well as power it. | Micro USB Data Cable |
| USB Wall Charger | This USB port will output 5V and up to 2.4 Amps. This is enough to power our controller and out lights. | USB Wall Charger 2.4 Amp |
As an Amazon Associate I earn from qualifying purchases. Purchasing through my Amazon links helps me keep the site up and running.
Building A WLED Christmas Decoration
ESP8266 Wiring
Do this after you’ve installed WLED on your NodeMCU and tested that the install is functional.
The first thing I did was take the pigtail connector from the new string of WS2811 LEDs and solder the wires to the correct pins. I have heard mixed opinions on doing this but you could also just use jumper wires.
Soldering allows me to throw it in the project box without worrying that wires could come loose and prevents me from getting the ladder out to fix it.
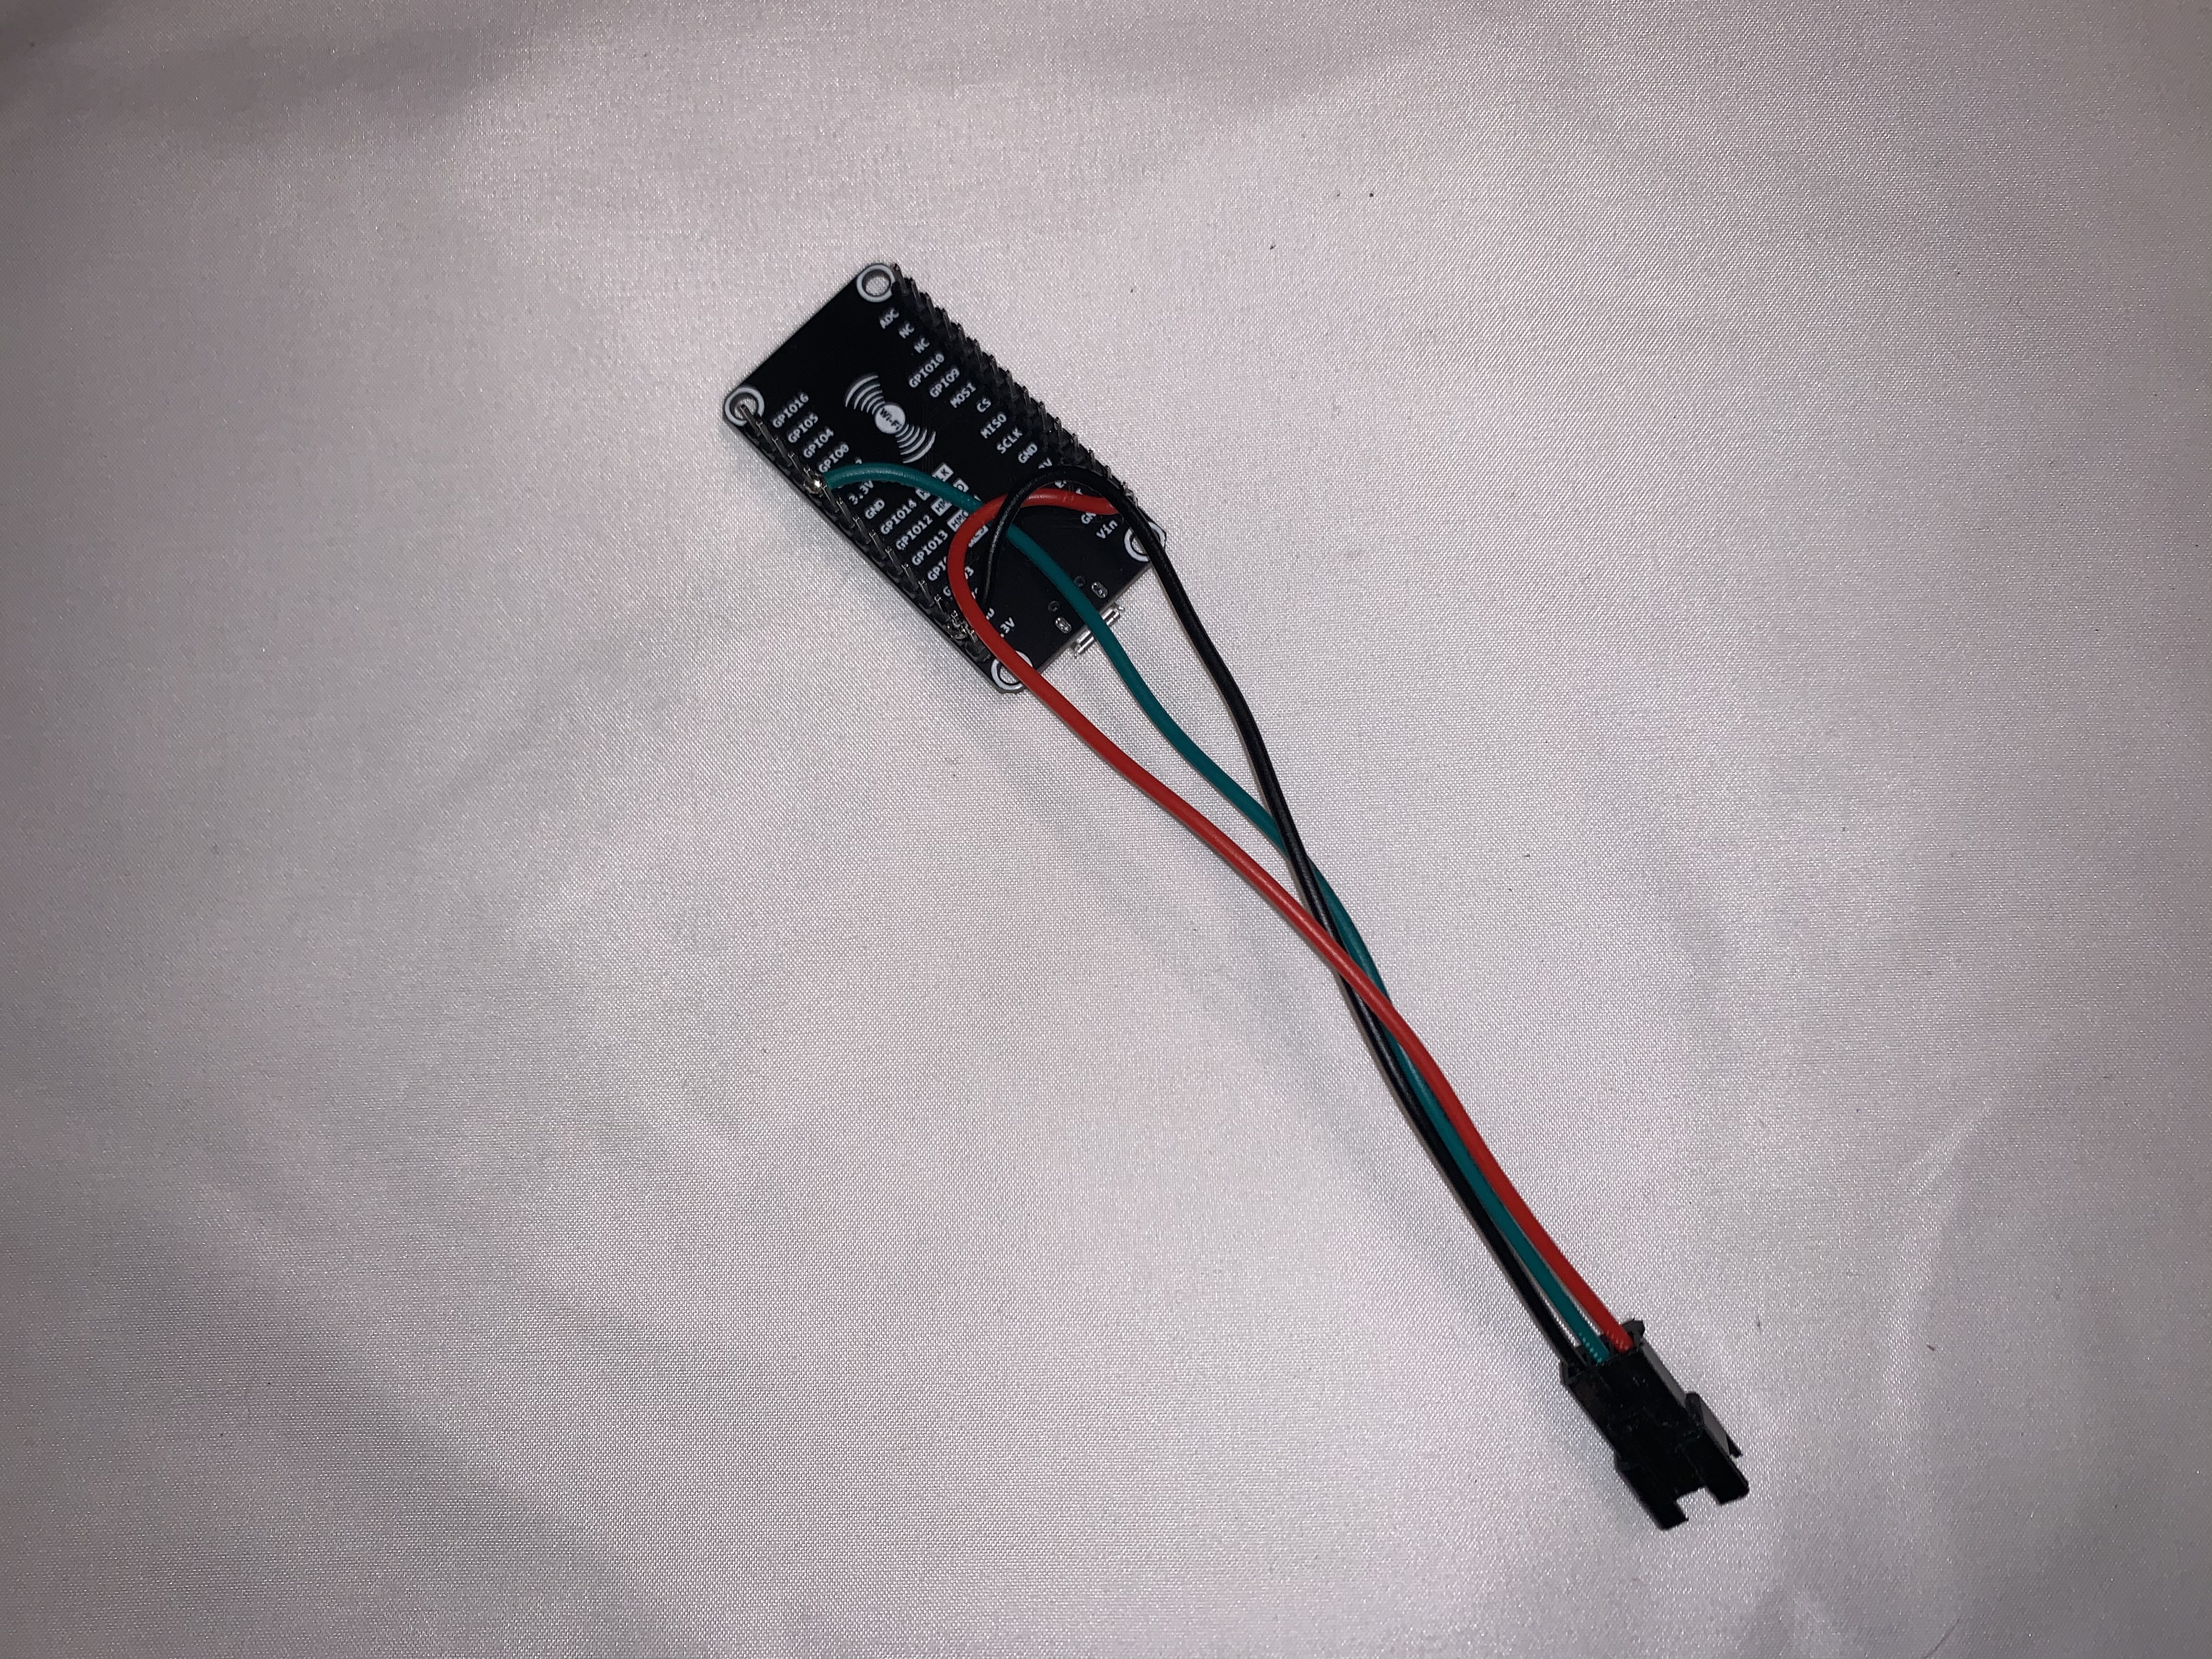
Wires soldered to ESP8266 pins
Test WLED
After securing the pigtail lead wires to the ESP8266, it was time to test the WS2811 LEDs. I really recommend testing before you get everything installed on the wreath. It would be a pain in the ass to tear it all apart because you didn’t know you had a bum LED strip.
I drilled a hole in the side of the project box and ran the wires through. I plugged the USB cable into the ESP8266 and I had LEDs!
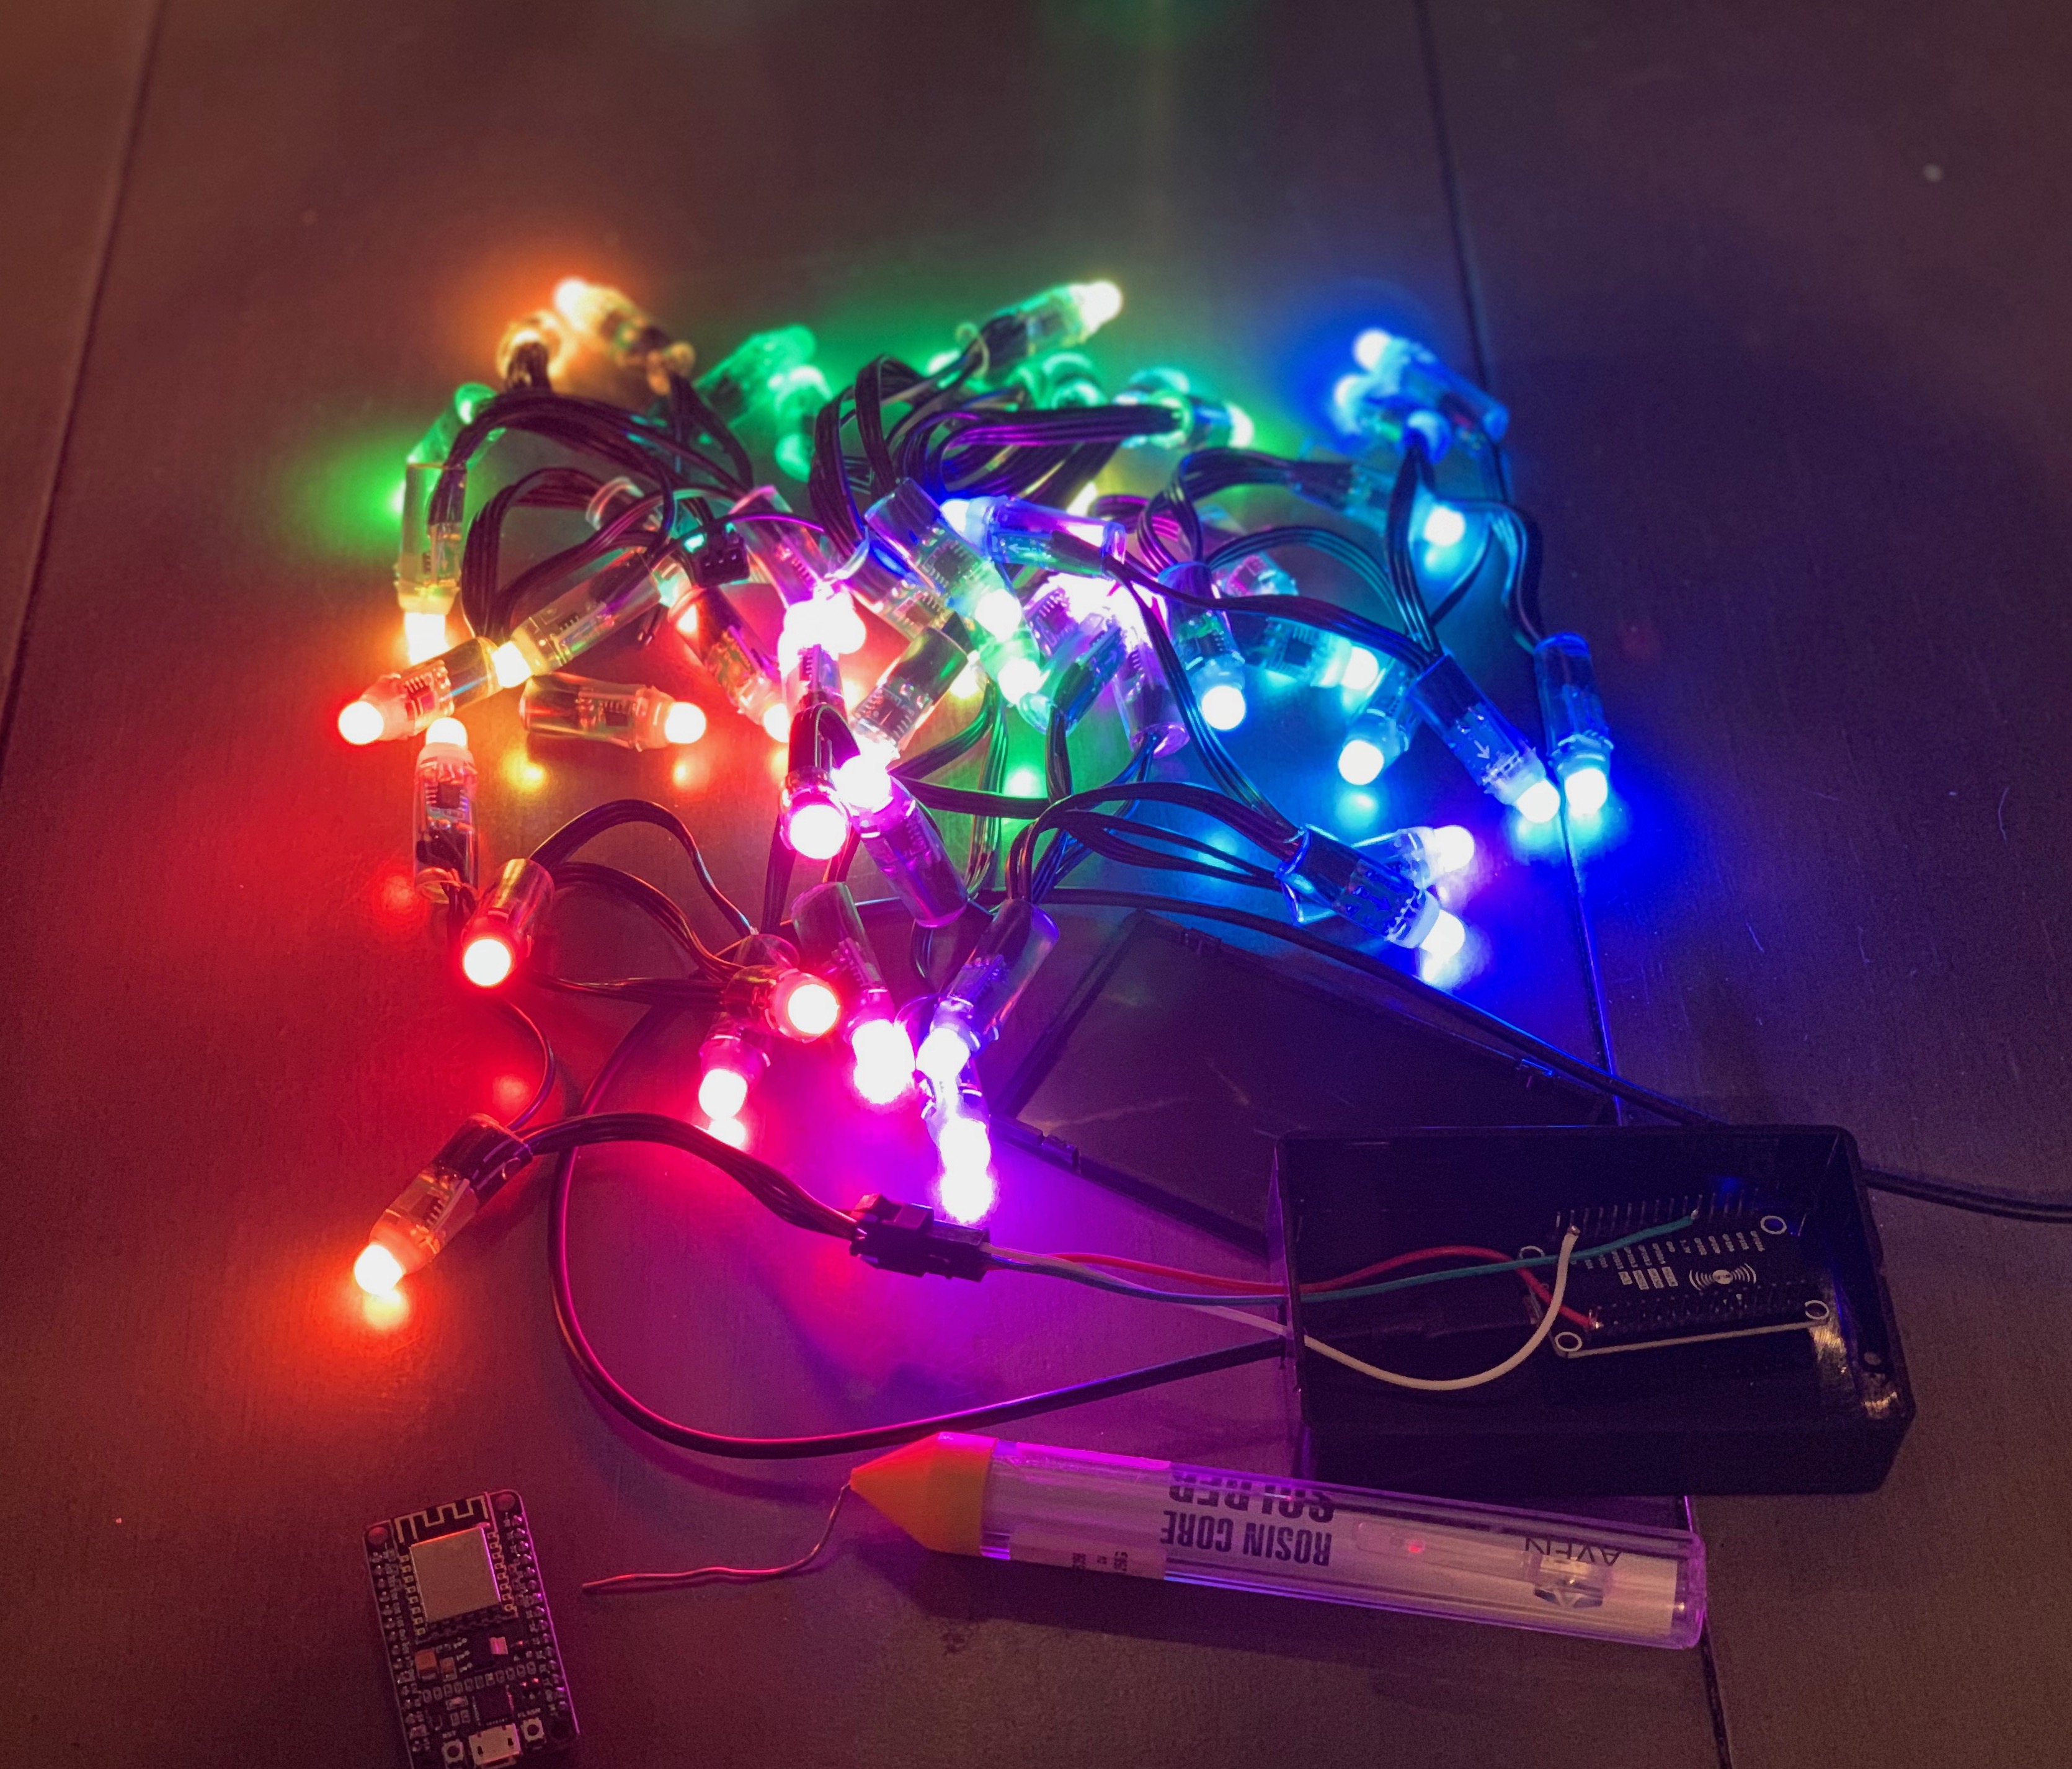
Testing WS2811 LEDs and WLED
This step went perfect so I unplugged the pigtail connector from the LEDs and handed it off to my wife.
Build Your Christmas Decoration
My wife wrapped the wreath as evenly as possible with the string of LEDs. Making sure to leave the “bulb” pointing outward.
You can see in the picture below how she secured the project box to the back of the wreath on the metal frame with the florist wire. The color of the florist wire matches perfectly with the wreath and looks much better than zip ties.
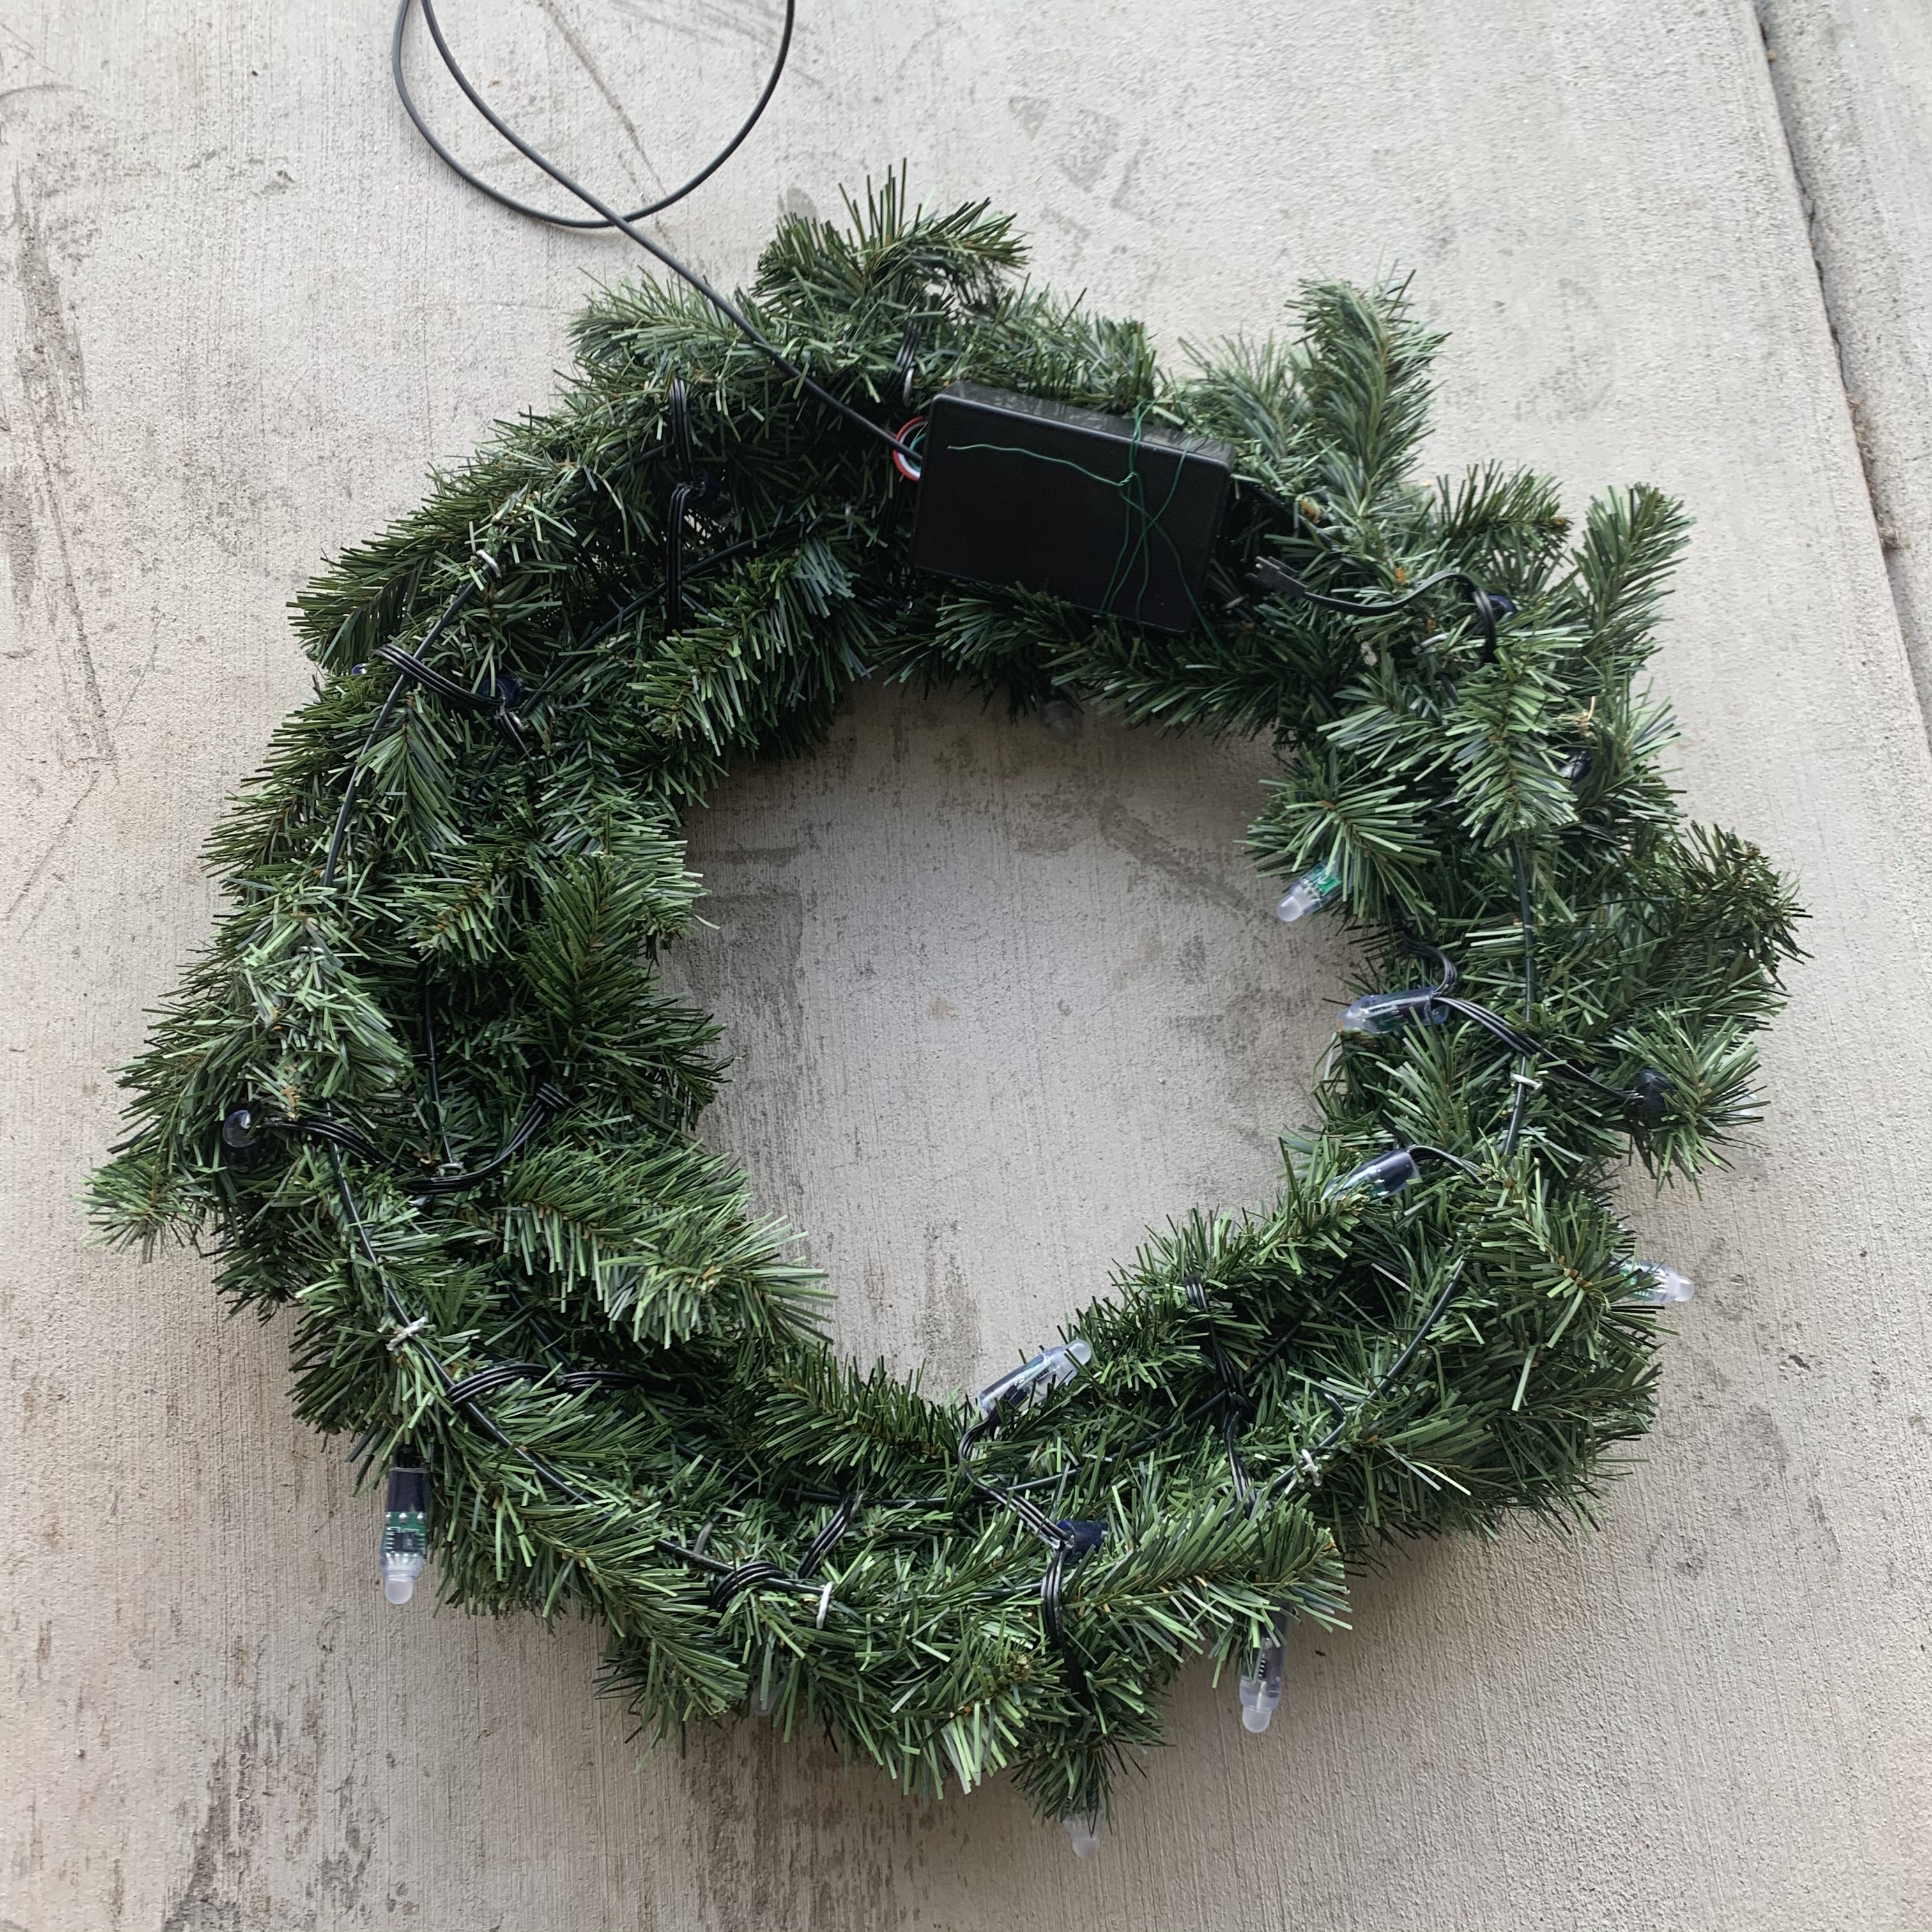
Back of wreath with WS2811 LEDs and project box secured
The florist wire is invisible from the front of the wreath.
Try to get all of the lights out from behind the branches without sticking out too much.
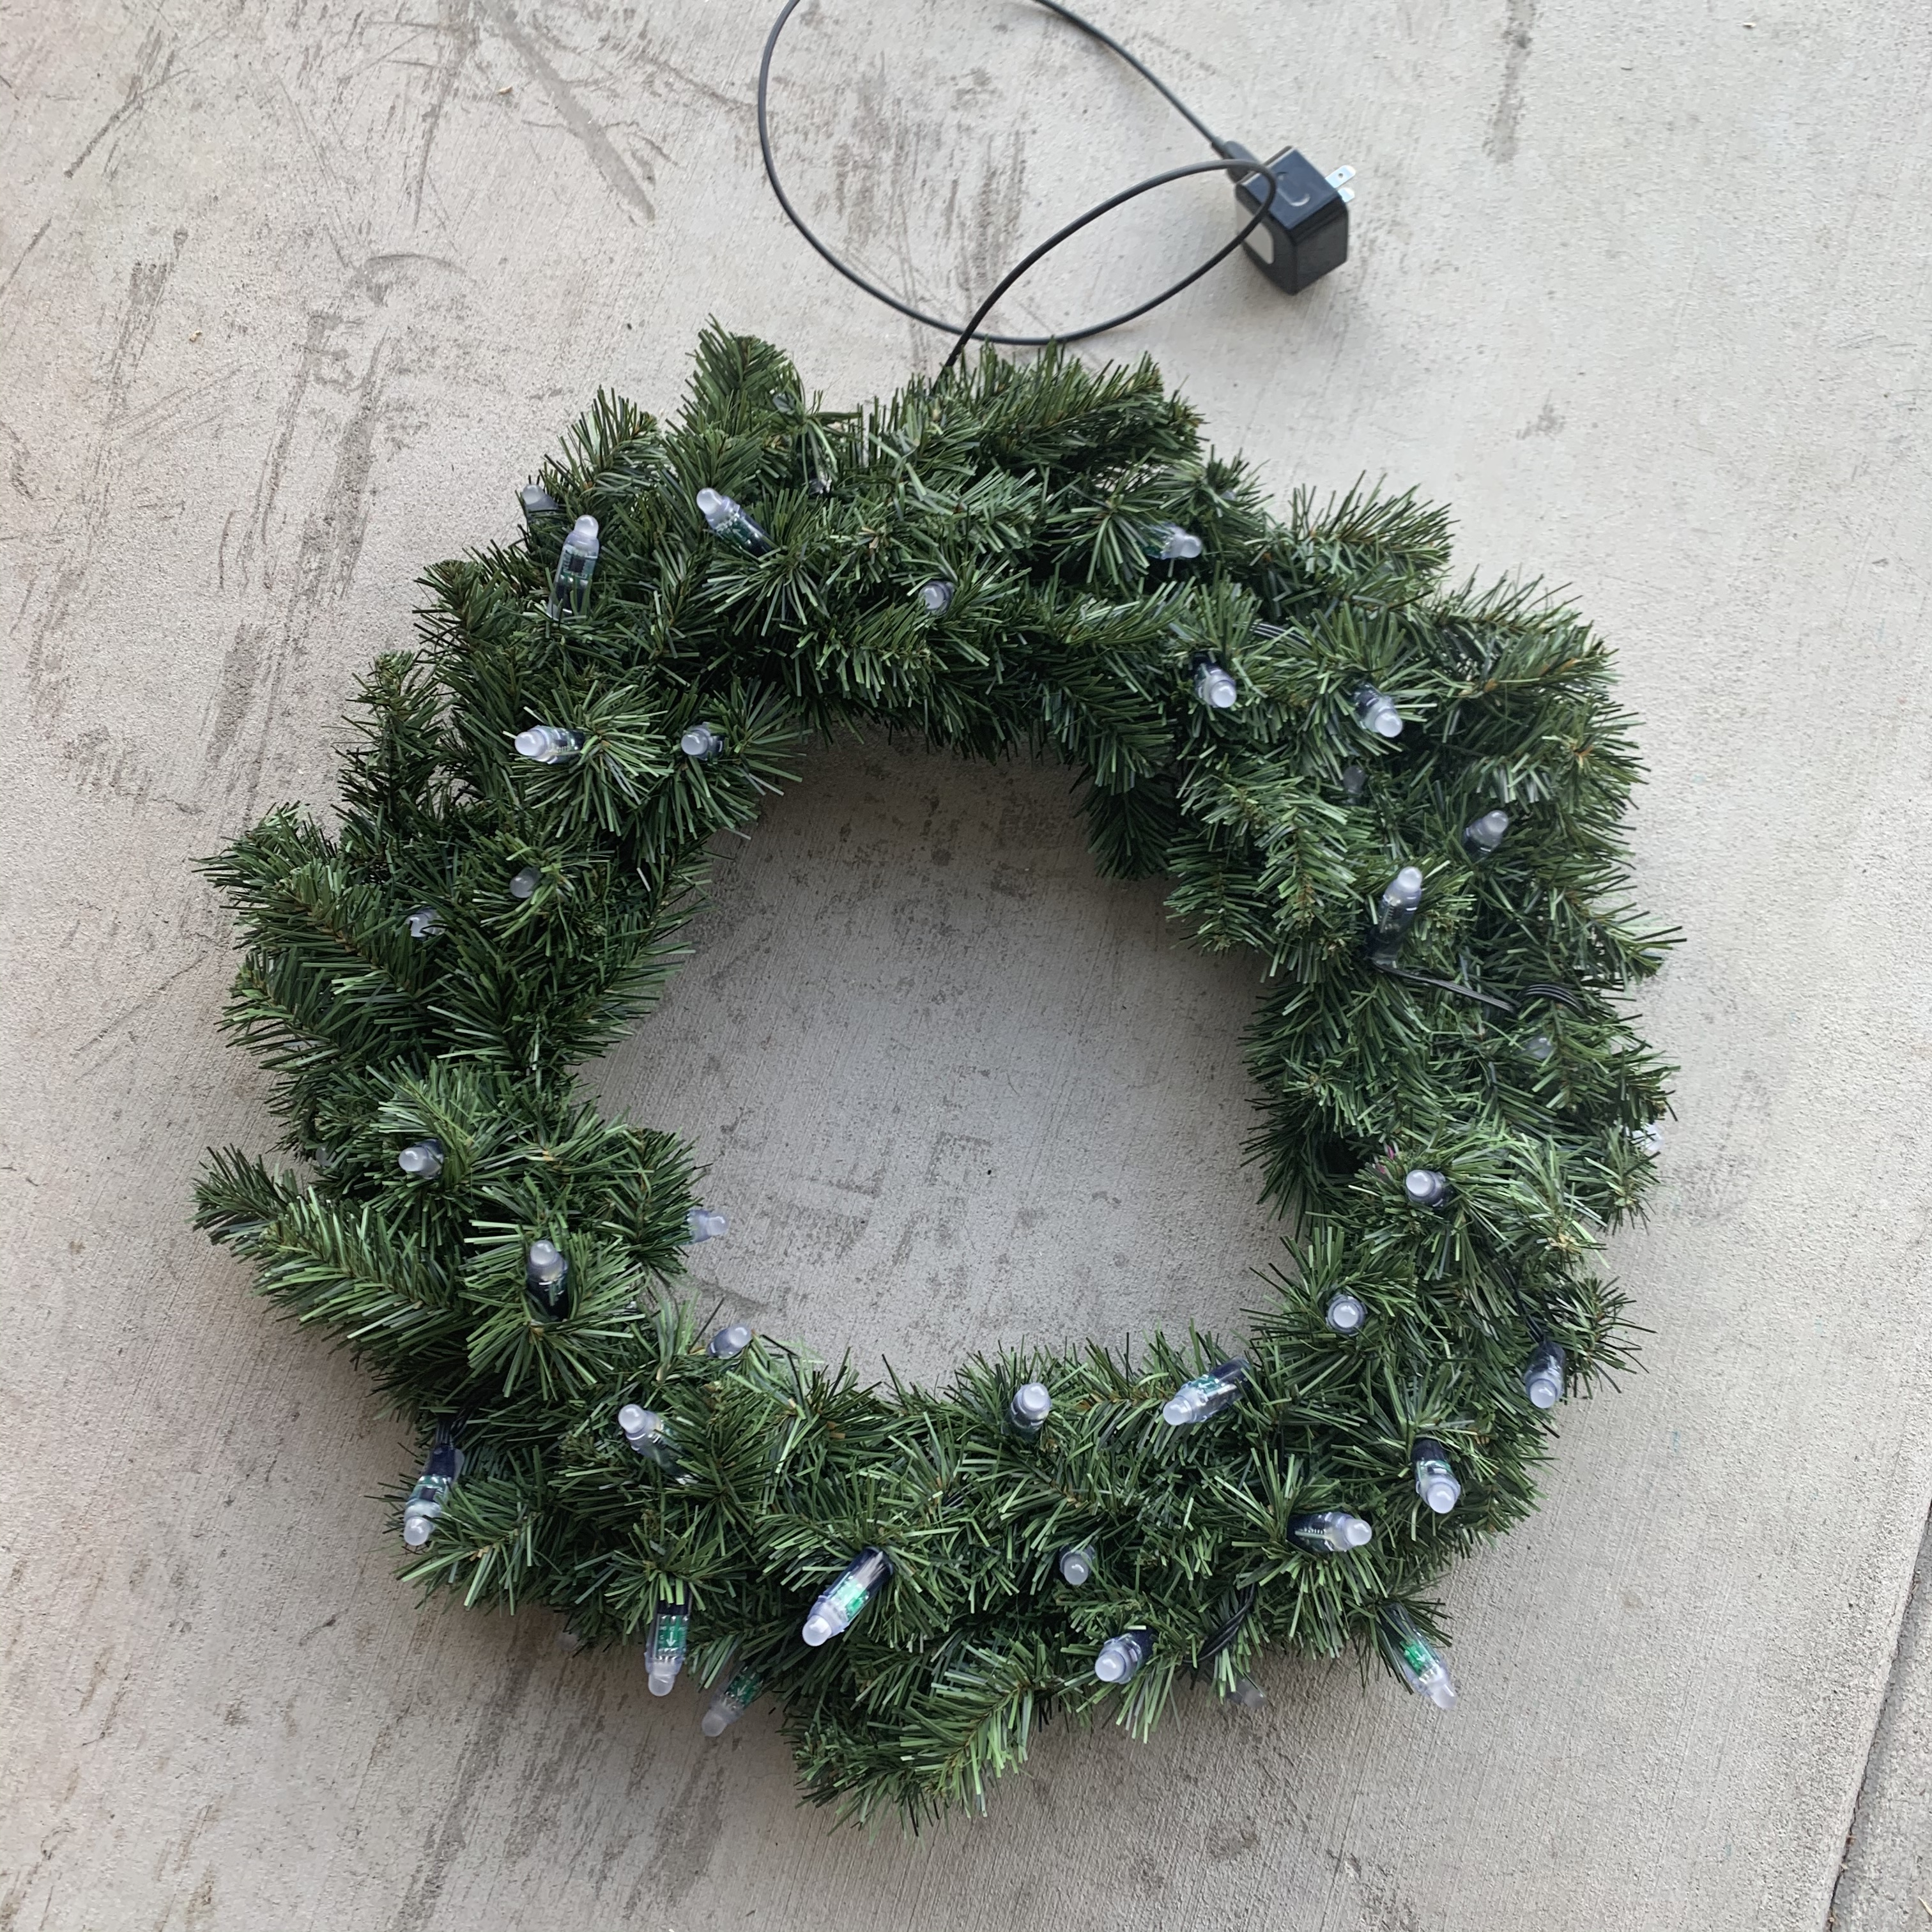
Front of wreath with WS2811 LEDs and USB cable
Install
After that it was as simple as hanging the wreath in place and getting power to it.
I already have power in my attic for my roofline lights. I ran the USB cable through the attic vent and plugged in to that outlet. This allowed me to have a really clean install with no wires showing.
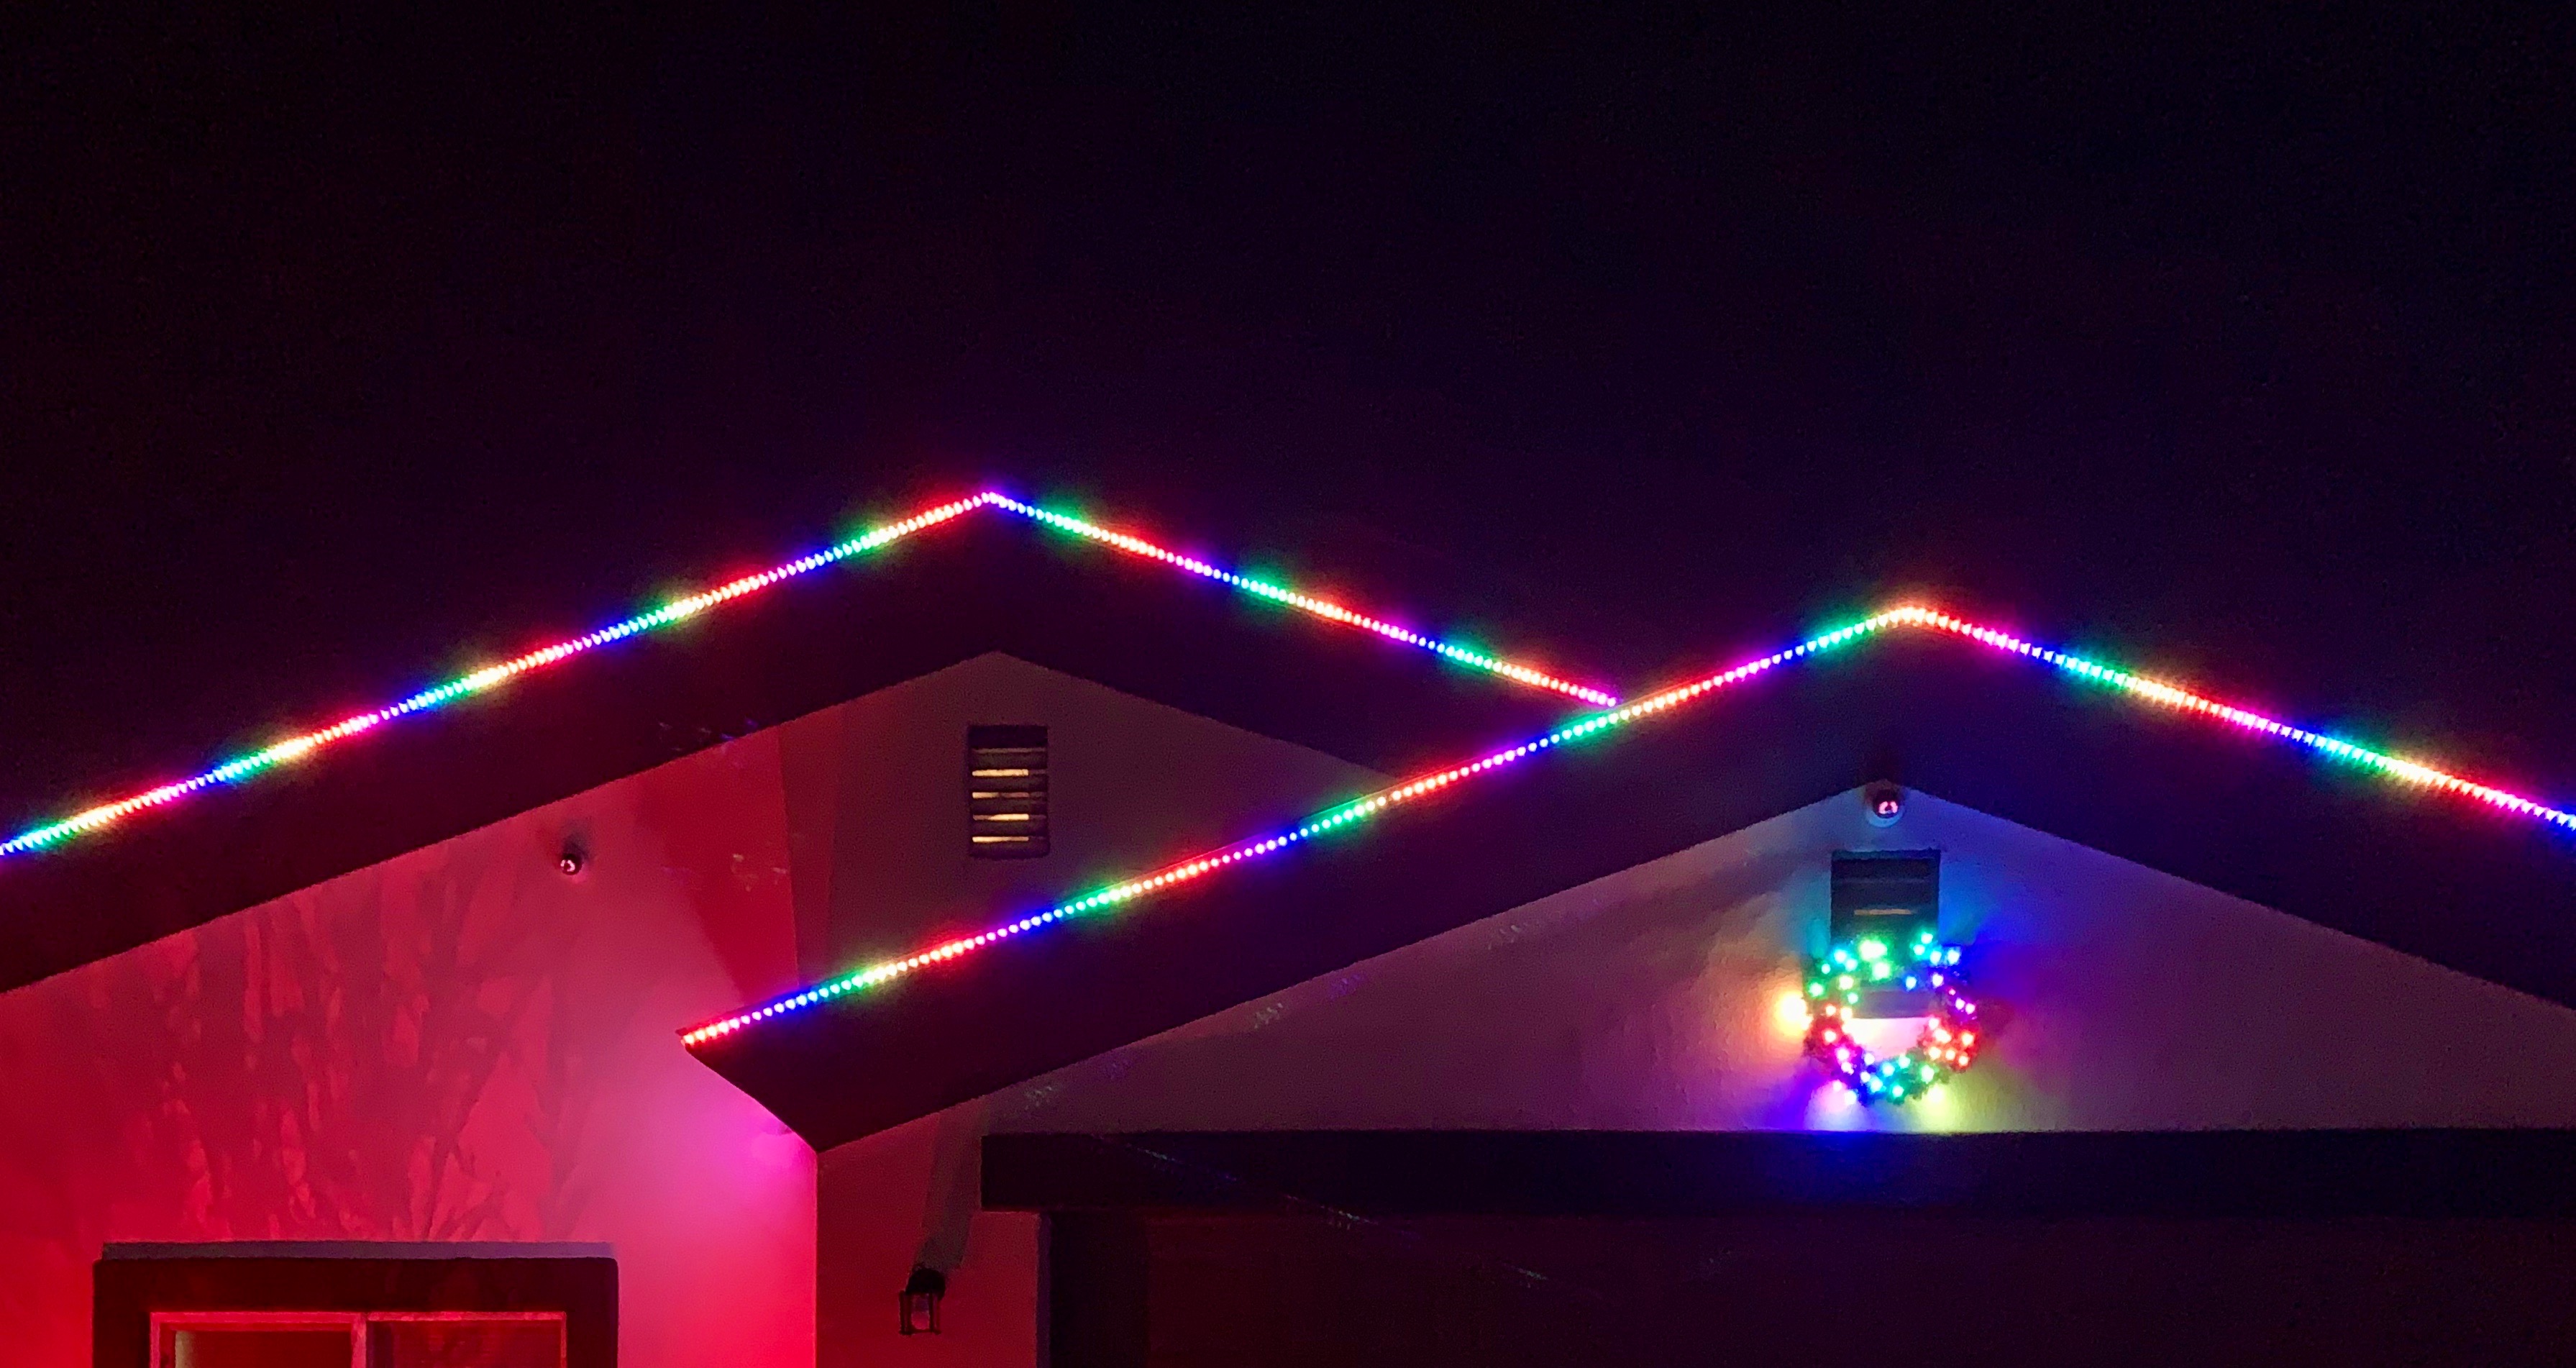
The finished product looks great at night…
Automate WLED With SmartThings
All of my exterior WLED lights are controlled by SmartThings and webCore. They are set to turn on automatically at sunset and they turn off at sunrise. It’s great not having to remember to turn them on.
Go Do It!
Hopefully this gave you some inspiration and an idea of just how easy it is to build something custom that looks really cool.
You don’t have to stop at a wreath. WS2811 and WS2812 LEDs are super versatile and WLED makes it really easy to control them. Others are even using WLED to automate an entire Christmas tree with Home Assistant. Go crazy!
Subscribe to my mailing list below or follow me on Twitter to be notified when I post. You can also Buy Me A Coffee to help keep me going!