Homelab Server Rack Mods With LEDs
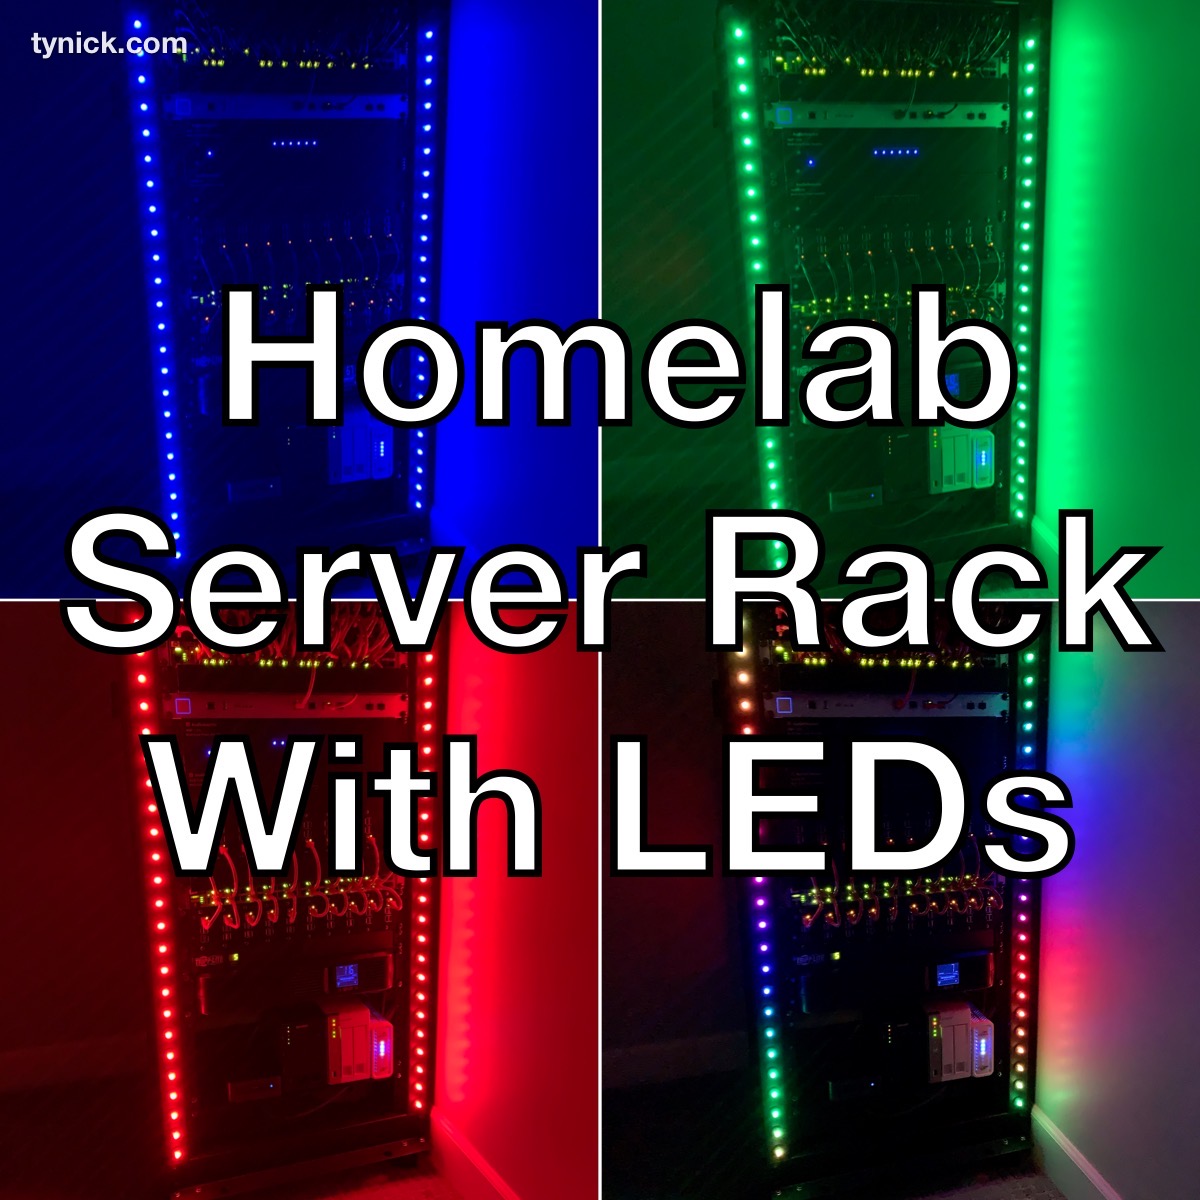
Modding The Server Rack in My Homelab With LEDs
I guess the first question is why.
One of my favorite subreddits is a place called r/homelab/. It’s filled with people who love to do the same nerdy stuff that I do.
Normally we just install enterprise grade servers/network equipment in our homes but lately I’ve seen an increase in doing really cool stuff to make them look cool. Sort of like case mods for gaming PCs.
A lot of the people that are doing these mods have nicer racks than me. They are almost always fully enclosed racks with a glass or mesh door. This really helps with hiding wires so they cant be seen from the side of the rack. An advantage of the door is being able to hide your LED install so you just see the nice glow of the awesome looking light.
My rack is a 4 post open rack. This rack to be exact. I didn’t have the money for anything better when I started my homelab.
There is nothing wrong with the rack. It’s worked out great over the last few years. The depth is adjustable which is nice because I don’t have any enterprise servers anymore so there is no need for me to keep it at full depth and waste space.
I do eventually want to upgrade to a fully enclose rack but for now I needed to figure out how to make my current rack more awesome.
WLED API
I have been utilizing WLED a lot lately. I knew that I wanted to use that as my controller.
For now the lights will just be for vanity but using WLED in the ESP8266 as a controller will allow me to do some cool things down the road that are actually useful. I’d like to use the LEDs as output to indicate certain things.
Here are a few of the ideas I have to make the LEDs display.
- Server room temperature
- ISP monthly data cap usage
- Server CPU usage
- NAS disk space usage
All of these ideas will require that I write scripts. The scripts will manipulate the LEDs using the WLED HTTP Request API.
Parts List
Here is a full list of parts used in this project.
| Part | Comment | Link |
|---|---|---|
| 4 Post 25U Server Rack | I have owned this rack for 4+ years and it has served me well. I definitely recommend it if you are just starting out and have a tight budget. | 4 Post StarTech.com 25U Server Rack |
| Rubber Grommets | These grommets saved the day for me. I am extremely happy with how they look with the LED seated inside. | 50 Rubber Grommets |
| WS2811 LEDs | 50 LEDs per string. It’s very easy to cut to a length that suits your project needs. | WS2811 RGB Individually Addressable LEDs |
| 3 Wire LED Cable | 3 wire cable inside of a white jacket for extending your LED runs or splicing them together. Definitely a must if you plan on doing projects like this. | 3 Wire LED Cable |
| NodeMcu ESP8266 Module | This is the brains of the operation. Install WLED and it will do the rest. This is a 3 pack. If you are anything like me, you are going to use them all over the house. | NodeMcu ESP8266 Module |
| Project Box | I used this to house my NodeMcu ESP8266 Module. Drill a small hole for the USB cable and the WS2811 LED wires. It’s fairly inexpensive for a 5 pack. Definitely worth it to protect the LED controller. | Black Waterproof Plastic Project Box |
| Micro USB Data Cable | I’m sure you already have a few of these sitting in your junk drawer. These particular cables also carry data so they can be used to flash the ESP8266 and to power it. | Micro USB Data Cable |
| USB Wall Charger | This USB port will output 5V and up to 2.4 Amps. This is enough to power our controller and out lights. | USB Wall Charger 2.4 Amp |
Tool List
Here is a full list of tools needed to complete this project (the right way).
| Tool | Comment | Link |
|---|---|---|
| Drill Press | I cant speak highly enough of this drill press. I was a bit nervous at first because of the price but it has great reviews and a ton of features. It got the job done and I look forward to using it again. | WEN 4210T 10 In. Drill Press with Laser |
| Drill Bit | This is the bit that I ended up using to drill the 3⁄4” holes in the steel. I just kept it lubricated throughout the process and it lasted. | Neiko Titanium Step Drill Bit |
| Lubricant | This is the lubricant that I used to keep the drill bit from getting burned out. I don’t know if there is something better out there but this definitely did the job for me. Would use again! | Multi-Purpose PTFE Lubricant |
| Clamps | Clamps were my best friend during this whole project. If you need something to stay in place, you need clamps. | JORGENSEN Steel Bar Clamps 2 Pack |
| Metal Files | These ripped right through the metal burrs that the drill bit left behind. | 6 Piece Needle File Set |
Planning The Install
First I needed to decide what type of LED to use for the project.
WS2812 strip LEDs are soldered together on a strip with an adhesive backing. You basically just stick them wherever you need them and then wire them up. They are very easy to install if your application allows it.
WS2811 string LEDs (bullet style) look closer to traditional Christmas lights. They are usually used on signage and Christmas decorations. The LED housing has a small edge that allows them to “click” into place when installing. This means that you will need to drill a hole to install them.
Because I don’t have a door to conceal the WS2812 strips, I thought it would look cheap to just stick them on the front posts of my rack.
I decided that drilling holes in the 2 front posts would look the nicest and more permanent (because it would be).
An issue with the LEDs being on the exterior is that everything needs to be super precise. If the LEDs aren’t perfectly inline or spaced out, it will definitely show and won’t look good. I need to build a jig or template that will allow me to drill a perfectly repeatable hole.
I had never needed to drill through steel before but I asked a few people who had experience for advice. The main things I was told were: use the proper type of bit, lubricate the bit, and drill slowly.
It was time to begin the LED mods to my server rack!
Modding My Server Rack
I found some drill bits that said they would work for metal and some PTFE lubricant to increase the longevity of the bit at Home Depot and brought them home.
A test hole needed to be drilled in an inconspicuous spot on my rack. There was a lip on the bottom rear of the rack that I decided would be the test zone.
I started with the 1⁄2” hole right off the bat but quickly realized that I should predrill with something smaller first. After that it the 1⁄2” bit worked pretty well.
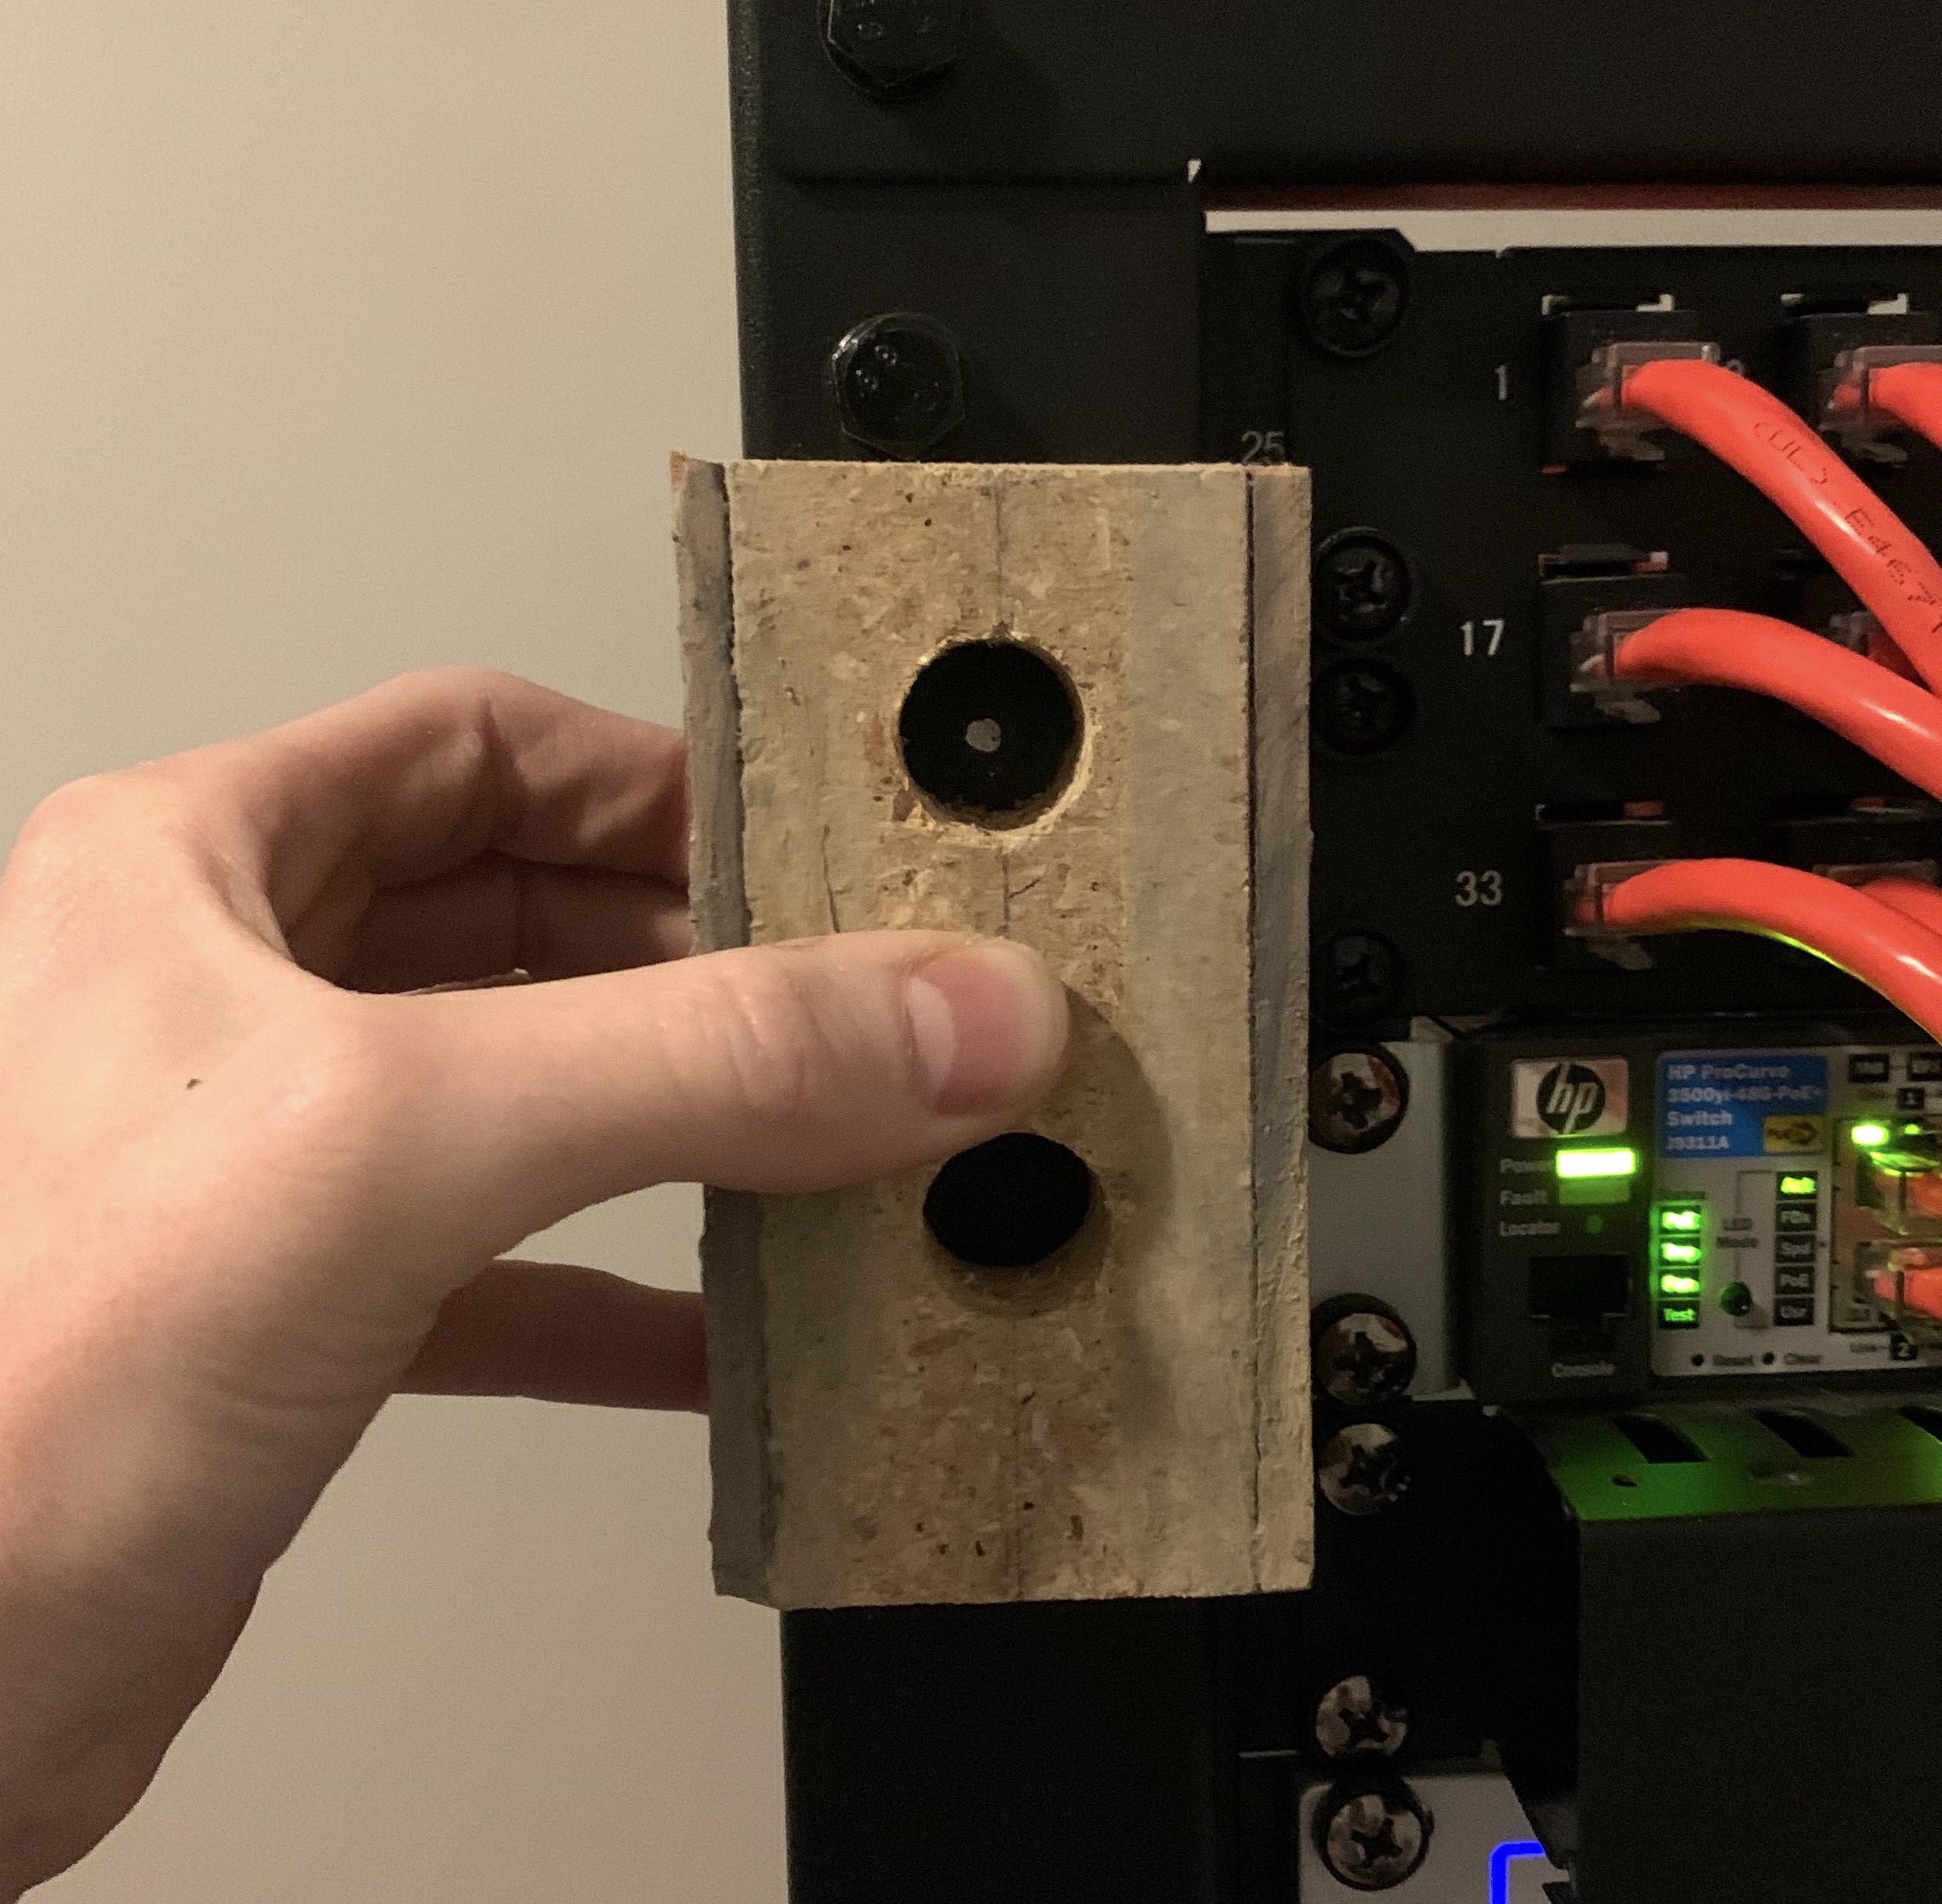
I pressed the LED housing into the hole. The part that “clicks” into place didn’t really work. The thickness of the steel on my rack was larger than the area that the WS2811 LED is supposed to sit in.
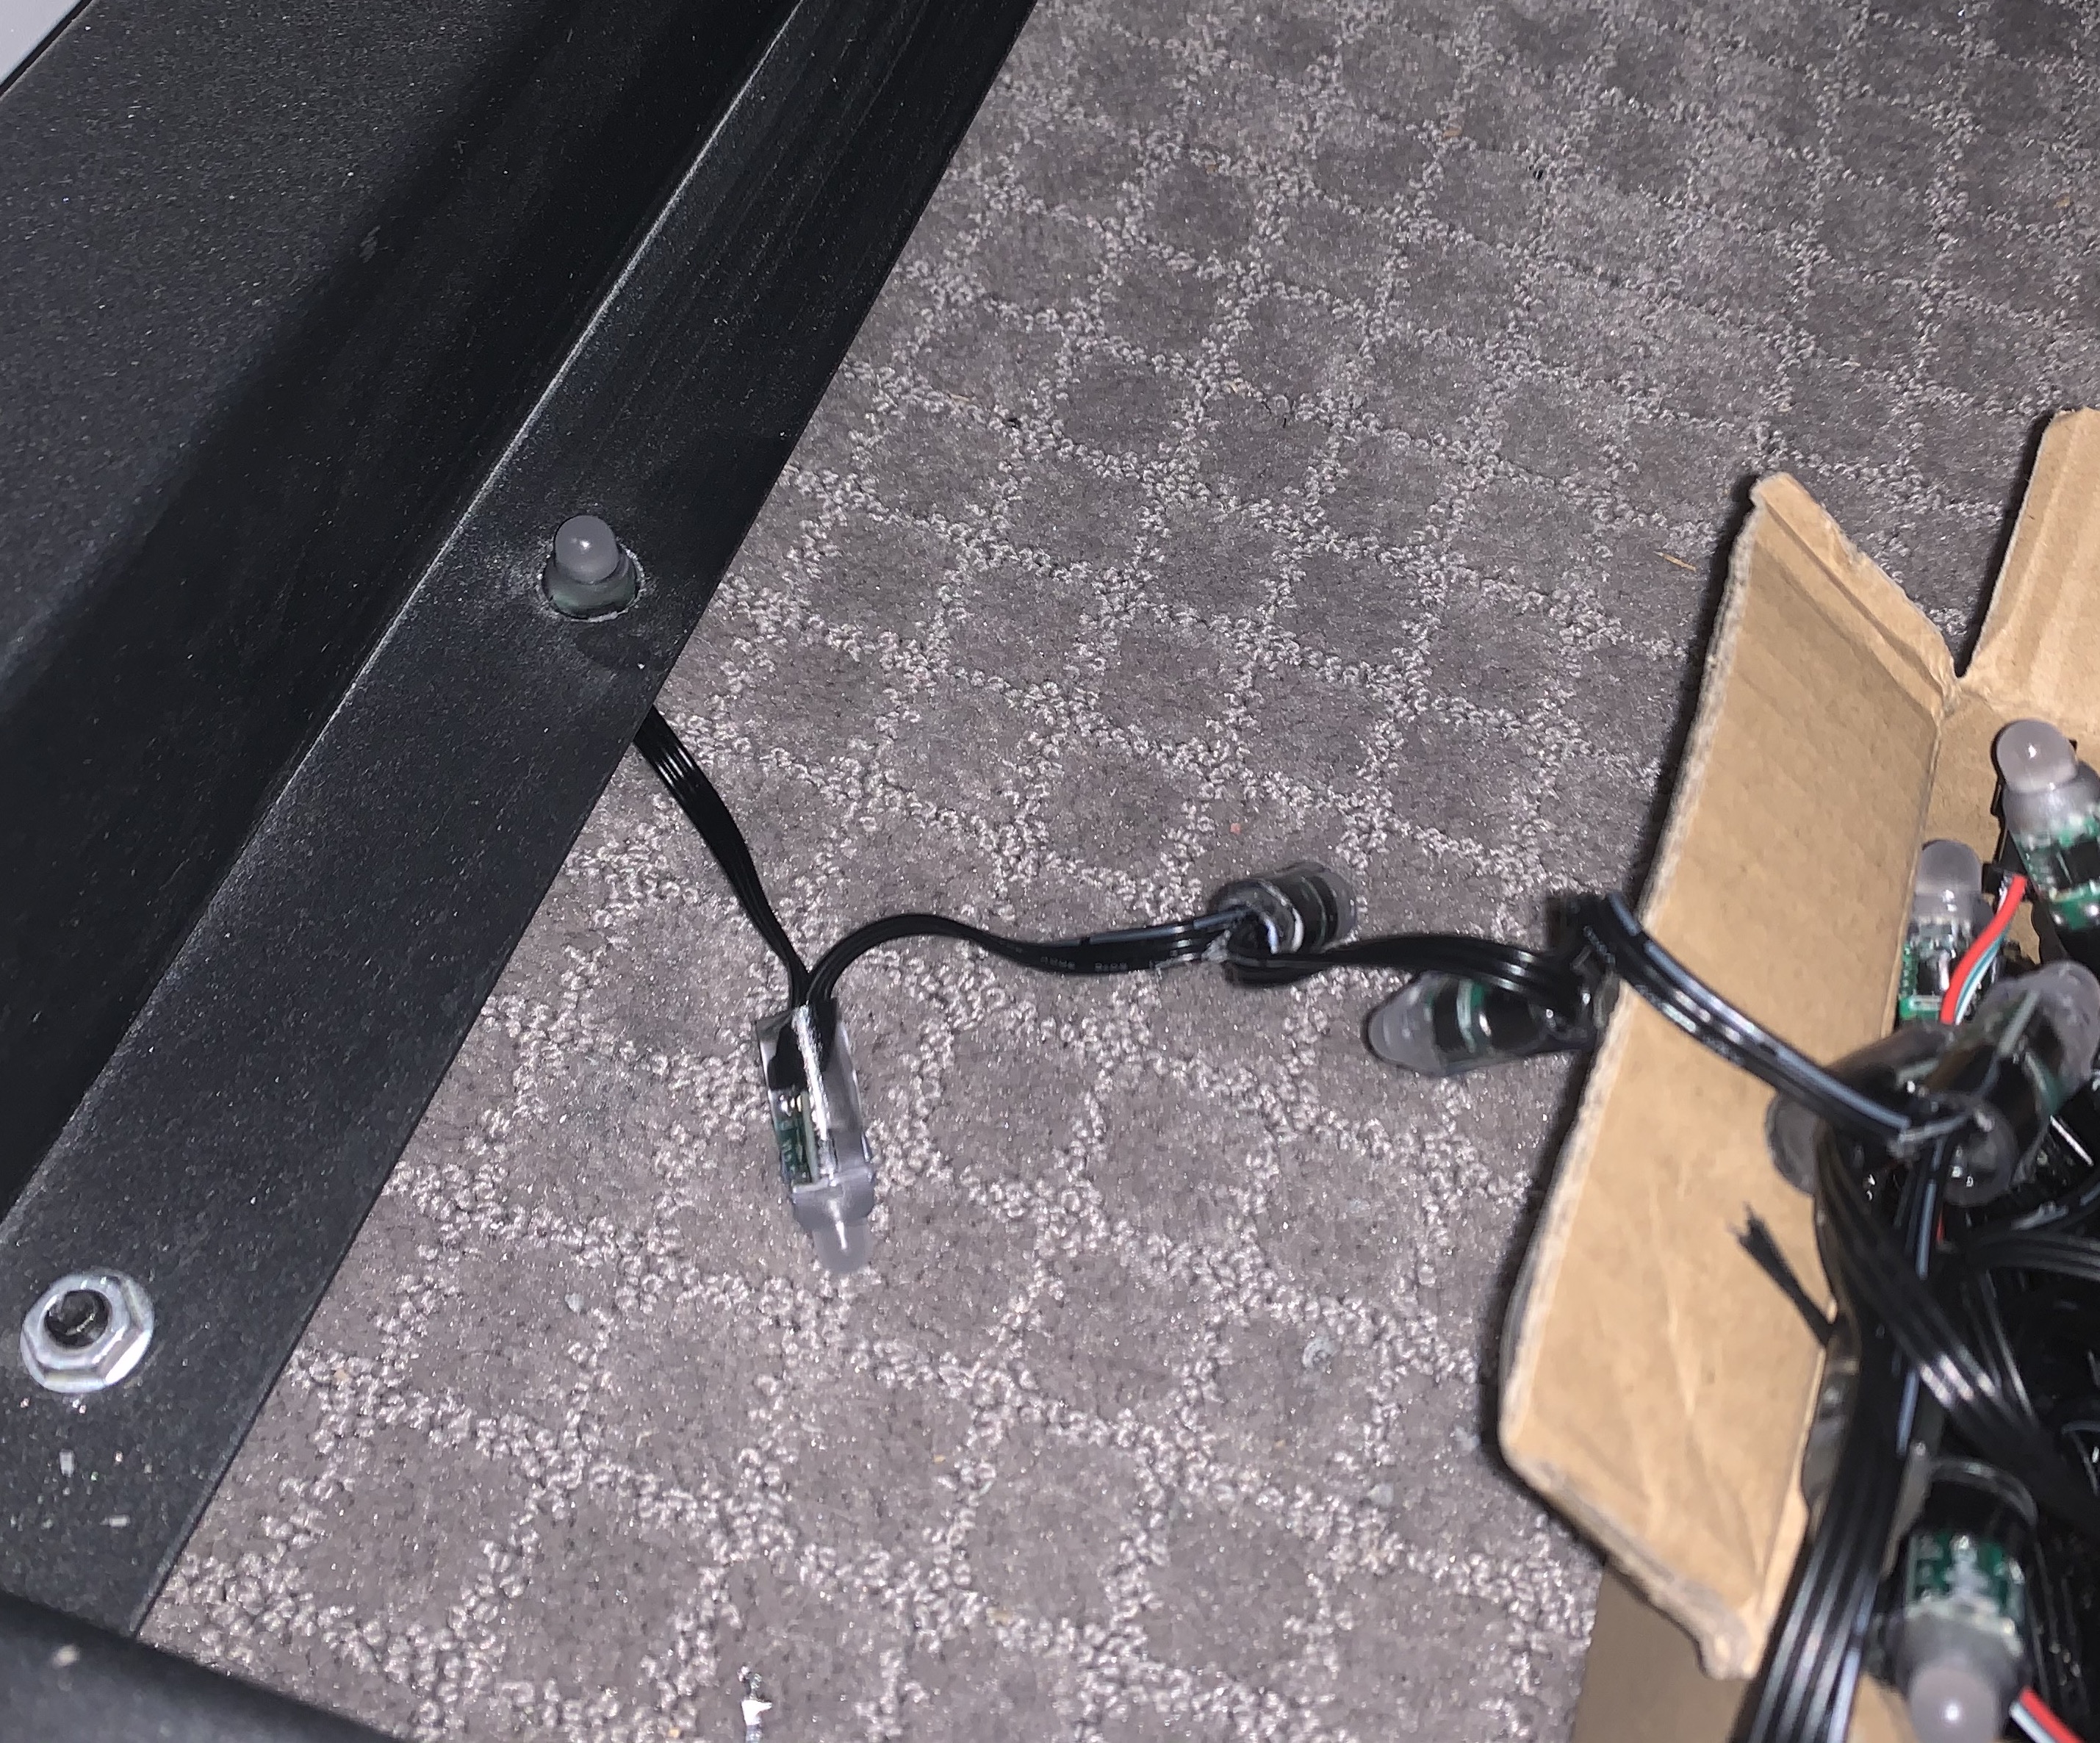
WS2811 LED in drilled hole.
The LED didn’t really sit straight in the hole. This wasn’t really acceptable to me. I didn’t want to keep going with this method. Good thing it’s just a test hole!
I thought for a while and decided to see if I could find a grommet that was the exact thickness of my rack.
Amazon to the rescue! I found grommets had a groove width of 11⁄32” (thickness of steel) and an inside diameter of 1⁄2” (diameter of LED housing).
The issue was that the grommet had a groove diameter of 3⁄4”. That means I needed to start drilling holes that are 3⁄4” into the steel. That kind of sucks, but whatever it takes to have a sweet rack…I guess.
The grommets arrived a few days later and I went to town!
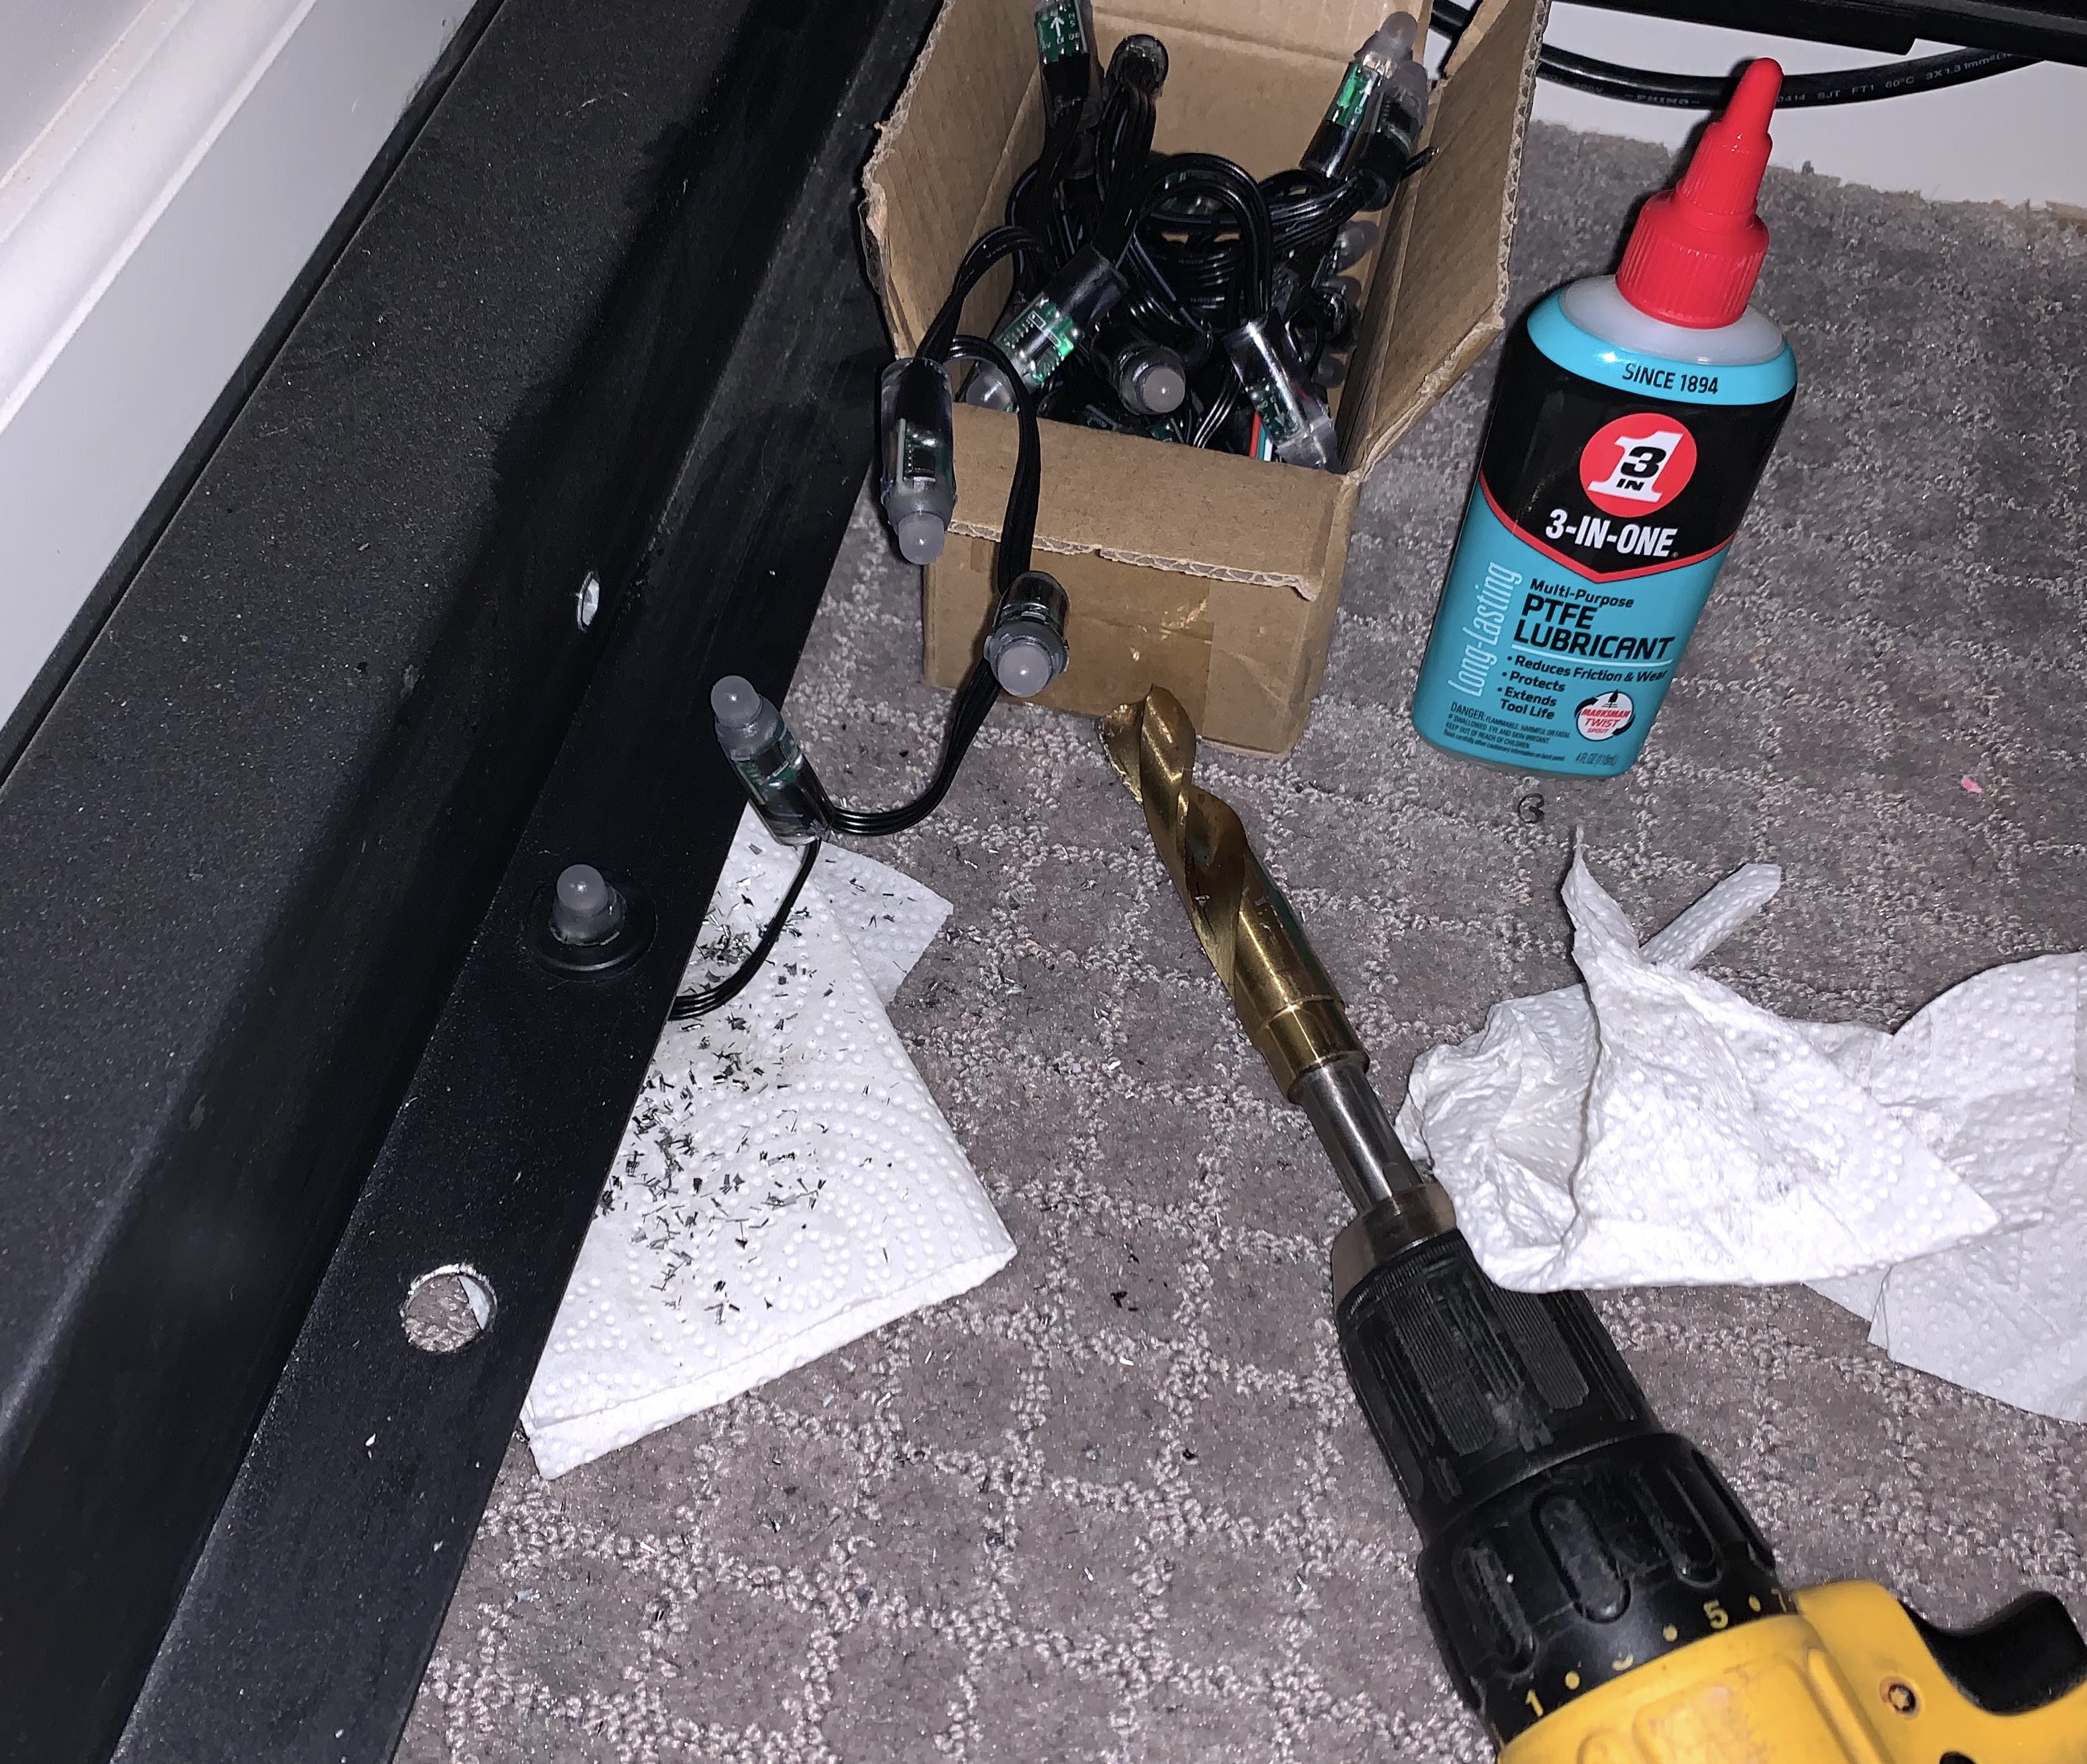
WS2811 LED with grommet
The grommet was a definite success!
It fit perfectly around the steel and the LED pushed in with slight resistance which allowed me to position it at exactly the depth I want.
Now I need to build the jig and we are good to go!
Failure
I measured out the width of the front posts and cut a piece of 3⁄4” board to that size. Then I attached some sides to the board so it wouldn’t stray left/right and I could just slide it up and down the rack post while drilling.
Test fitting the jig
The jig was perfectly spaced. No play on the sides at all.
It was way too long for no reason at all. So I cut it down to a smaller size, drilled holes to guide the drill bit and then glued it back together.
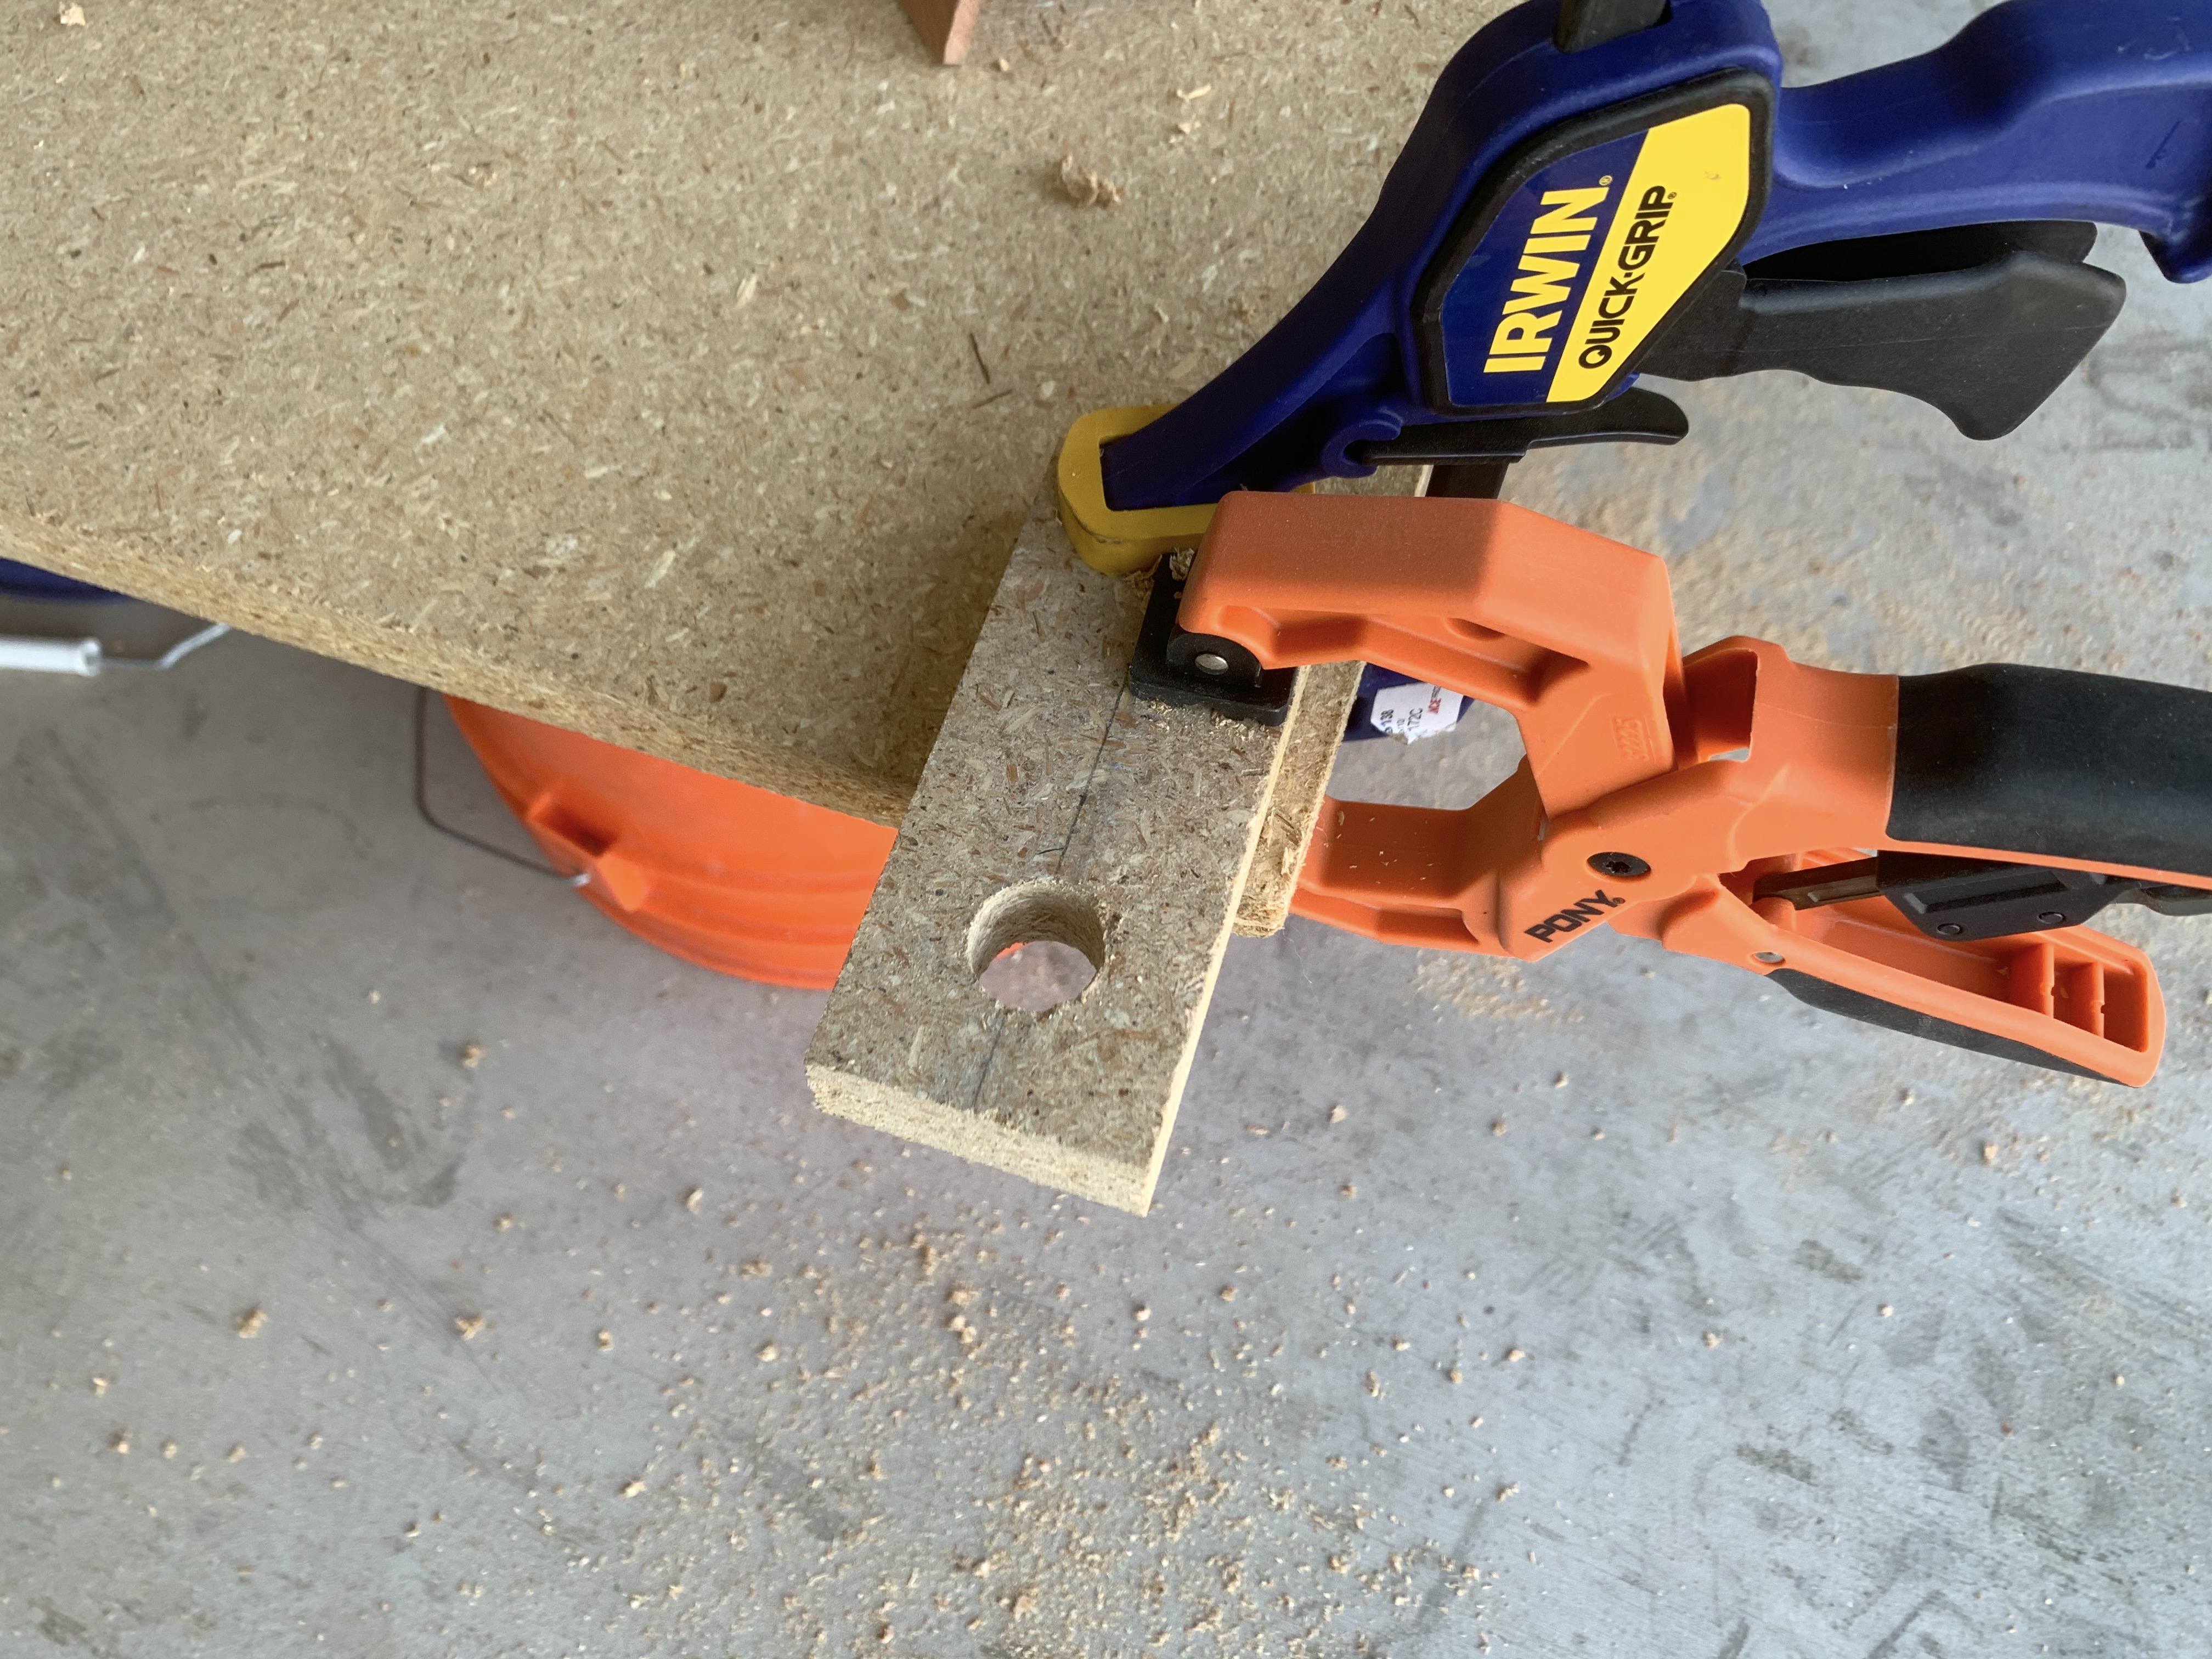
Drilling holes down the center of the jig.
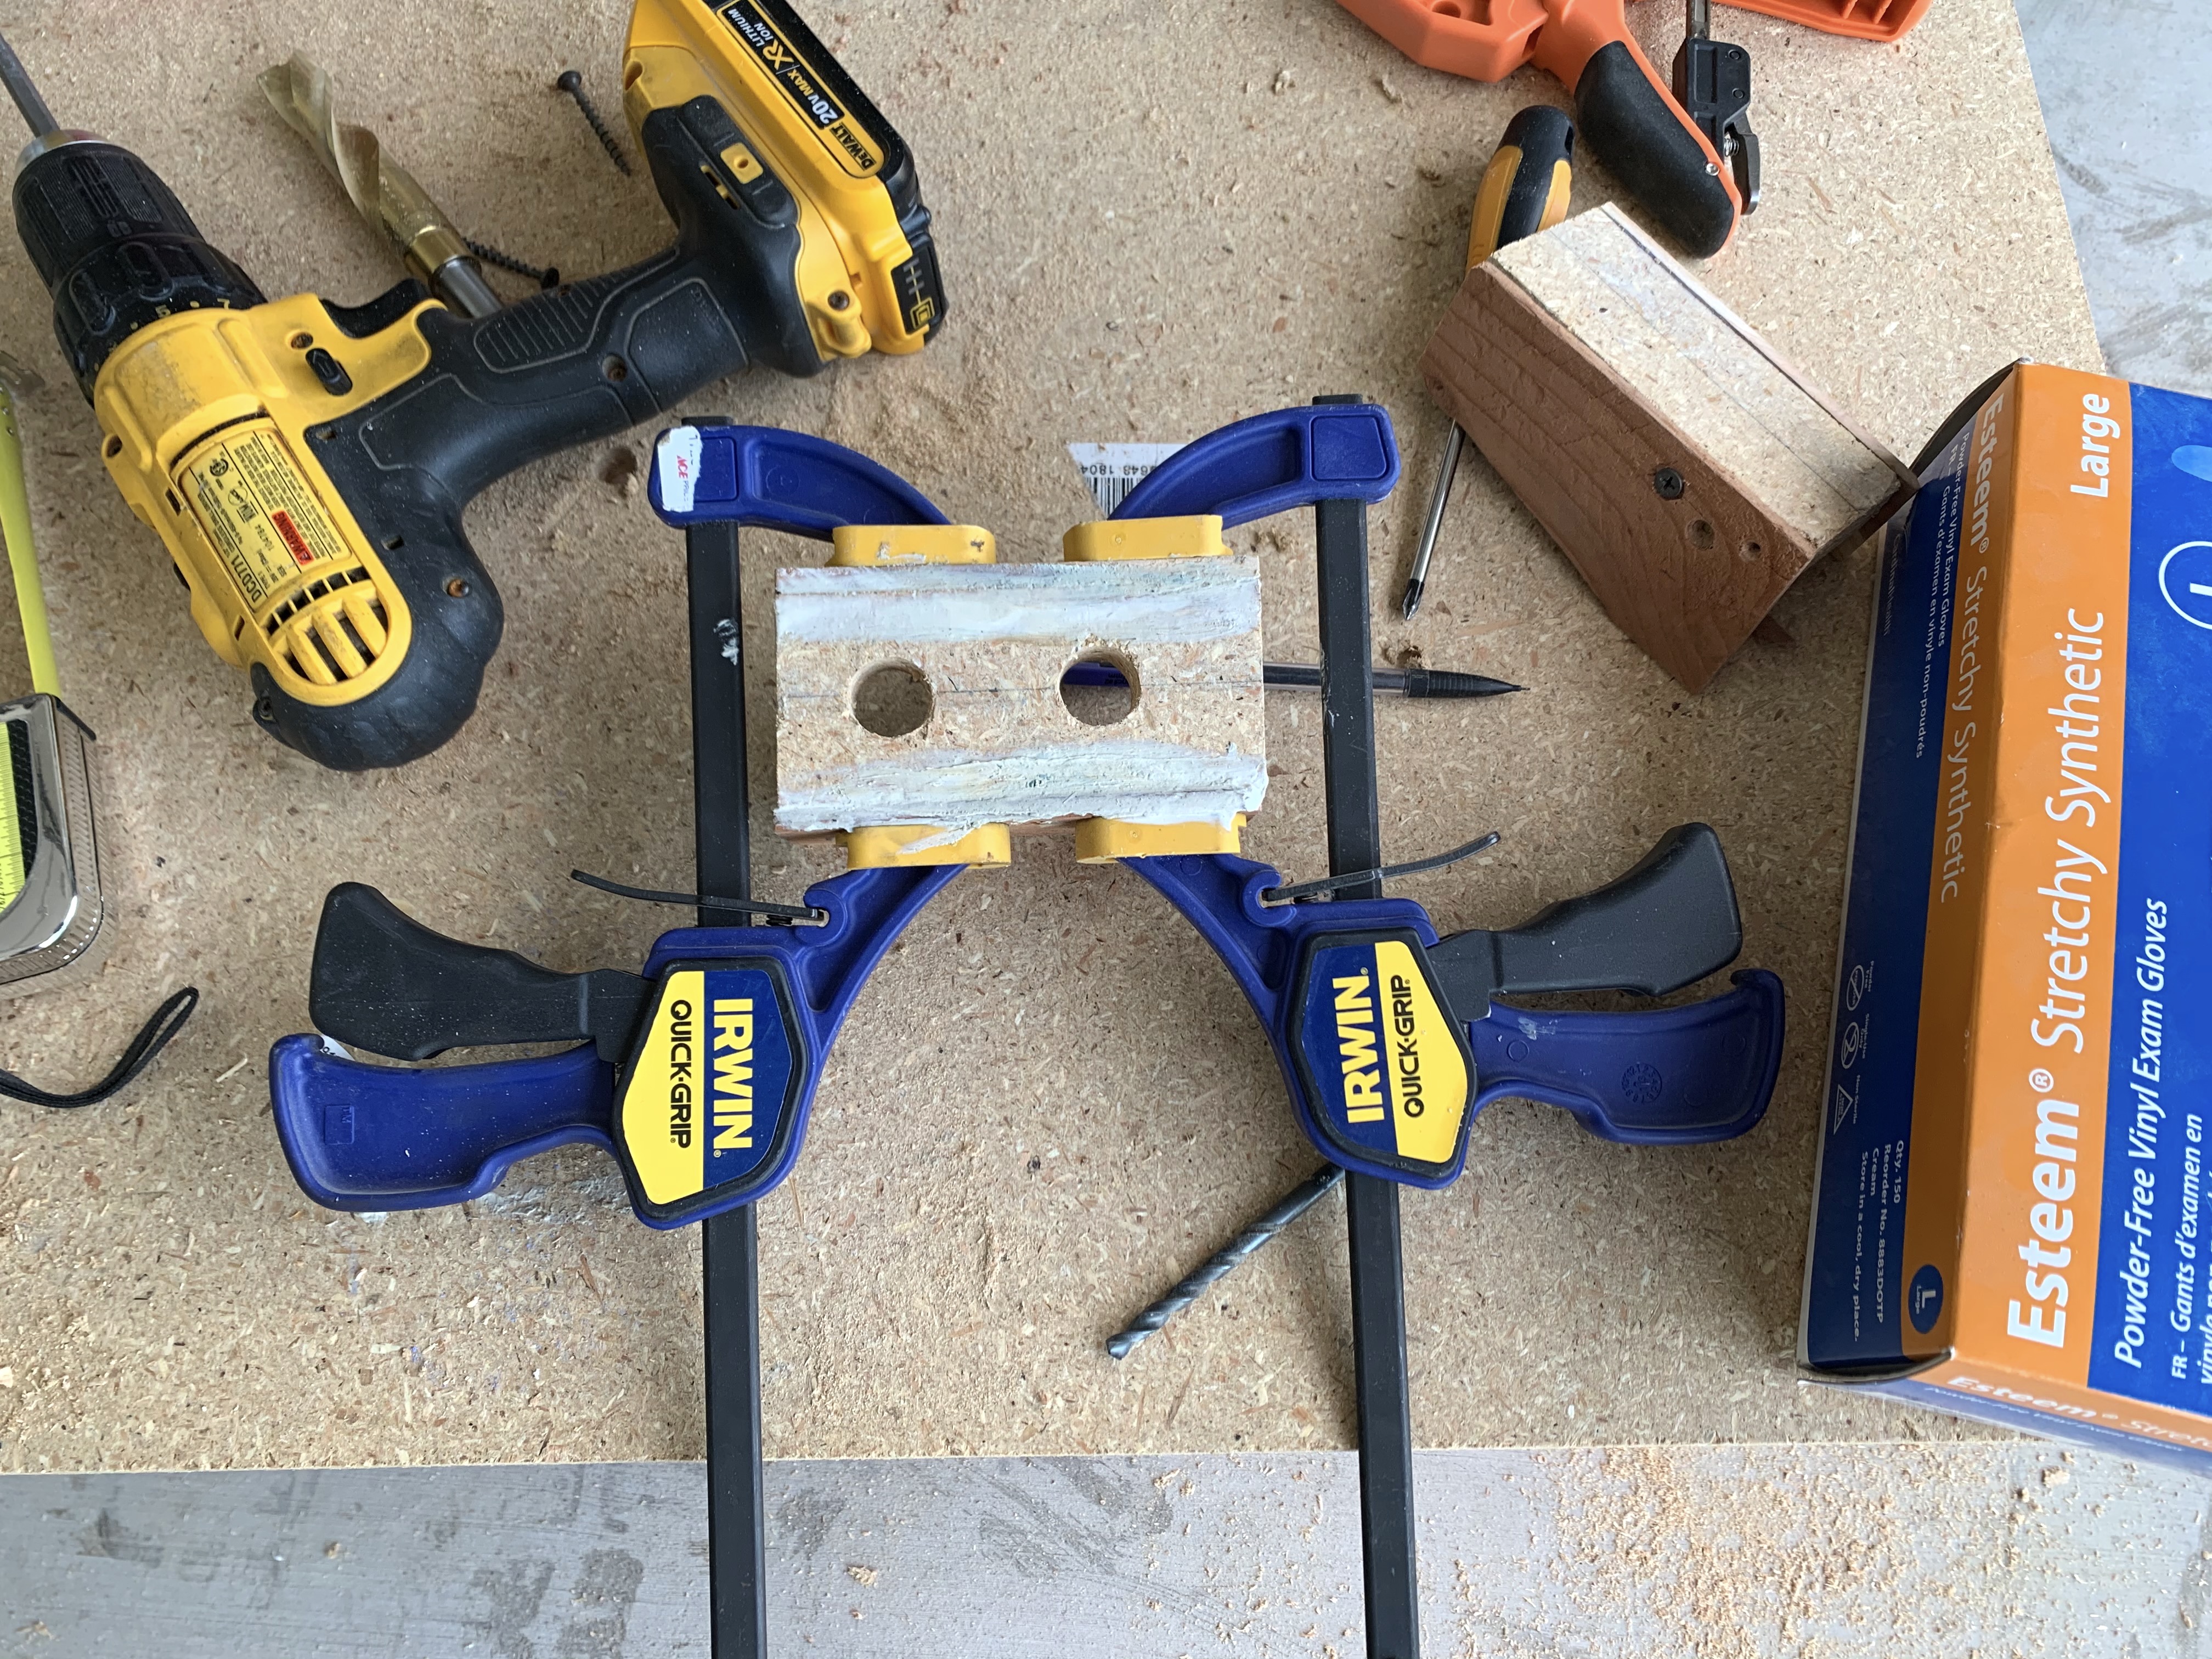
Gluing the jig together.
With the jig complete it was finally time to start drilling out the holes in the front posts of the server rack.
I started at the top of the rack post and planned to work my way down.
Once I got the first hole drilled, I would put a piece of dowel rod in the top hole so I didn’t need to do any measuring. Each hole would have the same spacing because the dowel rod would go in the hole before it.
Drilling the first hole with the jig.
The first hole in each post went pretty well. It looks great with the grommets in place. I thought I was home free.
The sides of the jig did start moving a bit because I didn’t let the glue dry for long enough. I went back into the garage to reglue the sides and install the dowel rod. Then I let it dry for a day.
The next day I started drilling a few more holes on the left rack post. The dowel rod was working exactly as planned to keep them spaced apart.
After a few holes I realized that my bit was cutting into the wood of the jig and making the hole bigger. This led to the bit straying.
It was at this point that I realized I screwed up.
Even with the grommets in place it was very obvious that these holes weren’t in a straight line.
Back To The Drawing Board
I just destroyed the front of my server rack. I wasn’t really sure what to do. I’d never be able to show my face on r/homelab again.
The 2 solutions I came up with were: buy an entirely new rack or email Startech to see if they would sell me just the 2 front posts (if they even did that).
As I was writing out my email to Startech to inquire about purchasing just the 2 front posts. I realized that there isn’t a “front post”. They were all just posts. The rack is identical in front and back. I could just rotate the rack and hide my errors.
The thing is…I still wanted to install LEDs in my server rack.
I knew from the start that the best way to do this project would be to take the entire rack apart. That’s a lot of work so I tried to avoid it. Which caused more work, as cutting corners usually does.
I had never used a drill press before but I knew I needed one to do the job right. I visited my friend amazon.com and had a budget drill press (with great reviews) at my house 2 days later.
I also found something called a “stepper drill bit” that you’ll see in a bit.
This is the part of the post where I do what I should have done in the first place.
Homelab Teardown
Luckily I had a few days off from being a real System Administrator this week. I was pretty excited when I realized that I would get to spend them playing a System Administrator at home. That’s just part of owning a homelab though.
I tore apart my entire homelab and brought the rack into the garage to try out my new drill press.
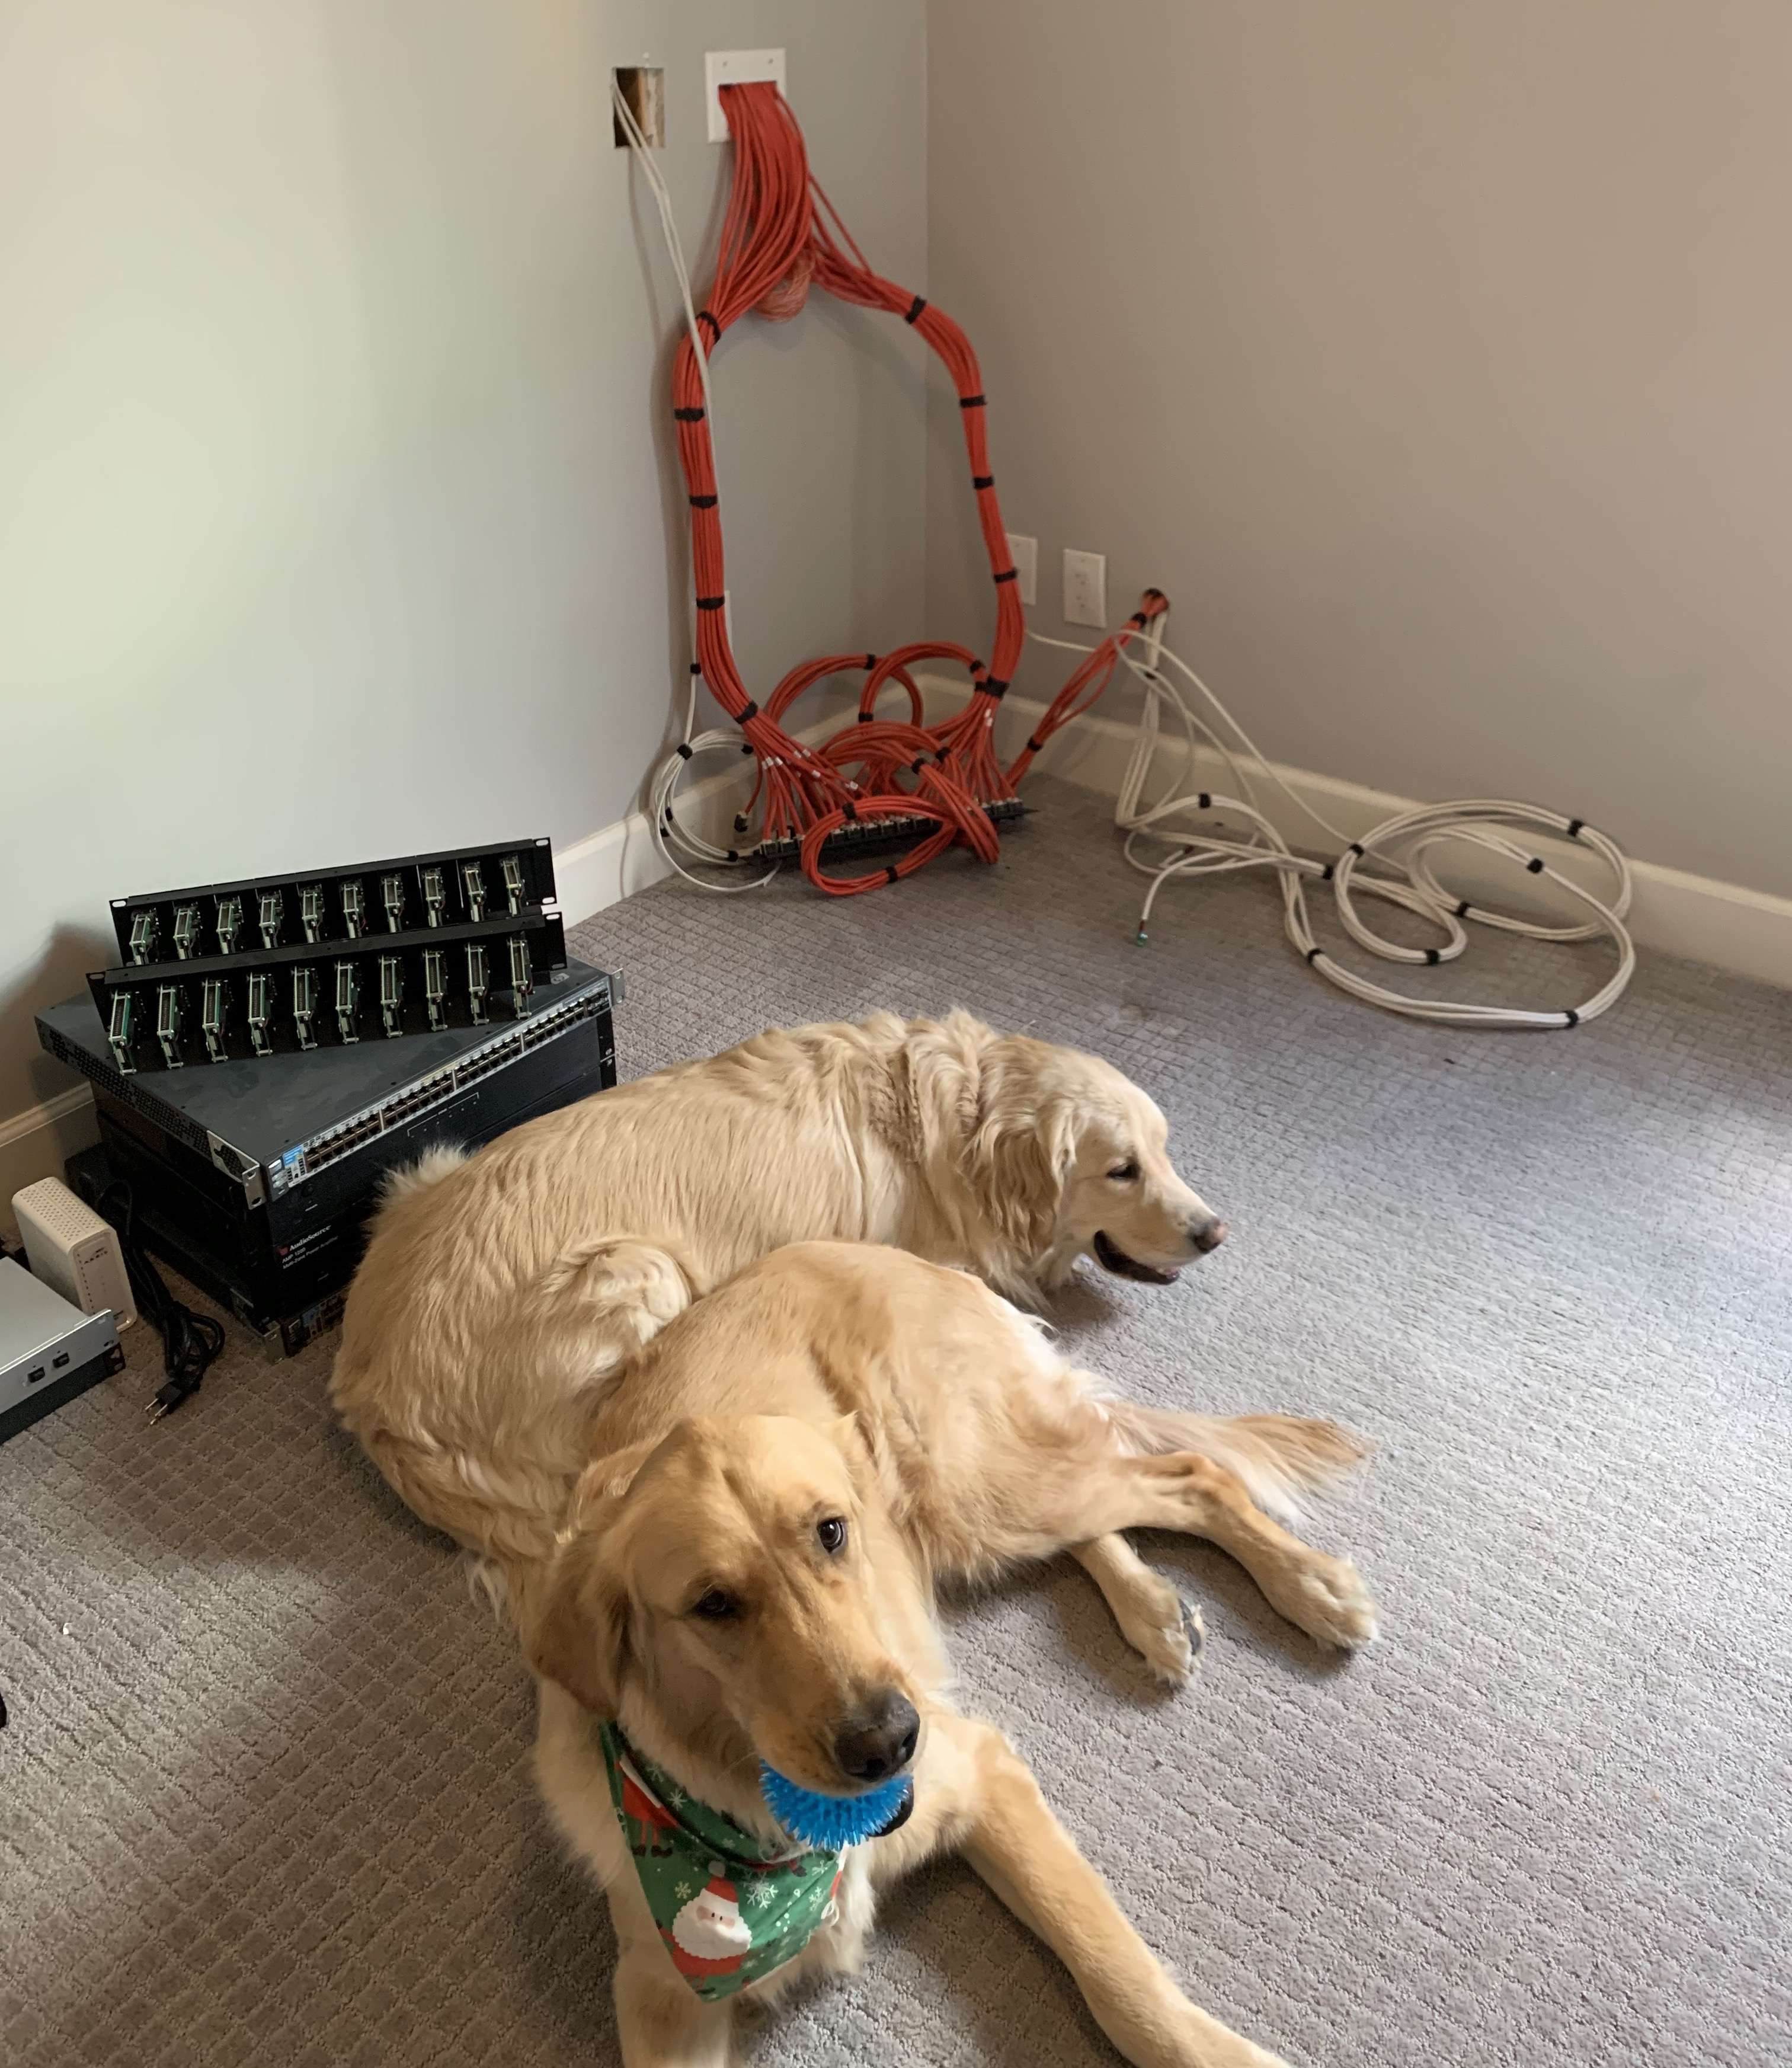
The dogs didn’t give a shit that the wifi was down.
The Right Tools For The Job
I disassembled the server rack and grabbed one of the posts that I had already ruined.
Once I got the post centered on the drill press, I clamped down wood on both sides of the server rack post. This ensured that the rack wouldn’t move from side to side.
The drill press I purchased had a laser that showed exactly where the hole would be drilled. I decided that I would use this to deal with my spacing issue.
Instead of manually measuring the spot for each hole, I would just position the laser in the center of each rack unit. Once I got the laser where I wanted it, I would clamp down the server rack post as well.
It was time to drill my test hole in the old server rack post with my new stepper bit.
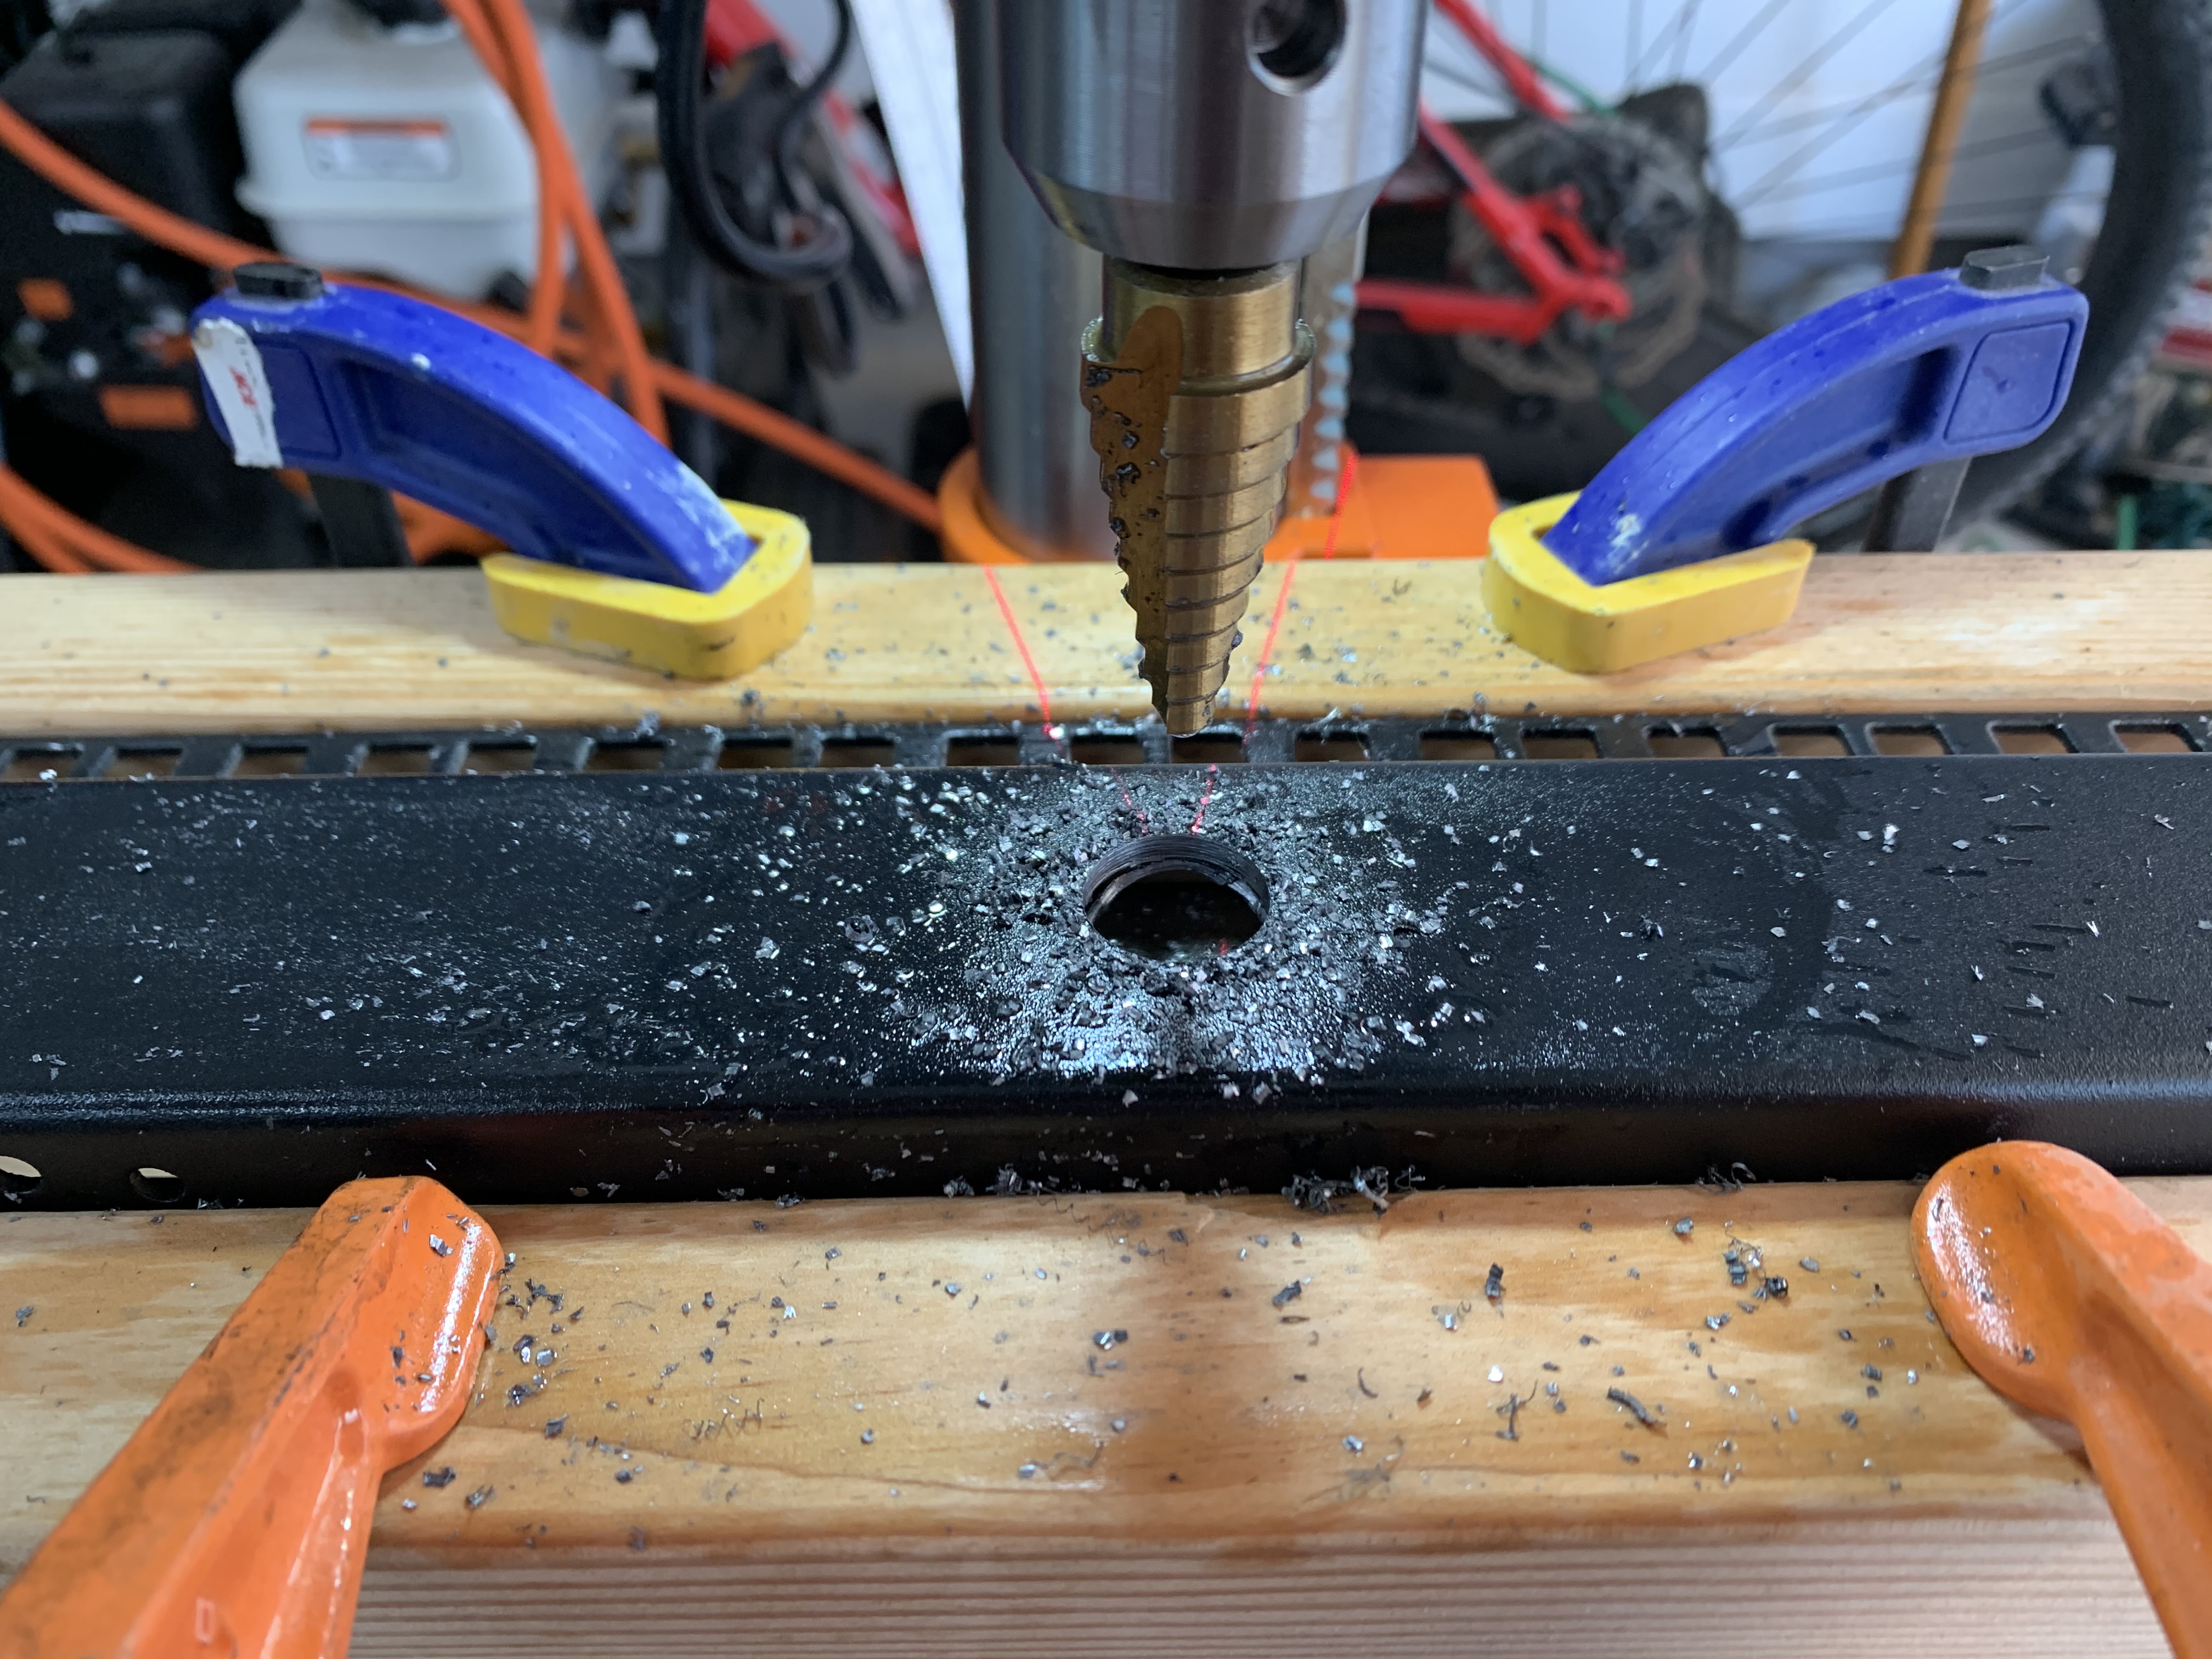
Test hole with drill press.
It went perfectly. The server rack post didn’t budge. Now it was time to move from dev to prod!
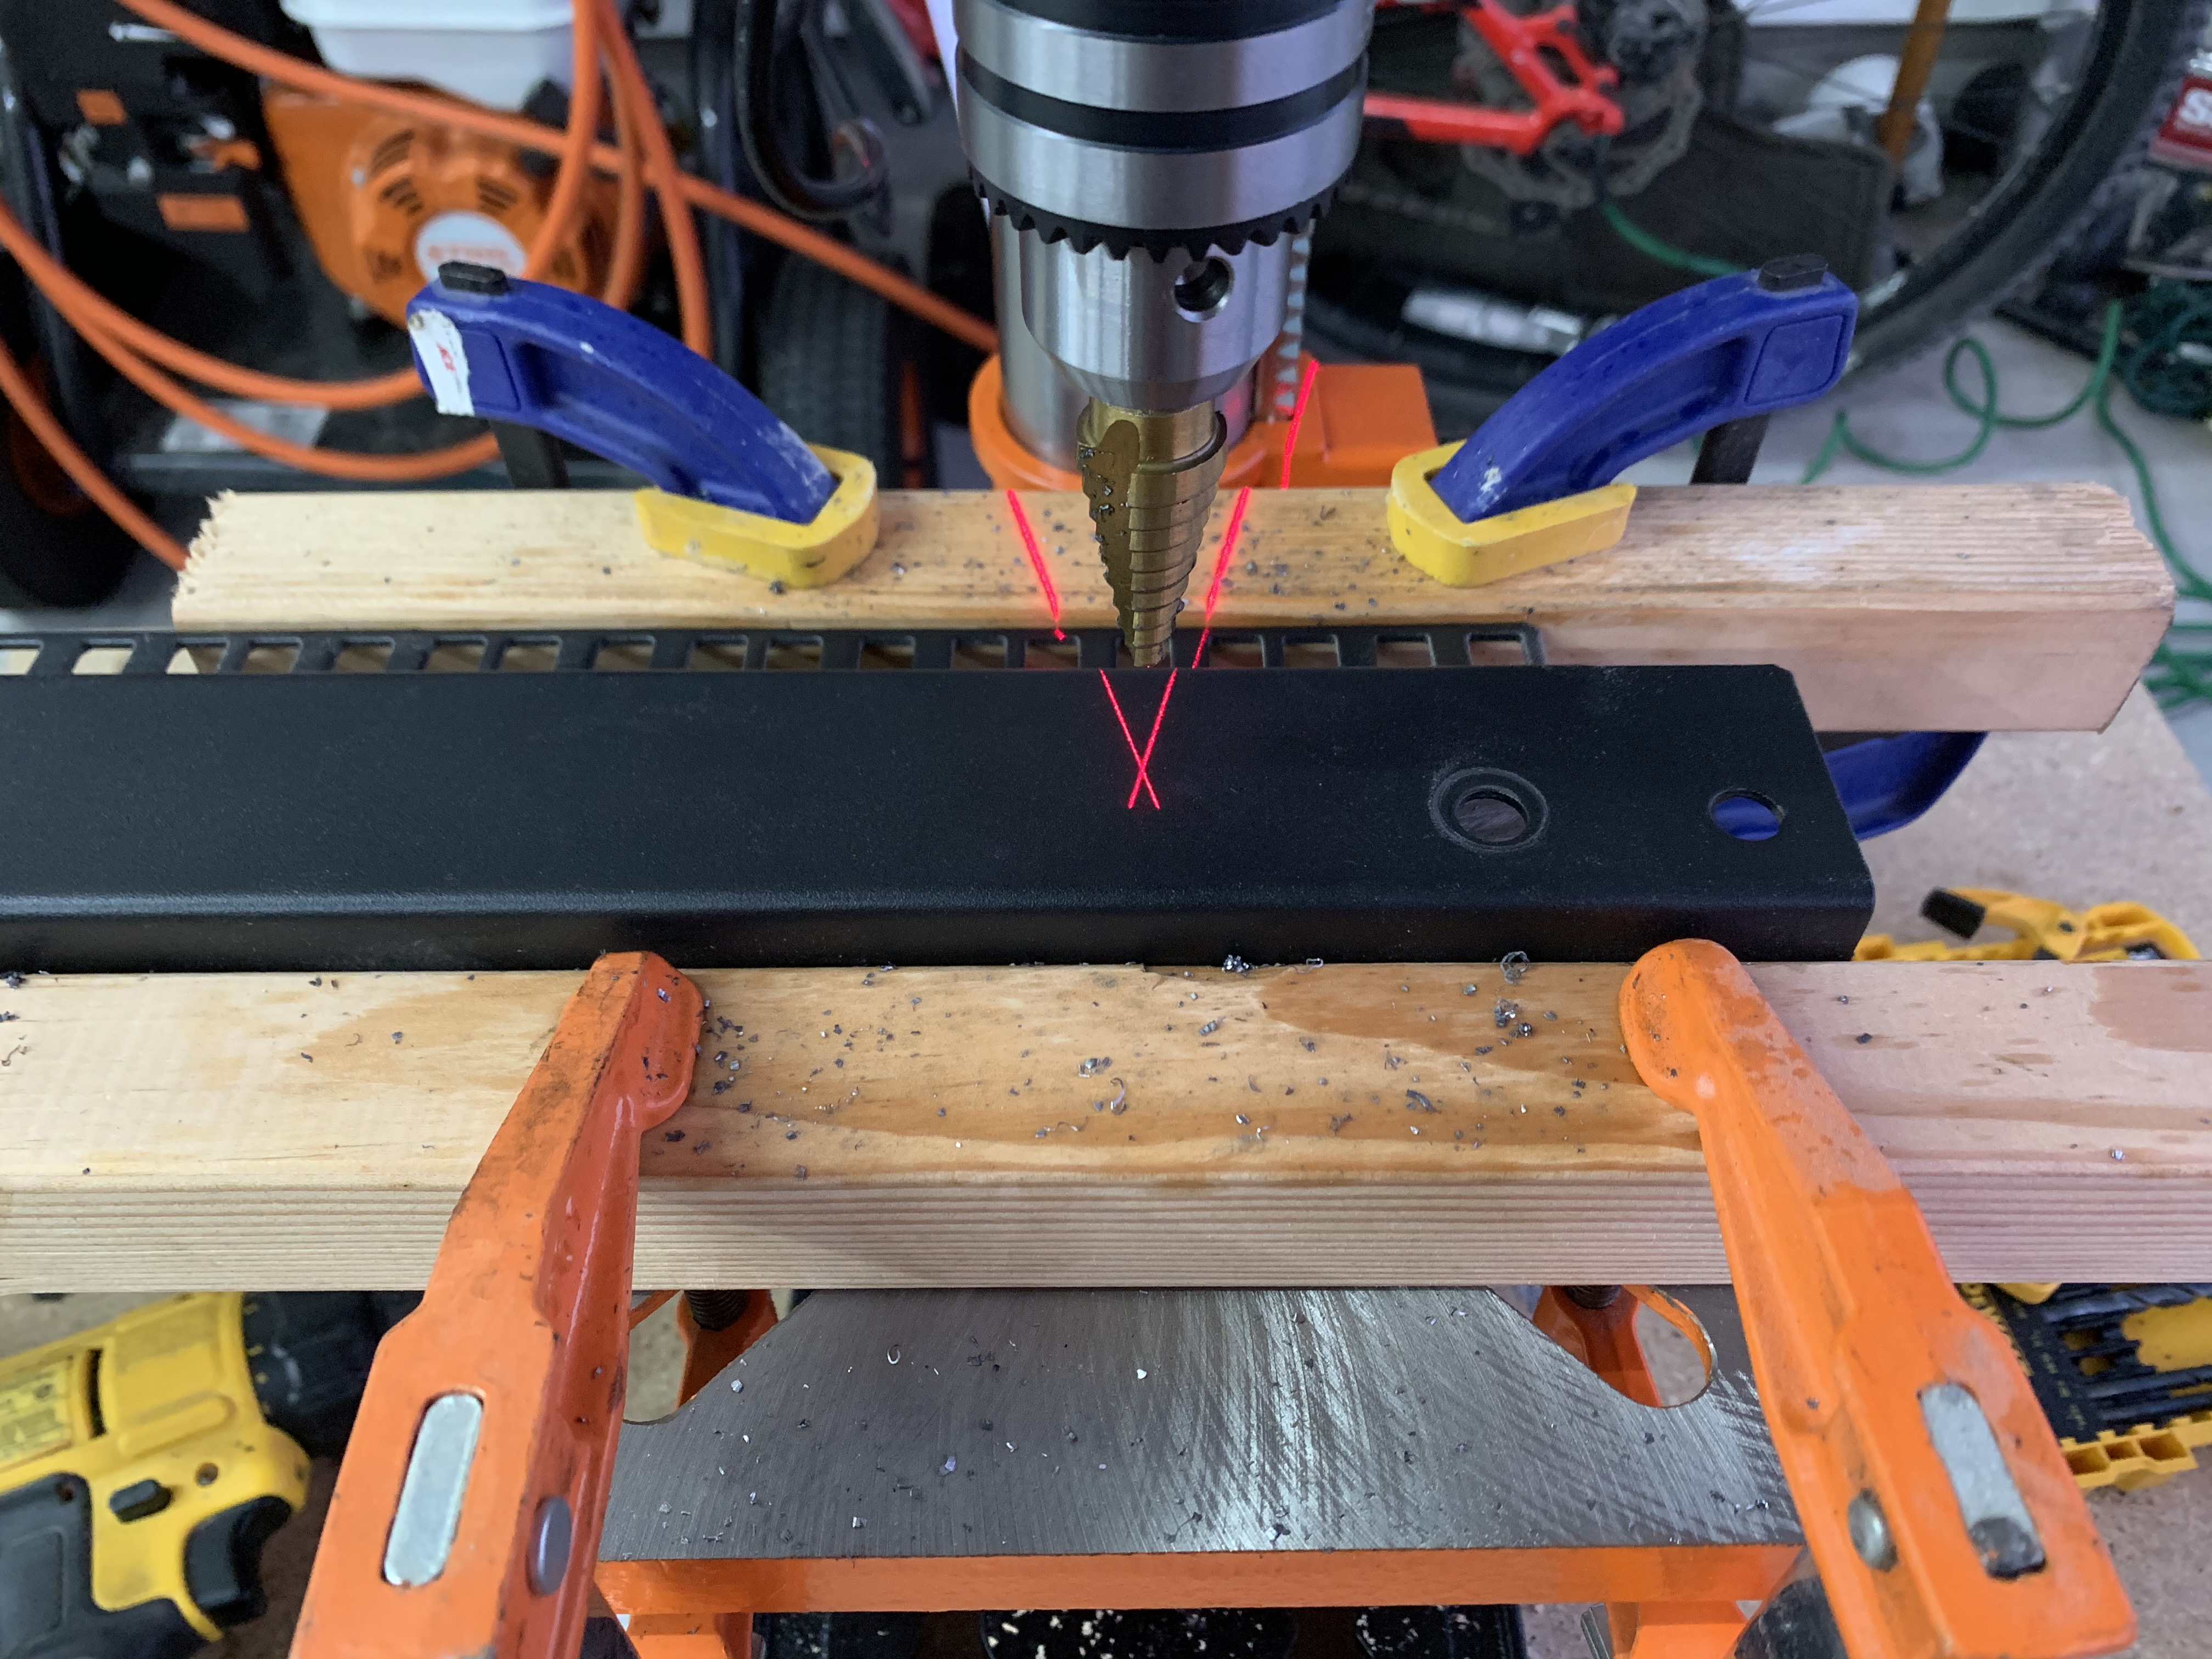
Lining up server rack post with laser before clamping it down to drill.
The drill press recommended low speeds for steel so I used the lowest setting (600 RPMs) and went to work.
I’d drill a hole, remove the server rack post, wipe off the metal shavings from the server rack post and the drill press. Then I’d move onto the next hole.

The process was pretty easy. It just took a lot of time. I also had to continuously lubricate the bit while drilling or it would burn up I’d have to buy another.
This was my first time drilling through steel and using a drill press. It took 5-6 hours over 2 days of work. I’m not sure if that’s normal or if I am bad at it.
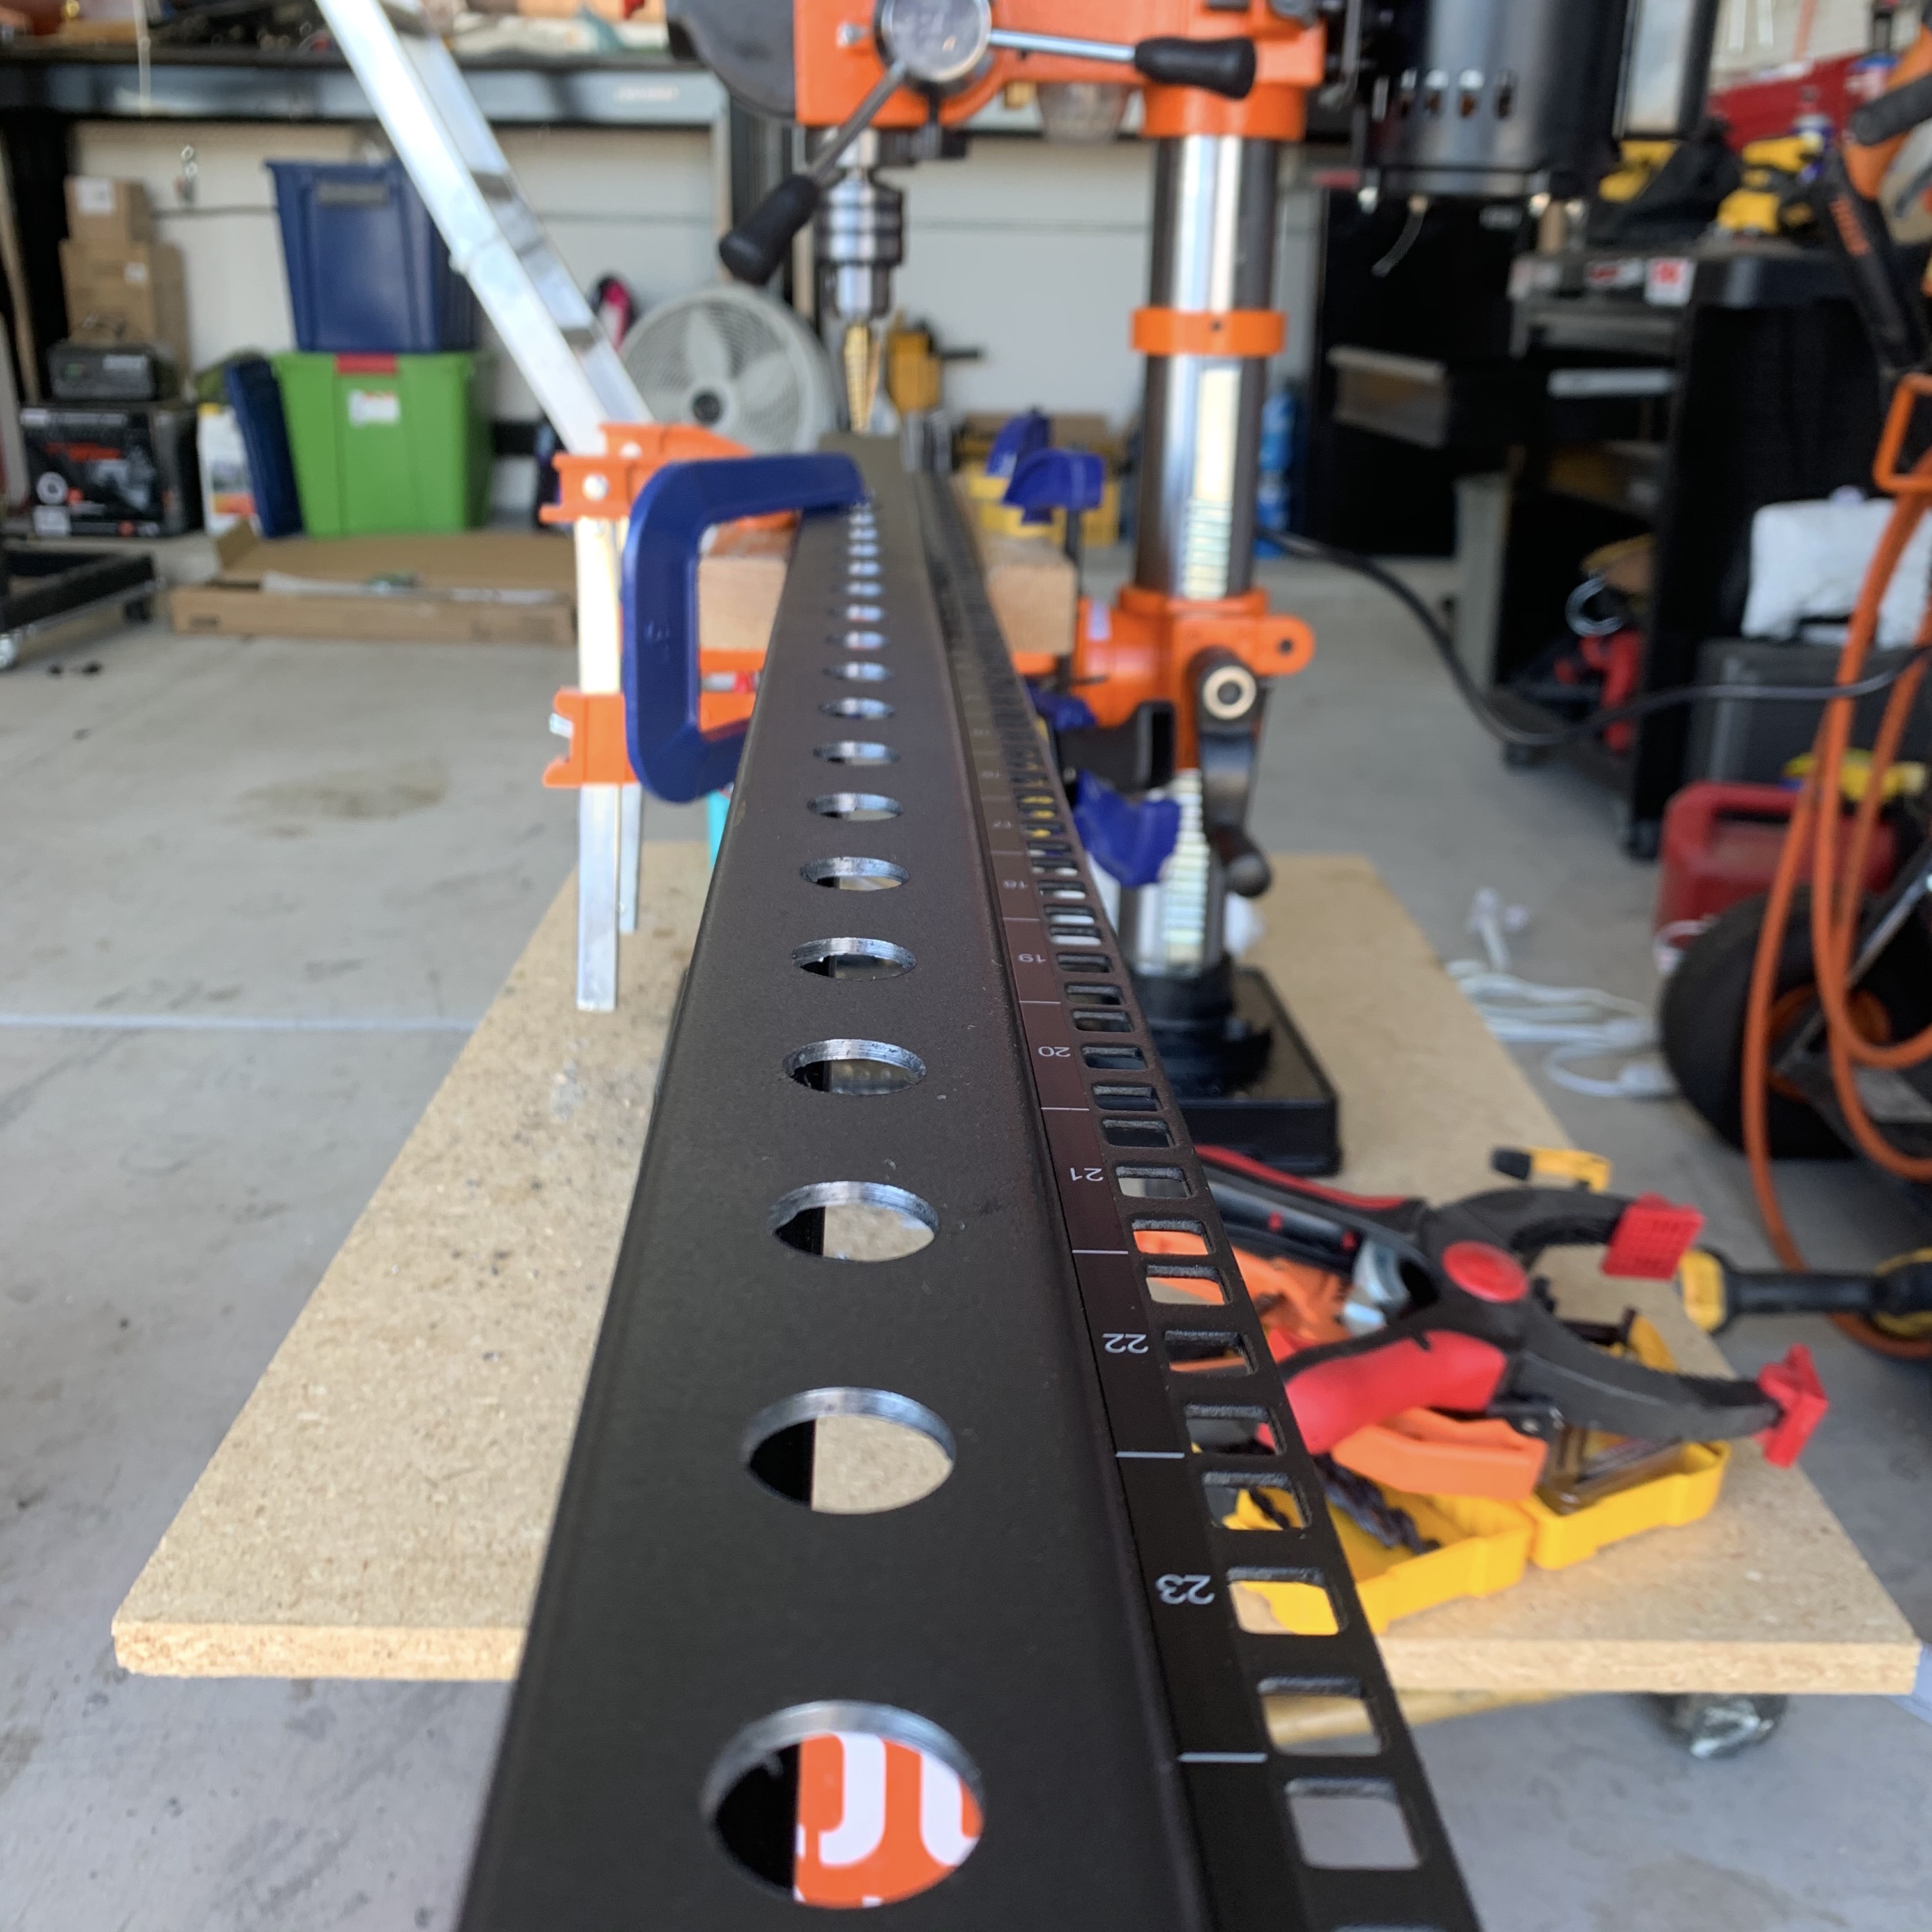
Perfectly aligned holes in the server rack post.
I was really happy with how this process went with the drill press. I wish I would have done this from the start instead of being lazy.
In some of the pictures you can see that there are quite a few metal burrs where I drilled the holes. These were really sharp so I used some small files to shave that metal down so it didn’t cut me when I ran my hand down the rack.
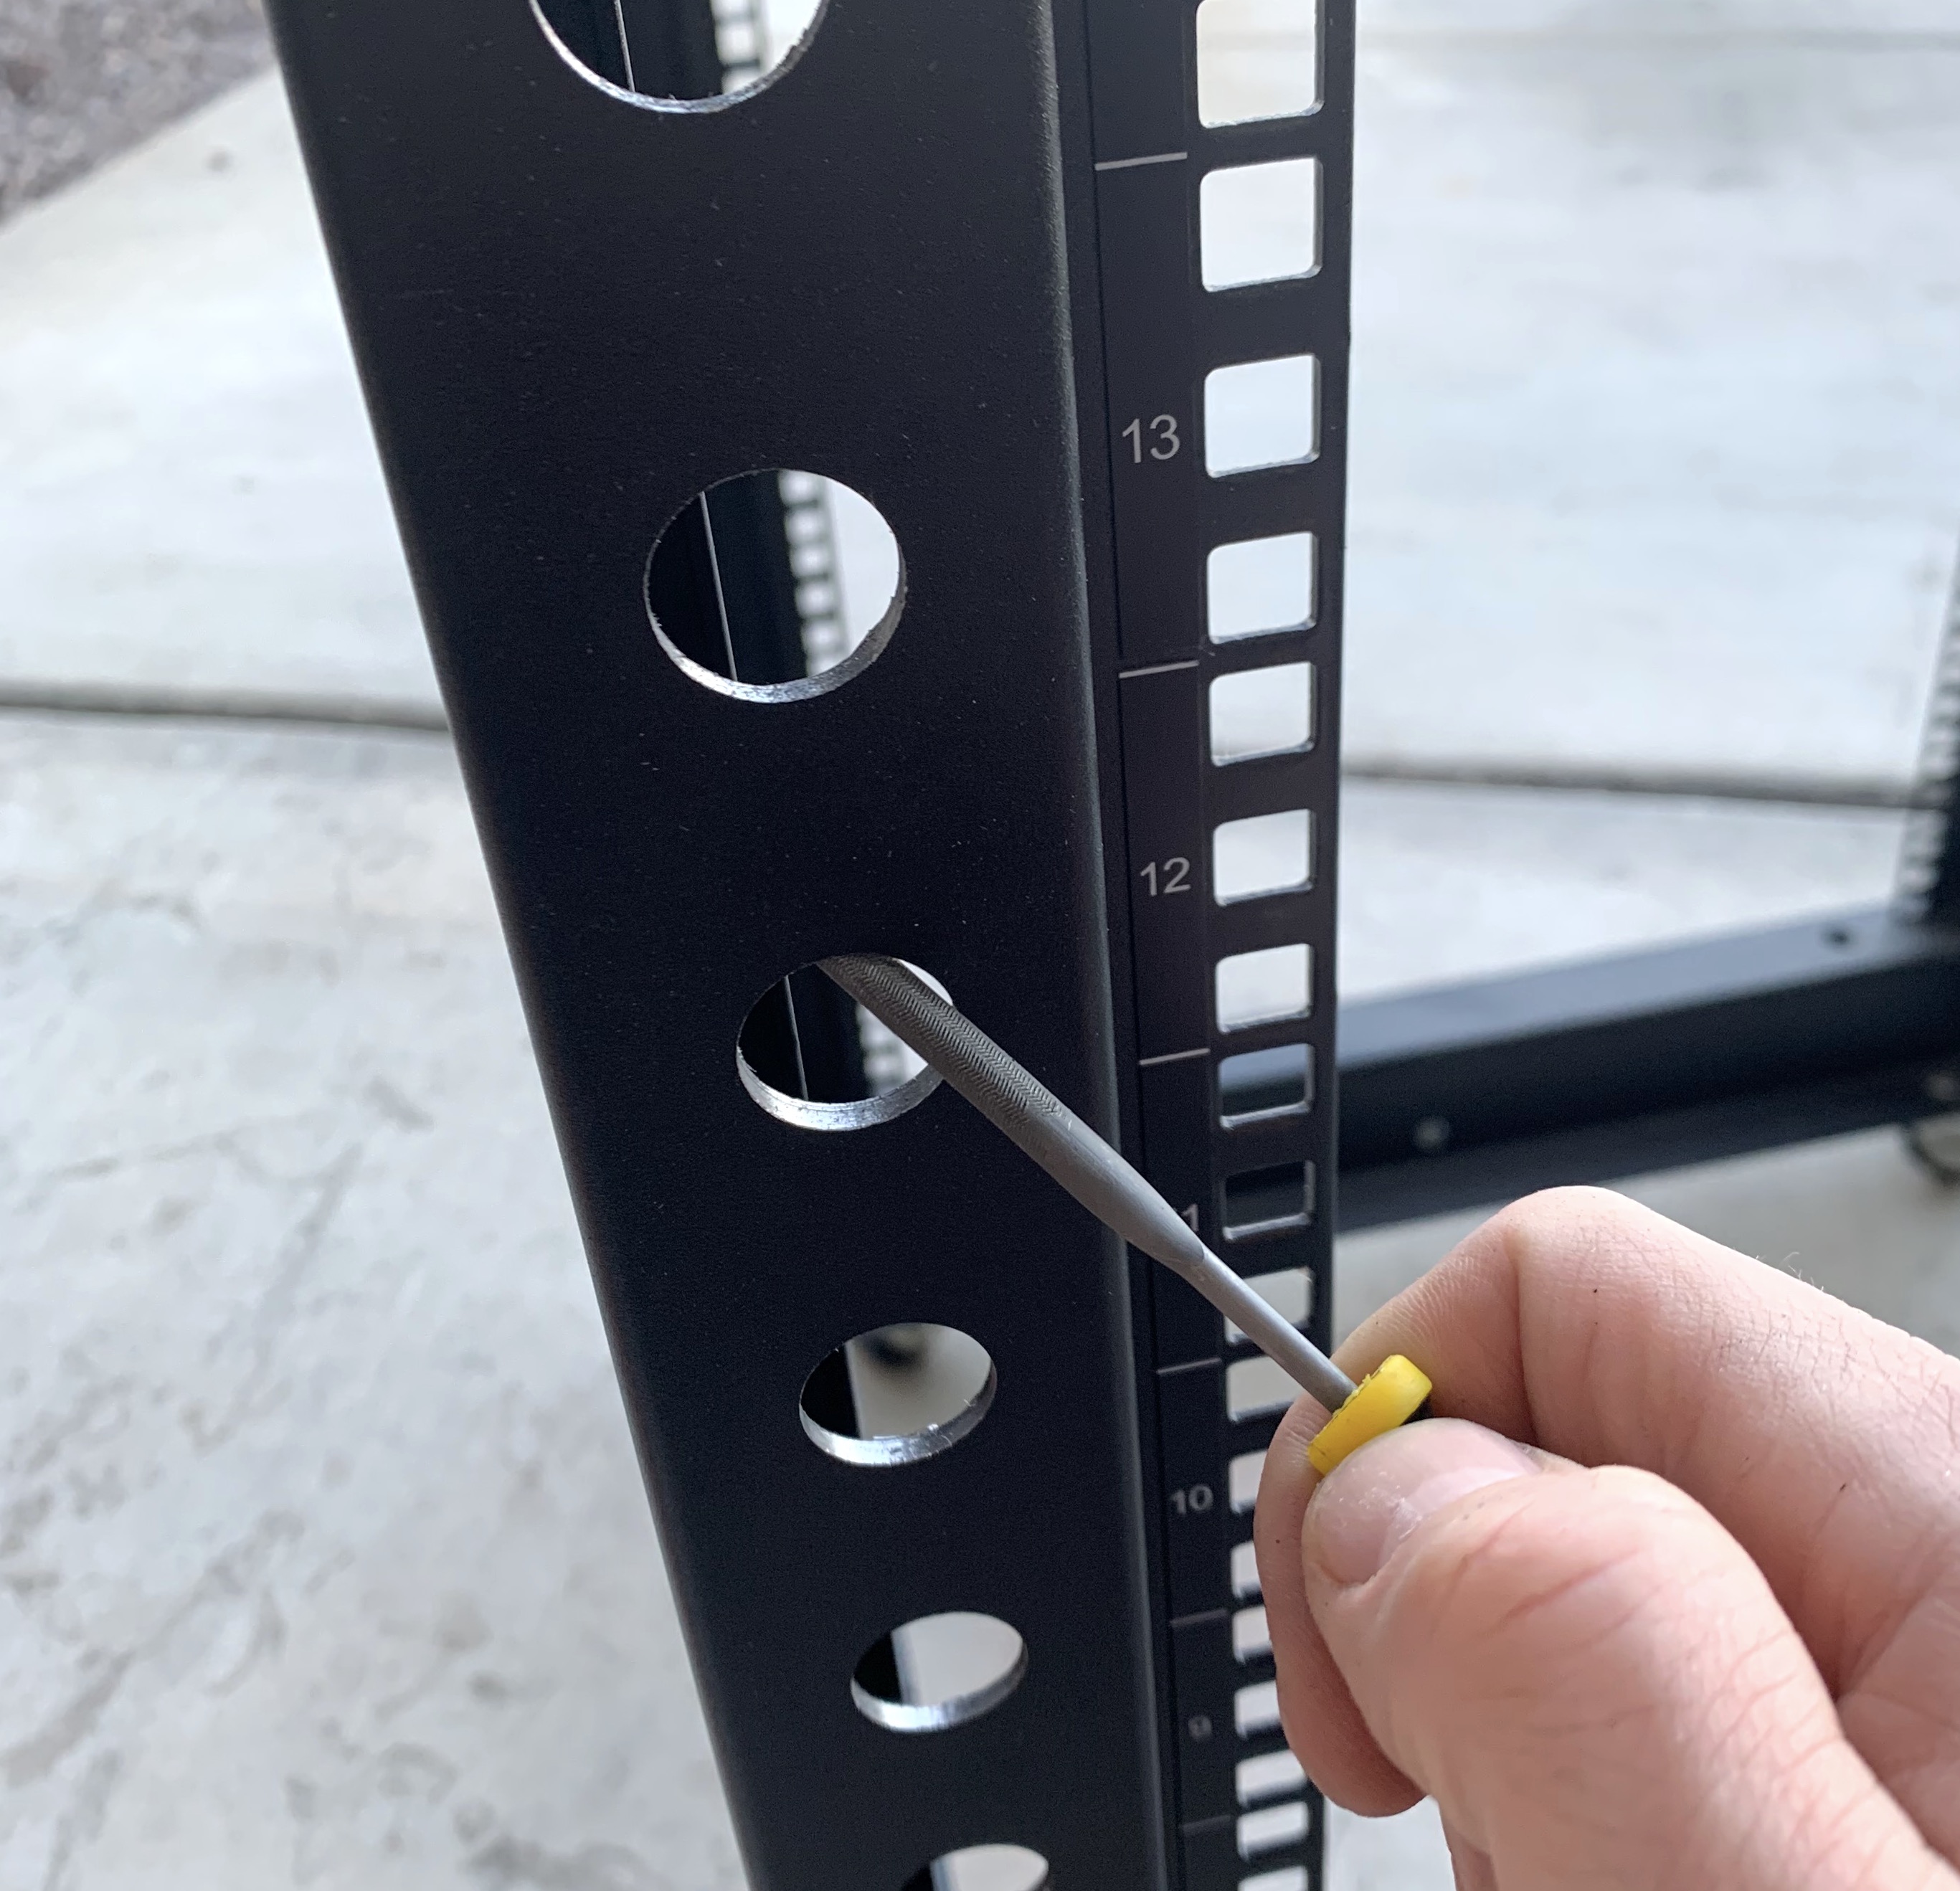
Removing burrs from newly drilled holes.
The deburring process was also easy but time consuming. I installed the grommets when I was finished.
Now it was finally time to install LEDs in the server rack!
Installing WLED
I grabbed an ESP8266/NodeMCU and installed WLED before I wired everything up.
Checkout my post on Getting Started With WLED if you are installing WLED for the first time. I’ll teach you everything I learned and wish I knew the first time I did it.
Installing LEDs In Server Rack
The server rack is 25U. I was only able to drill holes in the bottom 24 rack units because the rack unit at the top already has a hole that is used to bolt the rack together.
I had 48 holes to install LEDs. The LEDs I bought come with 50 per string so I knew I would eventually need to cut the last 2 off. I cut the string of 50 LEDs off at 24 LEDs for the first side and then left a string of 26 LEDs for the other side.
Now I needed to bridge the gap between the LEDs from one server rack post to the other so I used some 3 wire LED cable and soldered it from the last LED on the first server rack post to the first LED of the other server rack post.
I wired this all up on my kitchen table before installing the LEDs. It’s just much easier to solder when the LEDs aren’t already installed. I definitely recommend this if your install will allow it. My wife loves it when I solder on the kitchen table.
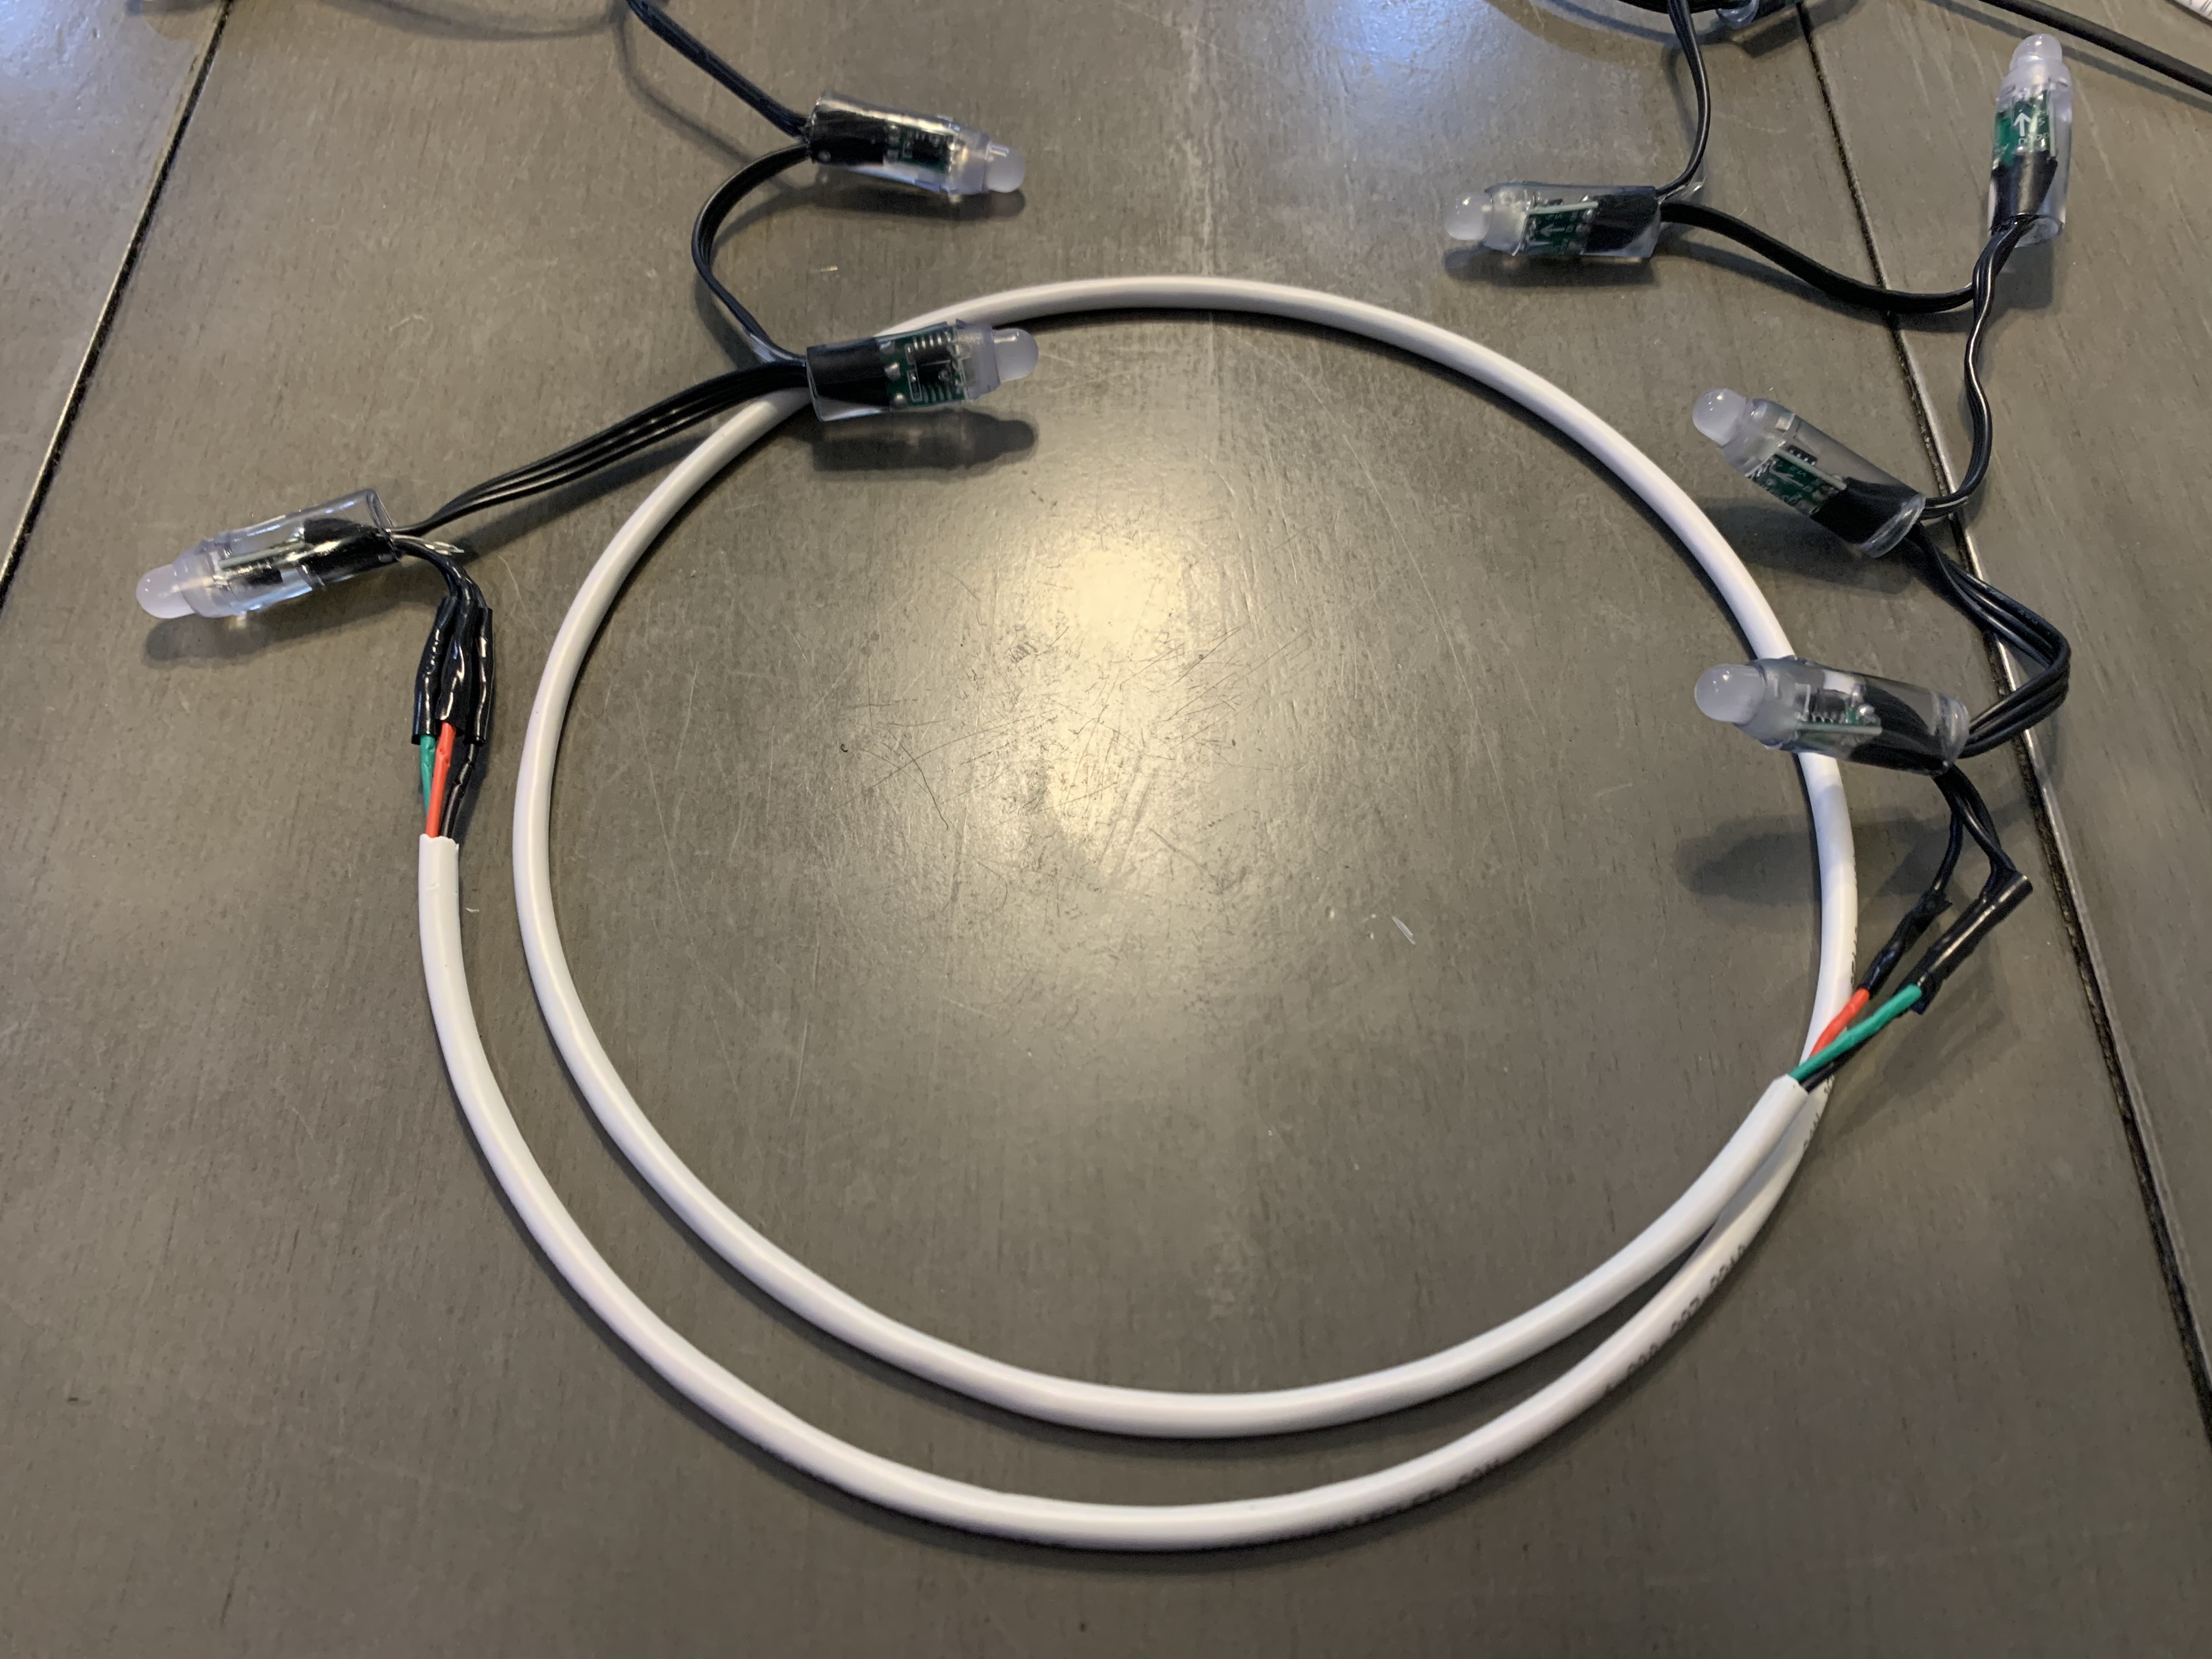
3 wire LED cable soldered between 2 strings of LEDs.
I placed the ESP8266/NodeMCU into a project box and drilled holes for the LED wires and USB cable. I soldered the pigtail connector that came with the LEDs to the pins on the ESP8266/NodeMCU so I can just unplug them. The project box can be opened and easily serviced if needed.
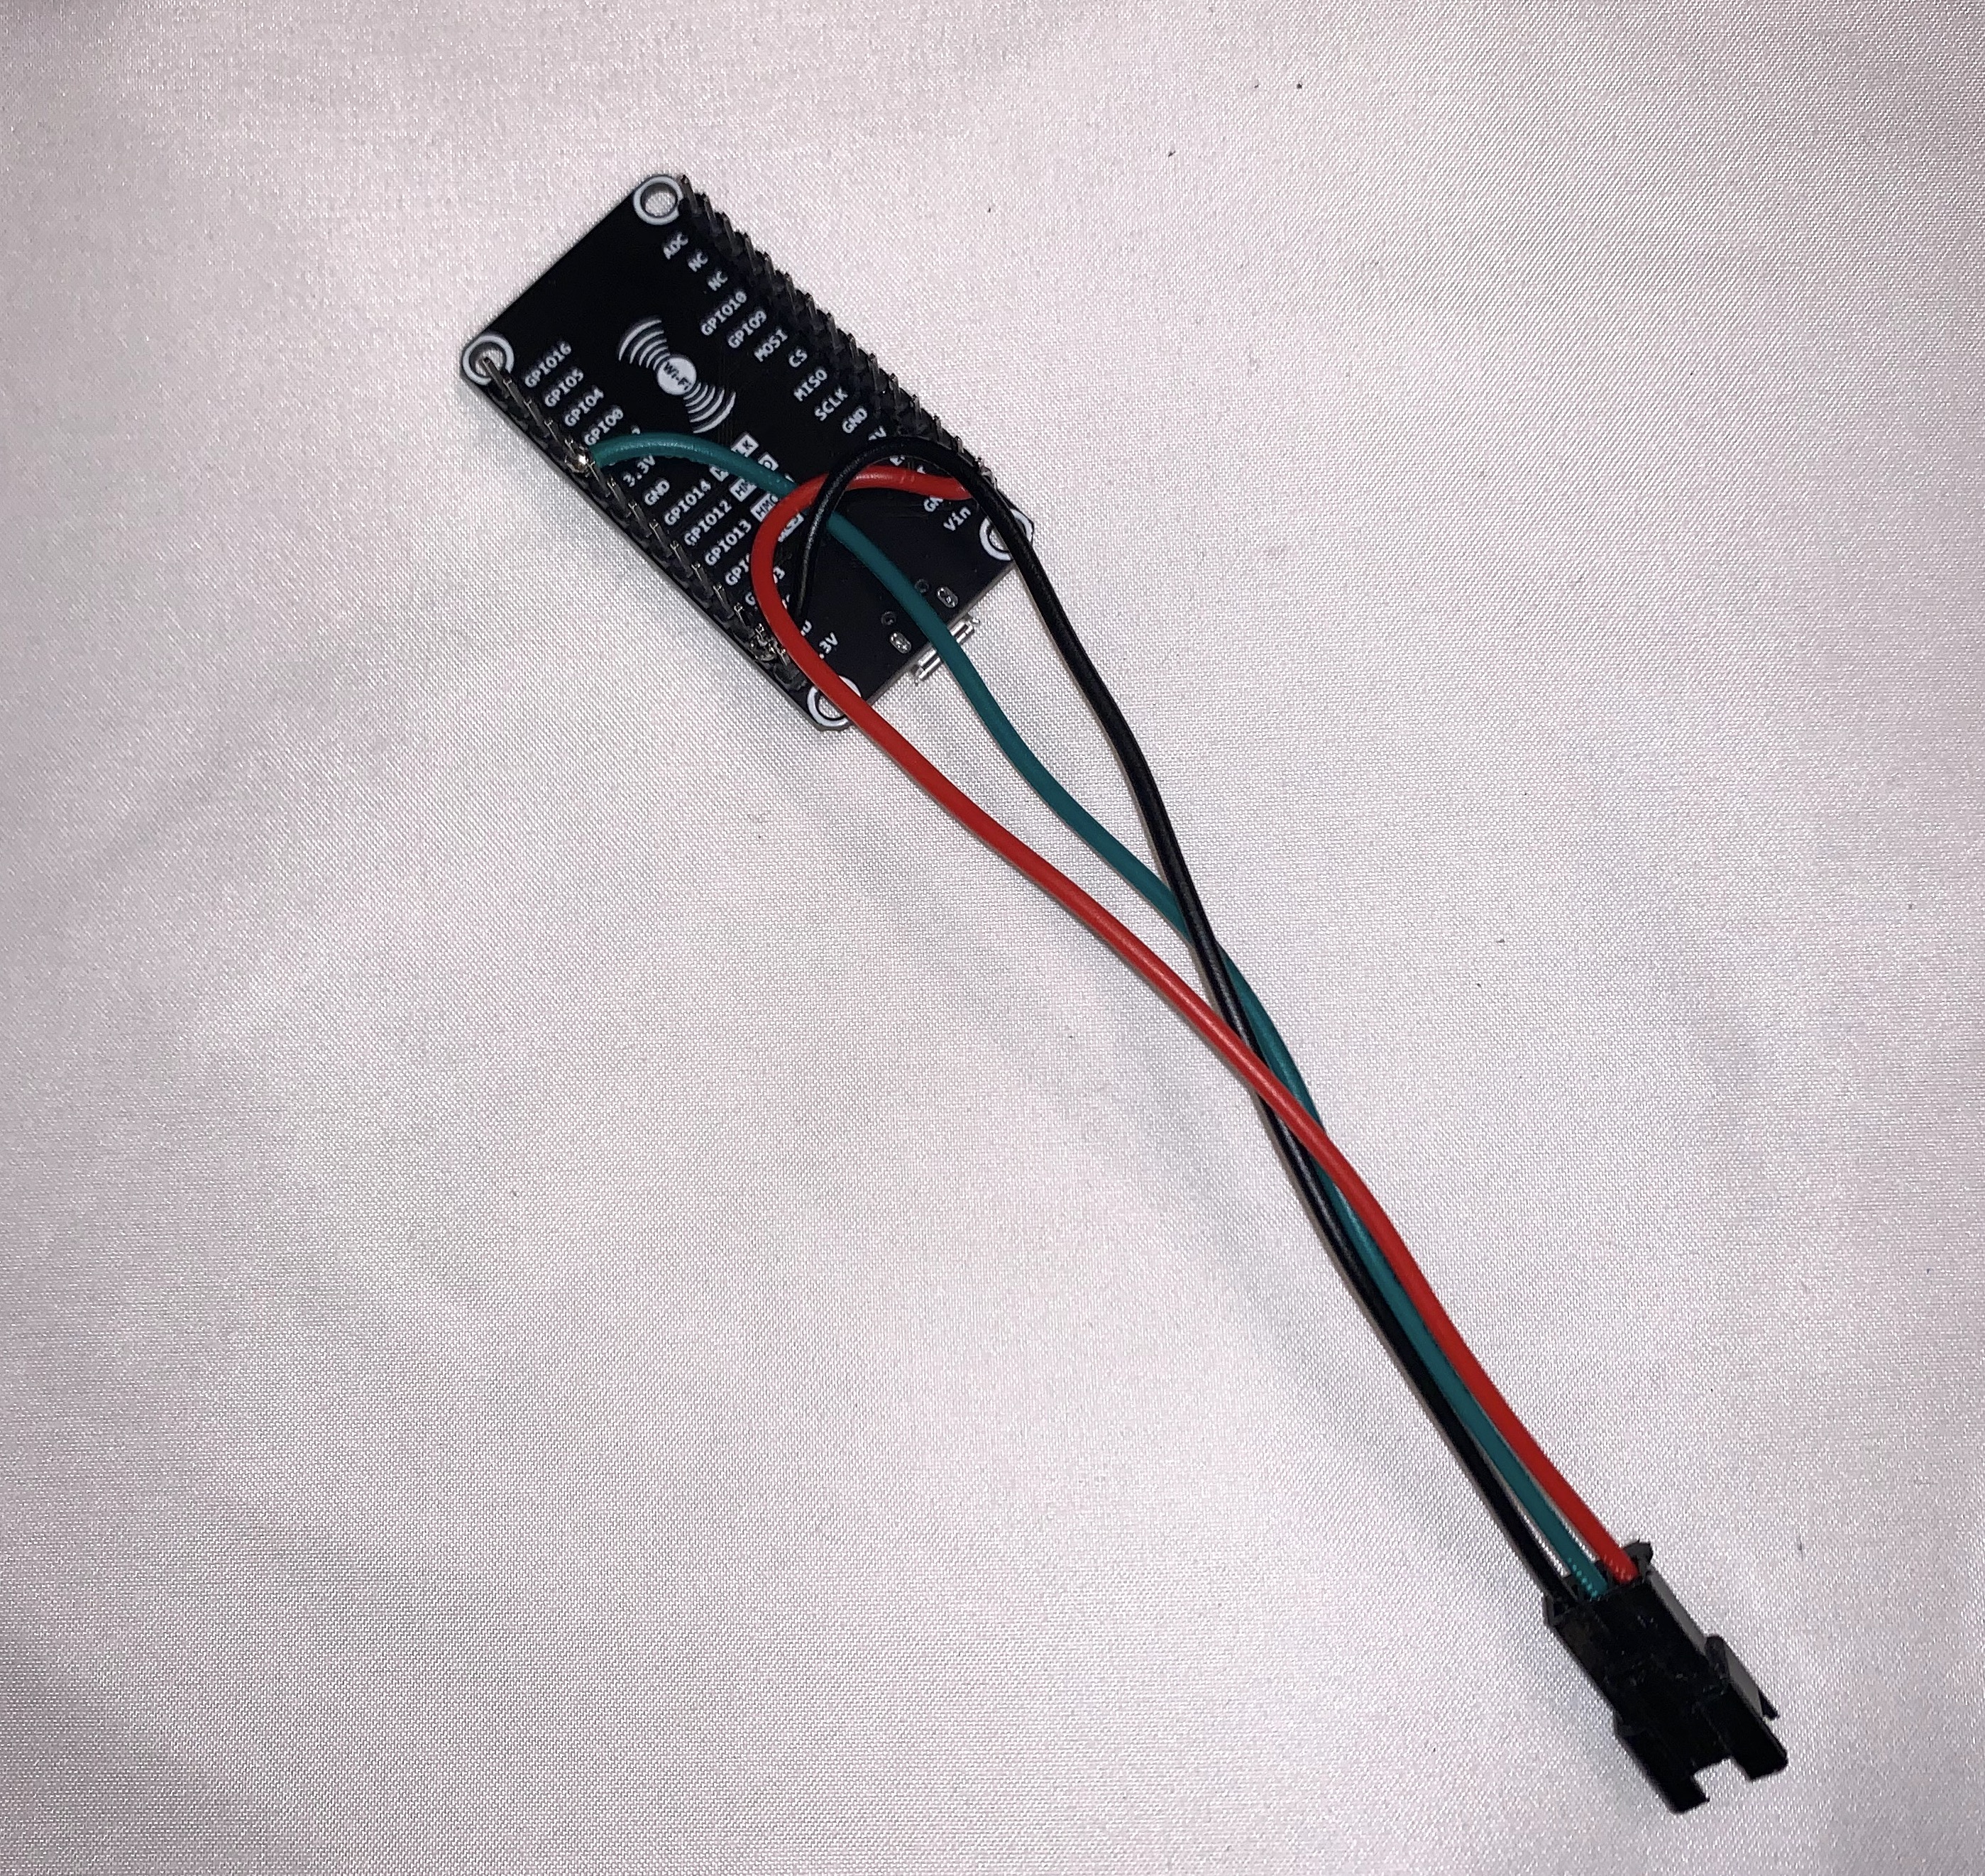
LED pigtail connector soldered to ESP8266 before putting in the project box.
I stuck the project box on the inside of the server rack and attached it with double sided tape and then started pressing the LEDs into the grommets.
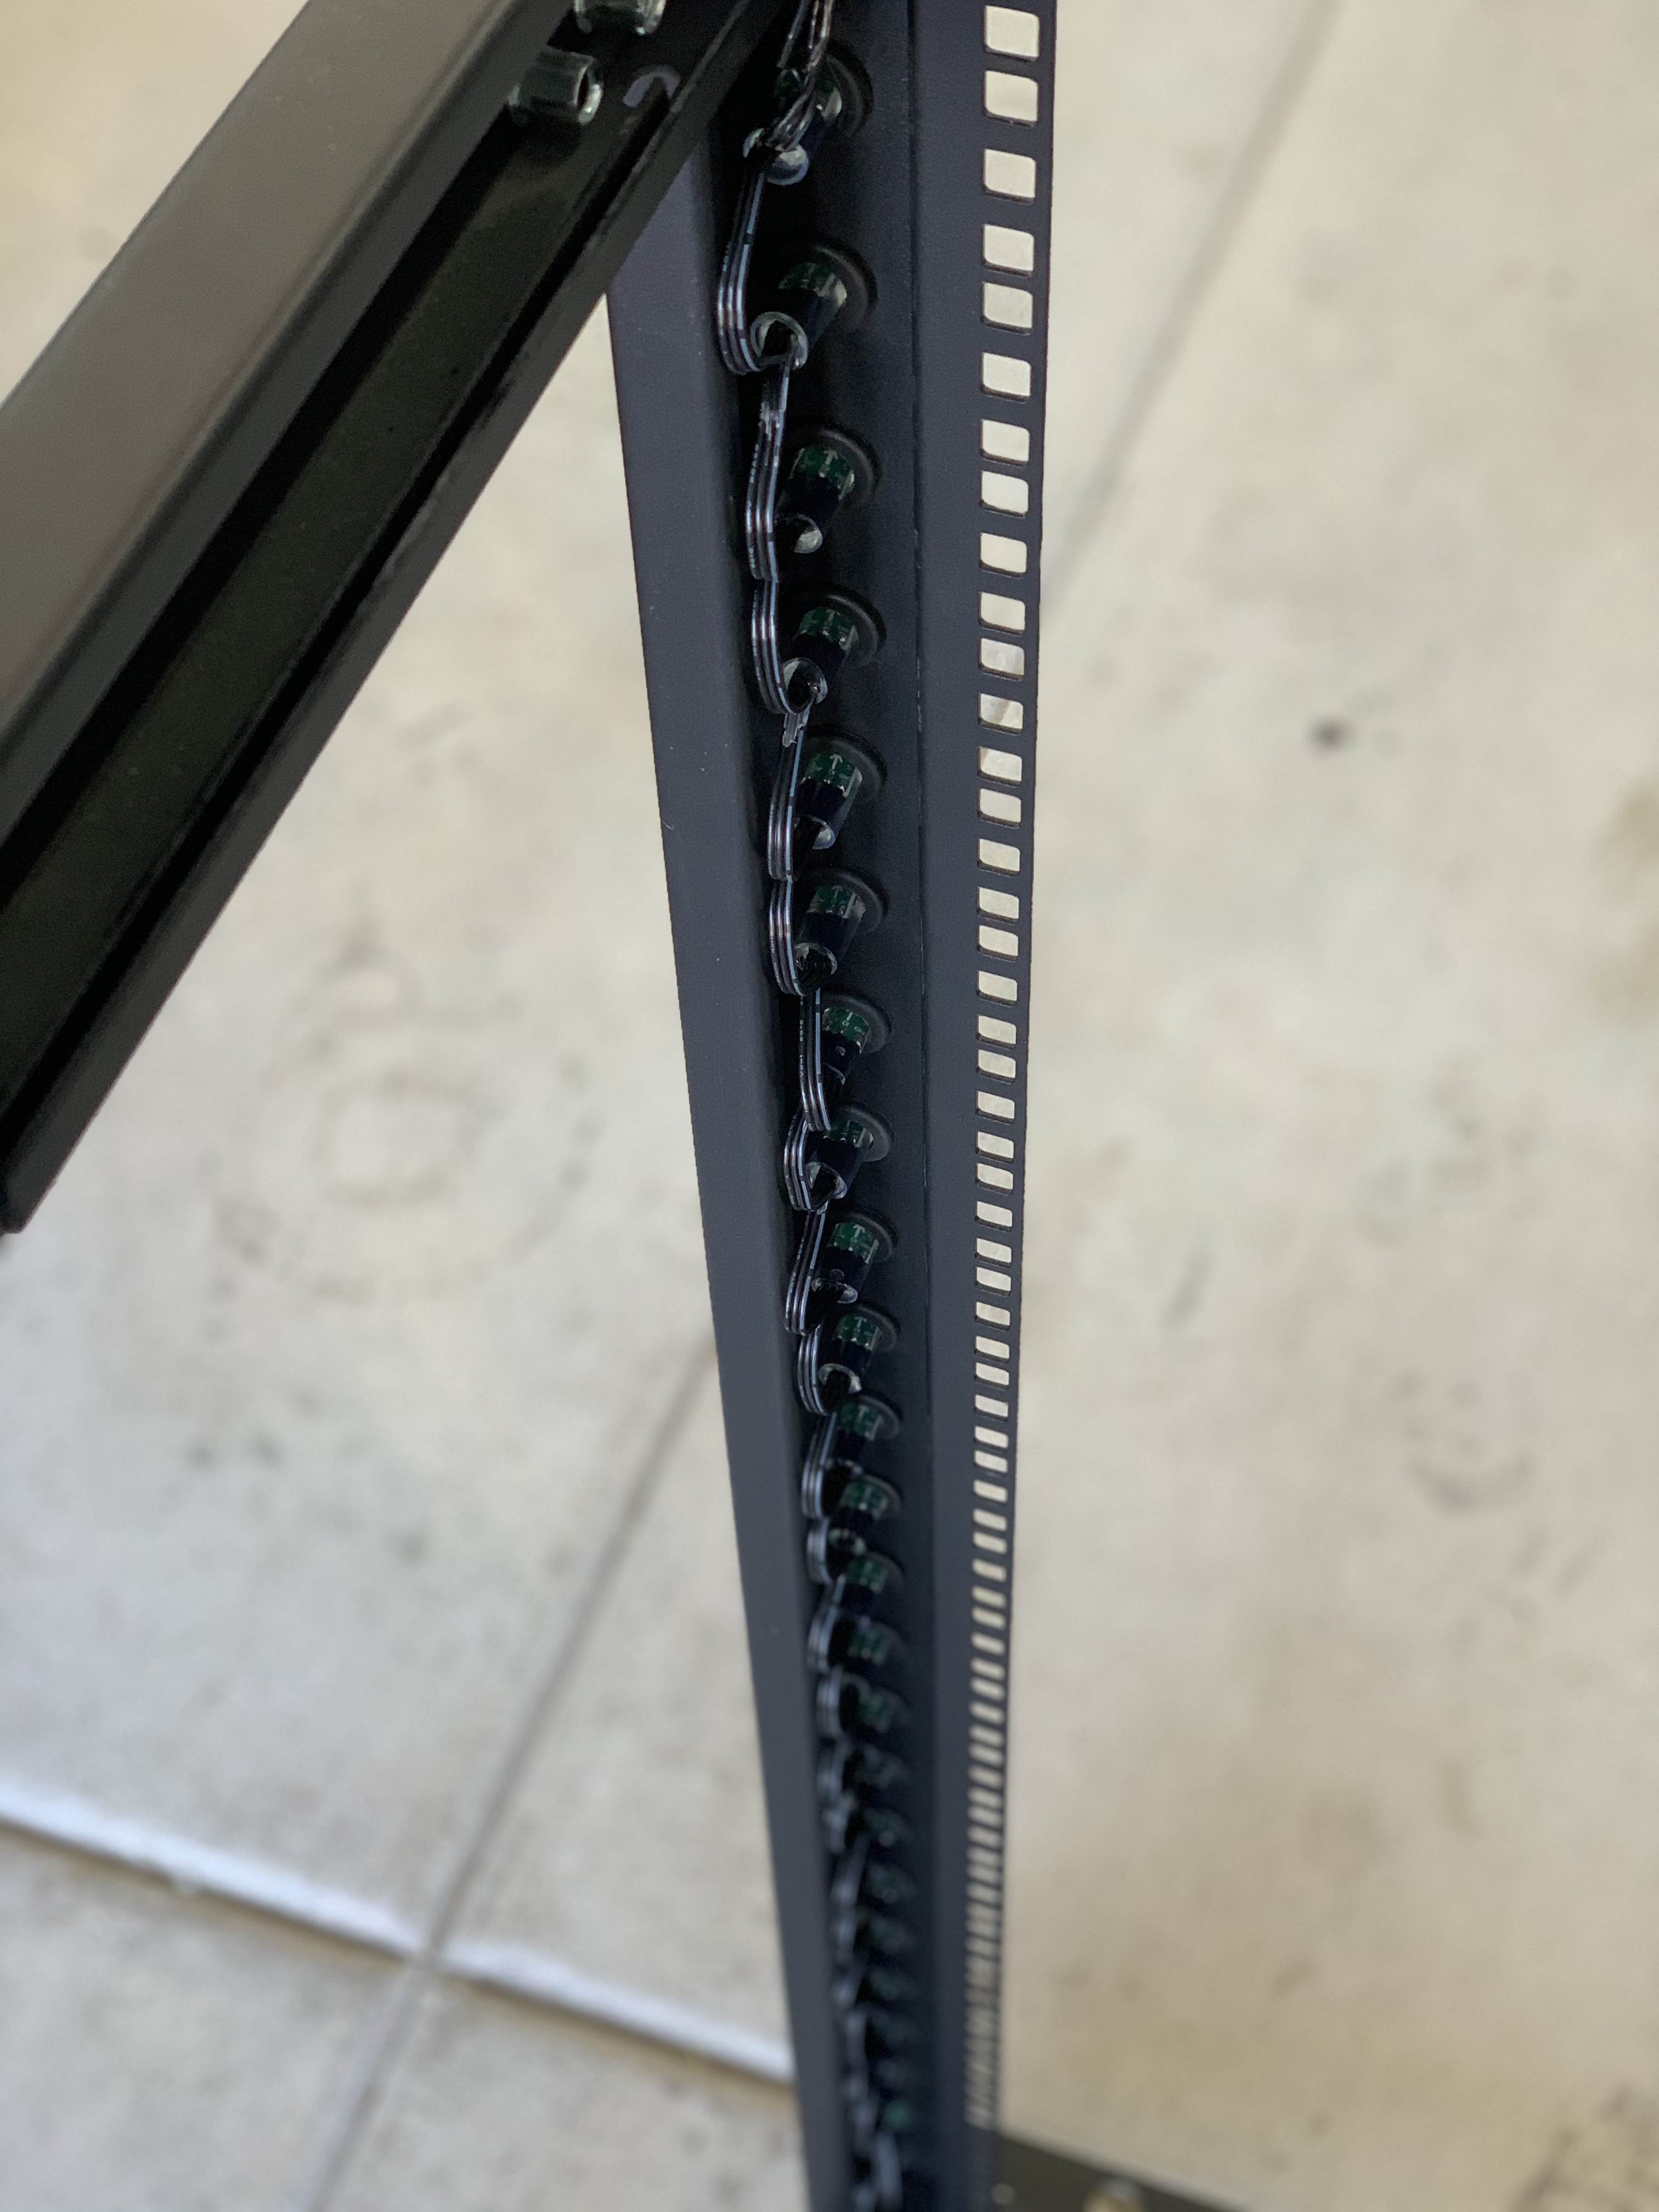
The wiring/install actually looks really clean from the back of the server rack.
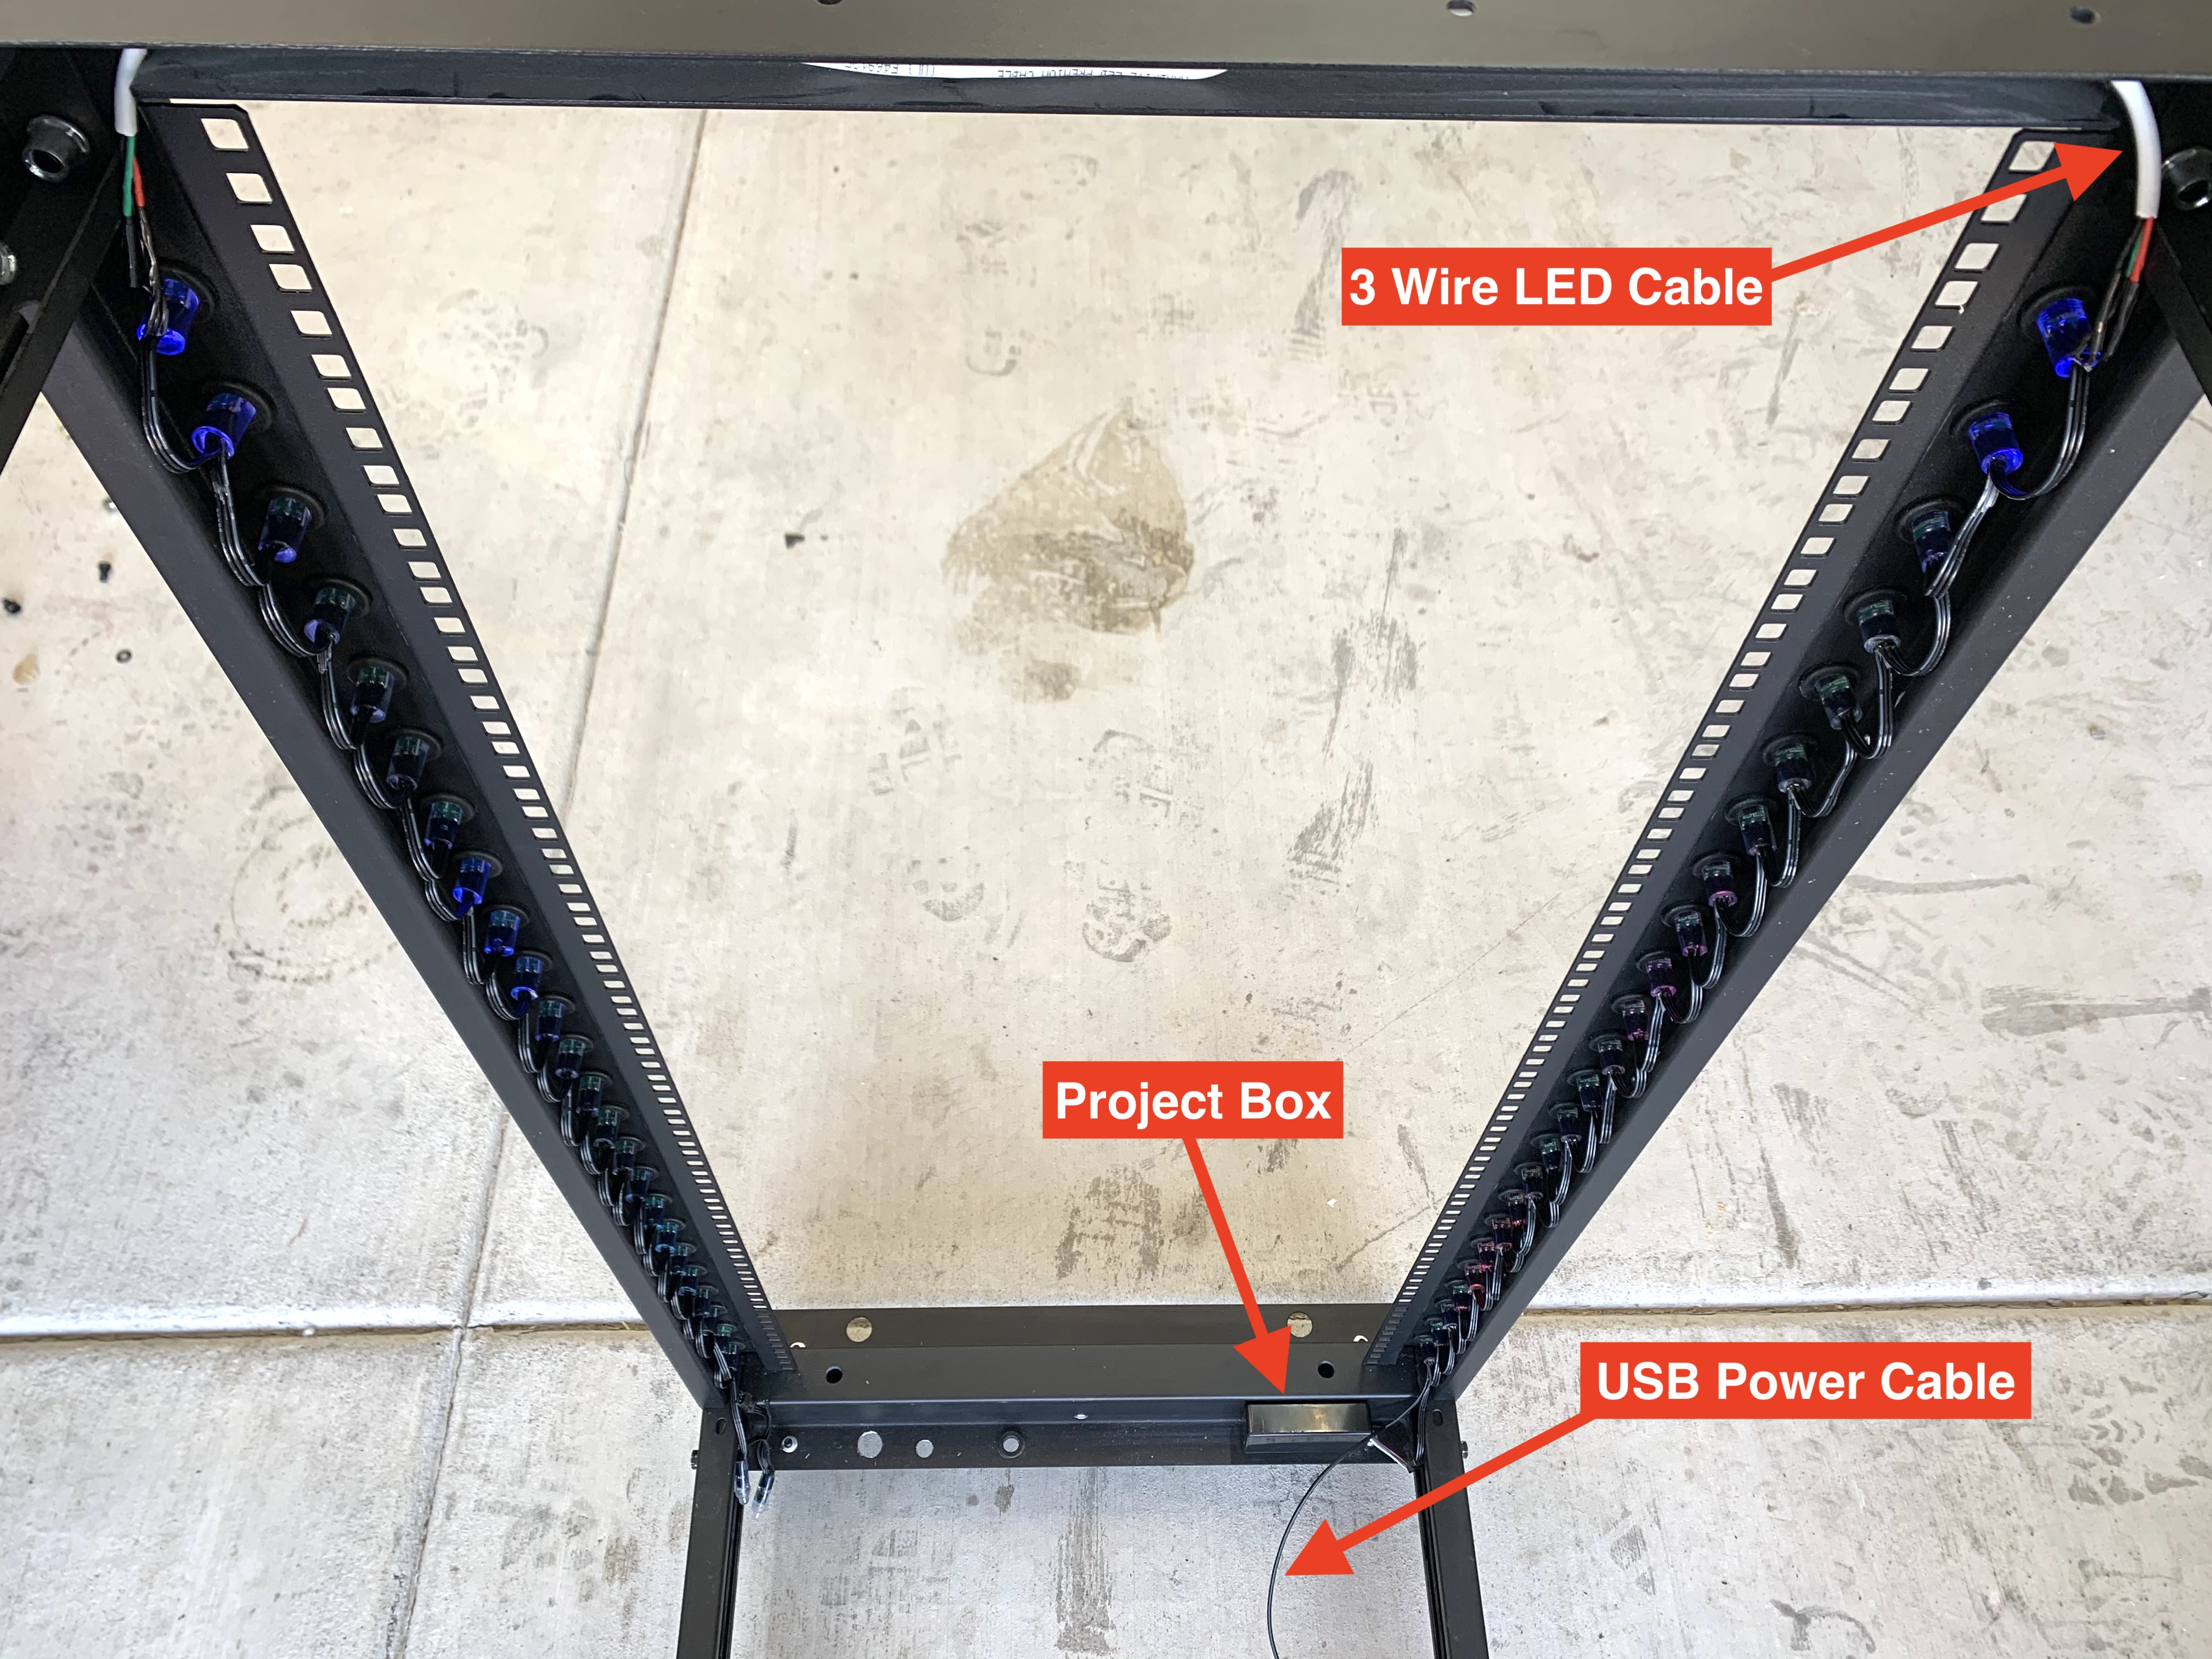
LED wiring and project box install from rear side of rack.
I cut the last 2 LEDs off and told WLED that I was using 48 LEDs total. Just need to test it out before we reinstall the equipment.
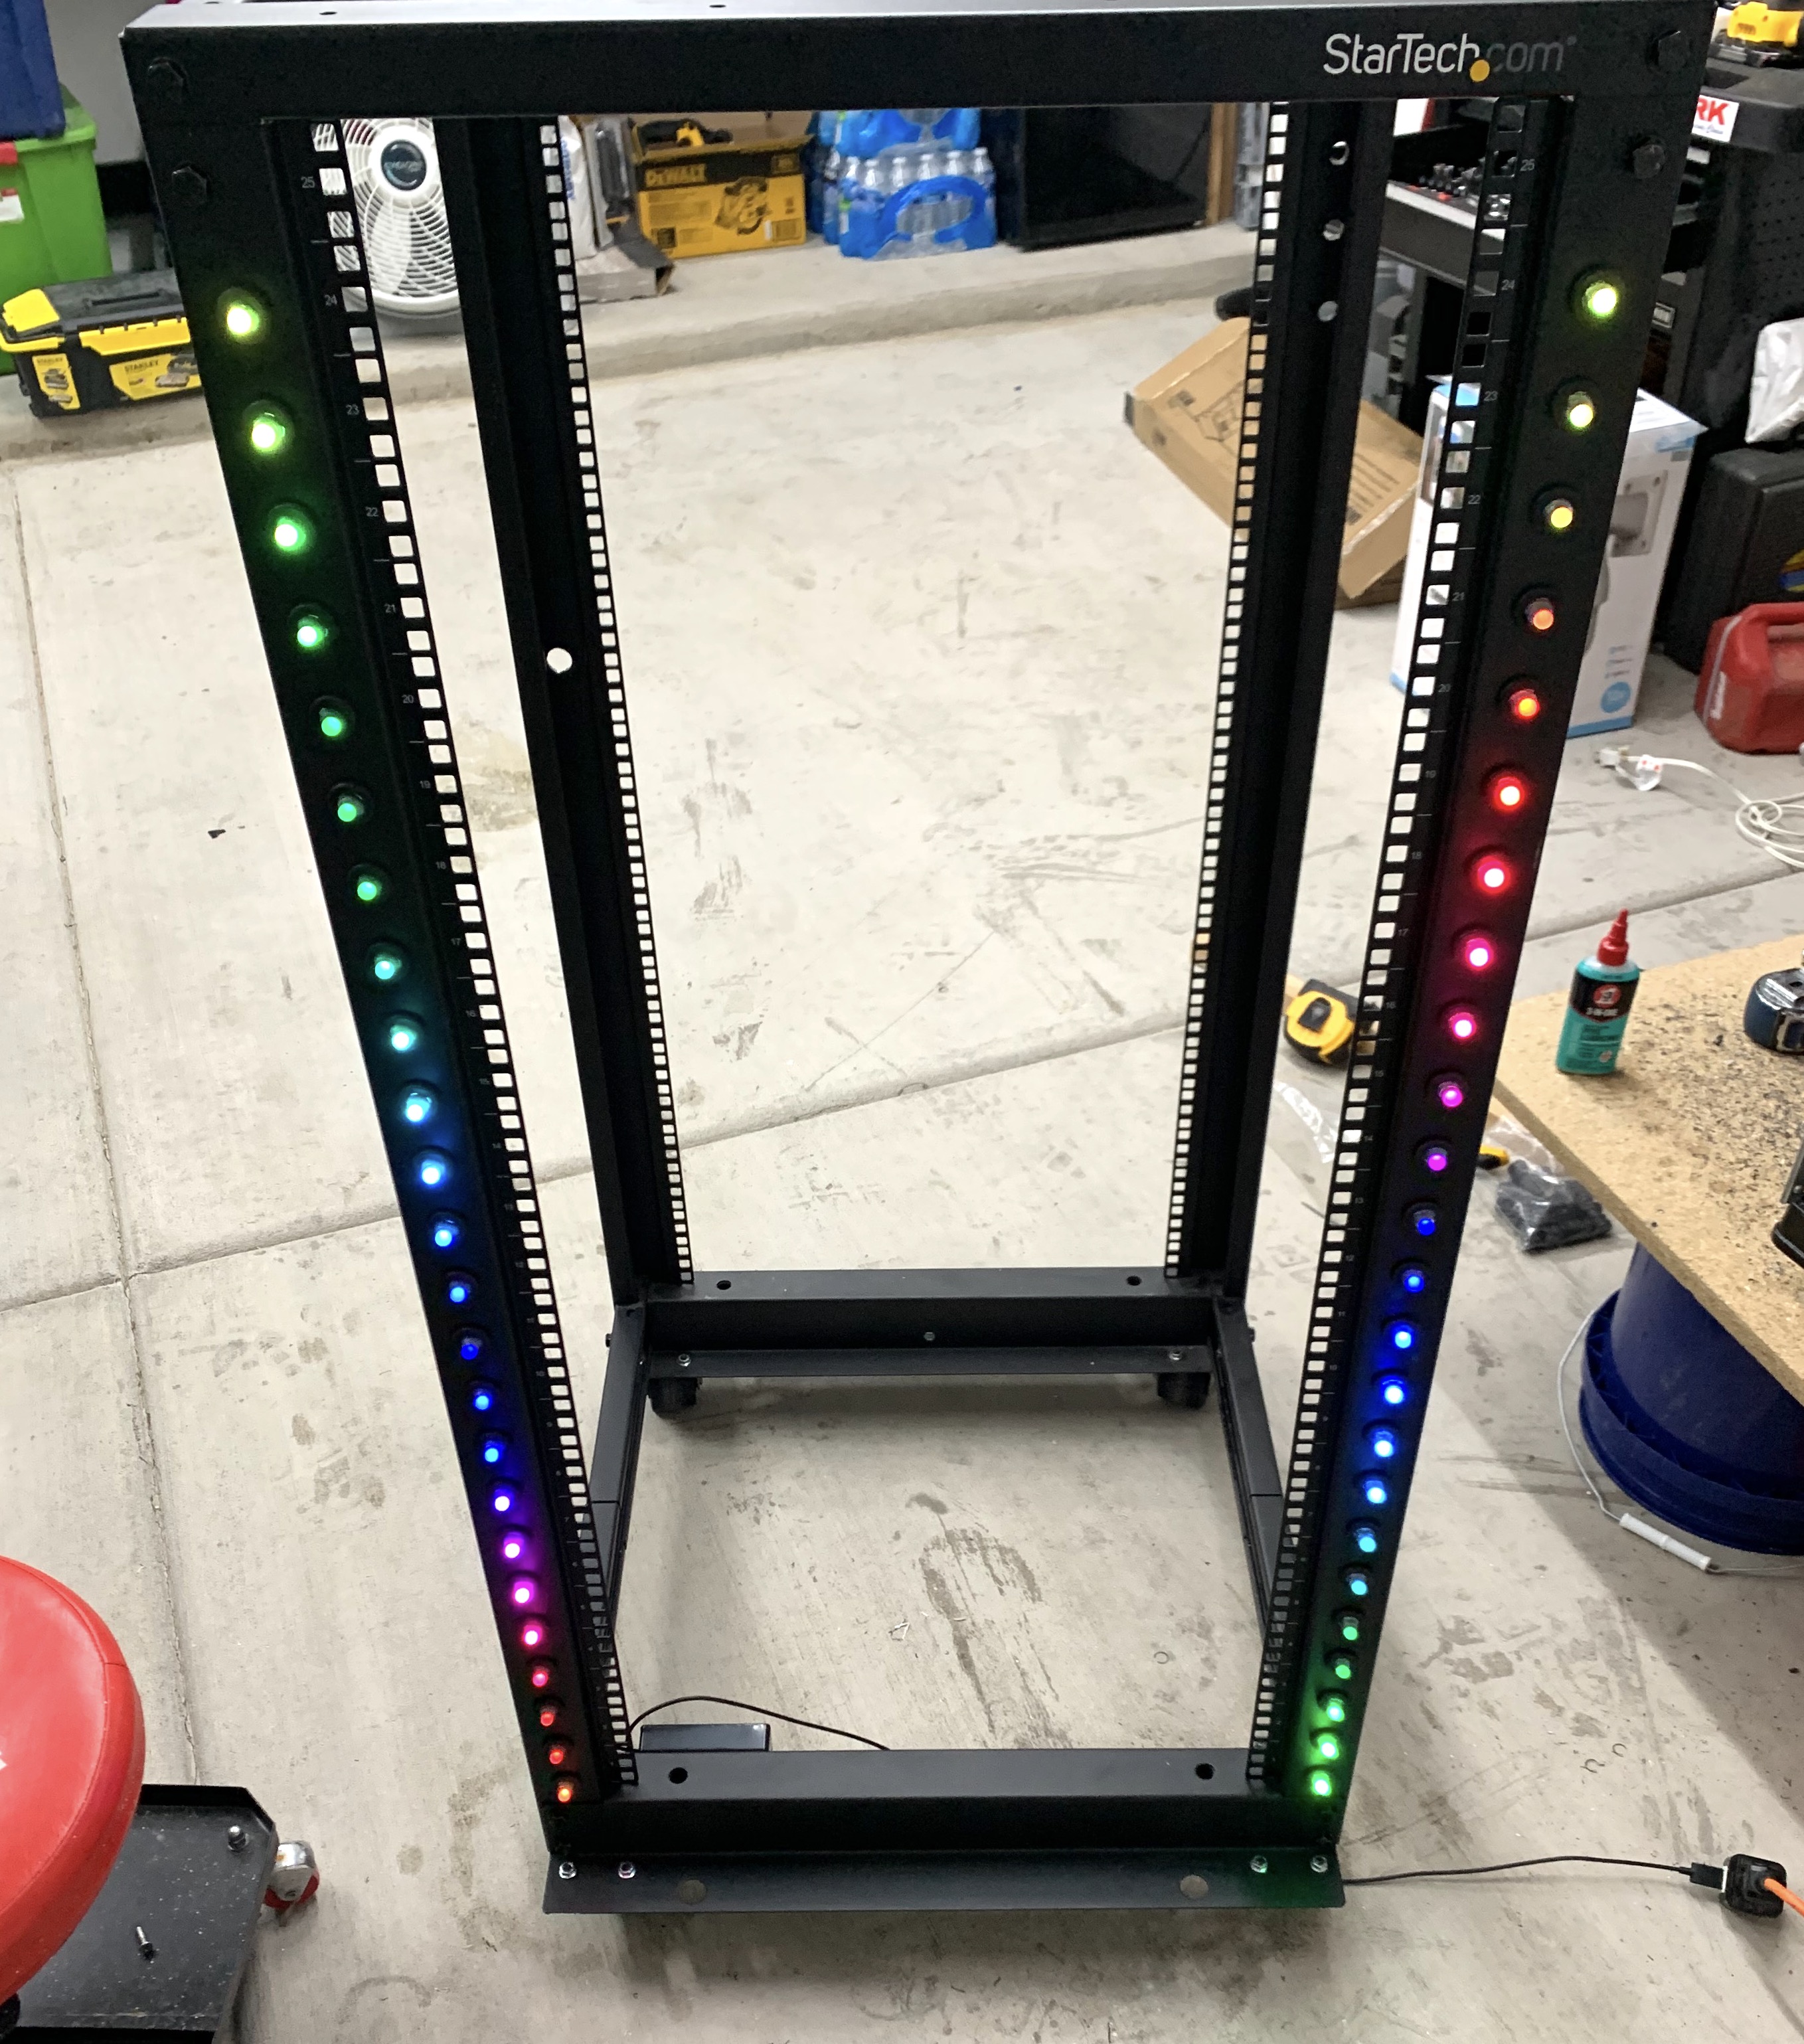
Everything lights up as expected.
Now I can get back to playing sysadmin and installing all of my equipment again…
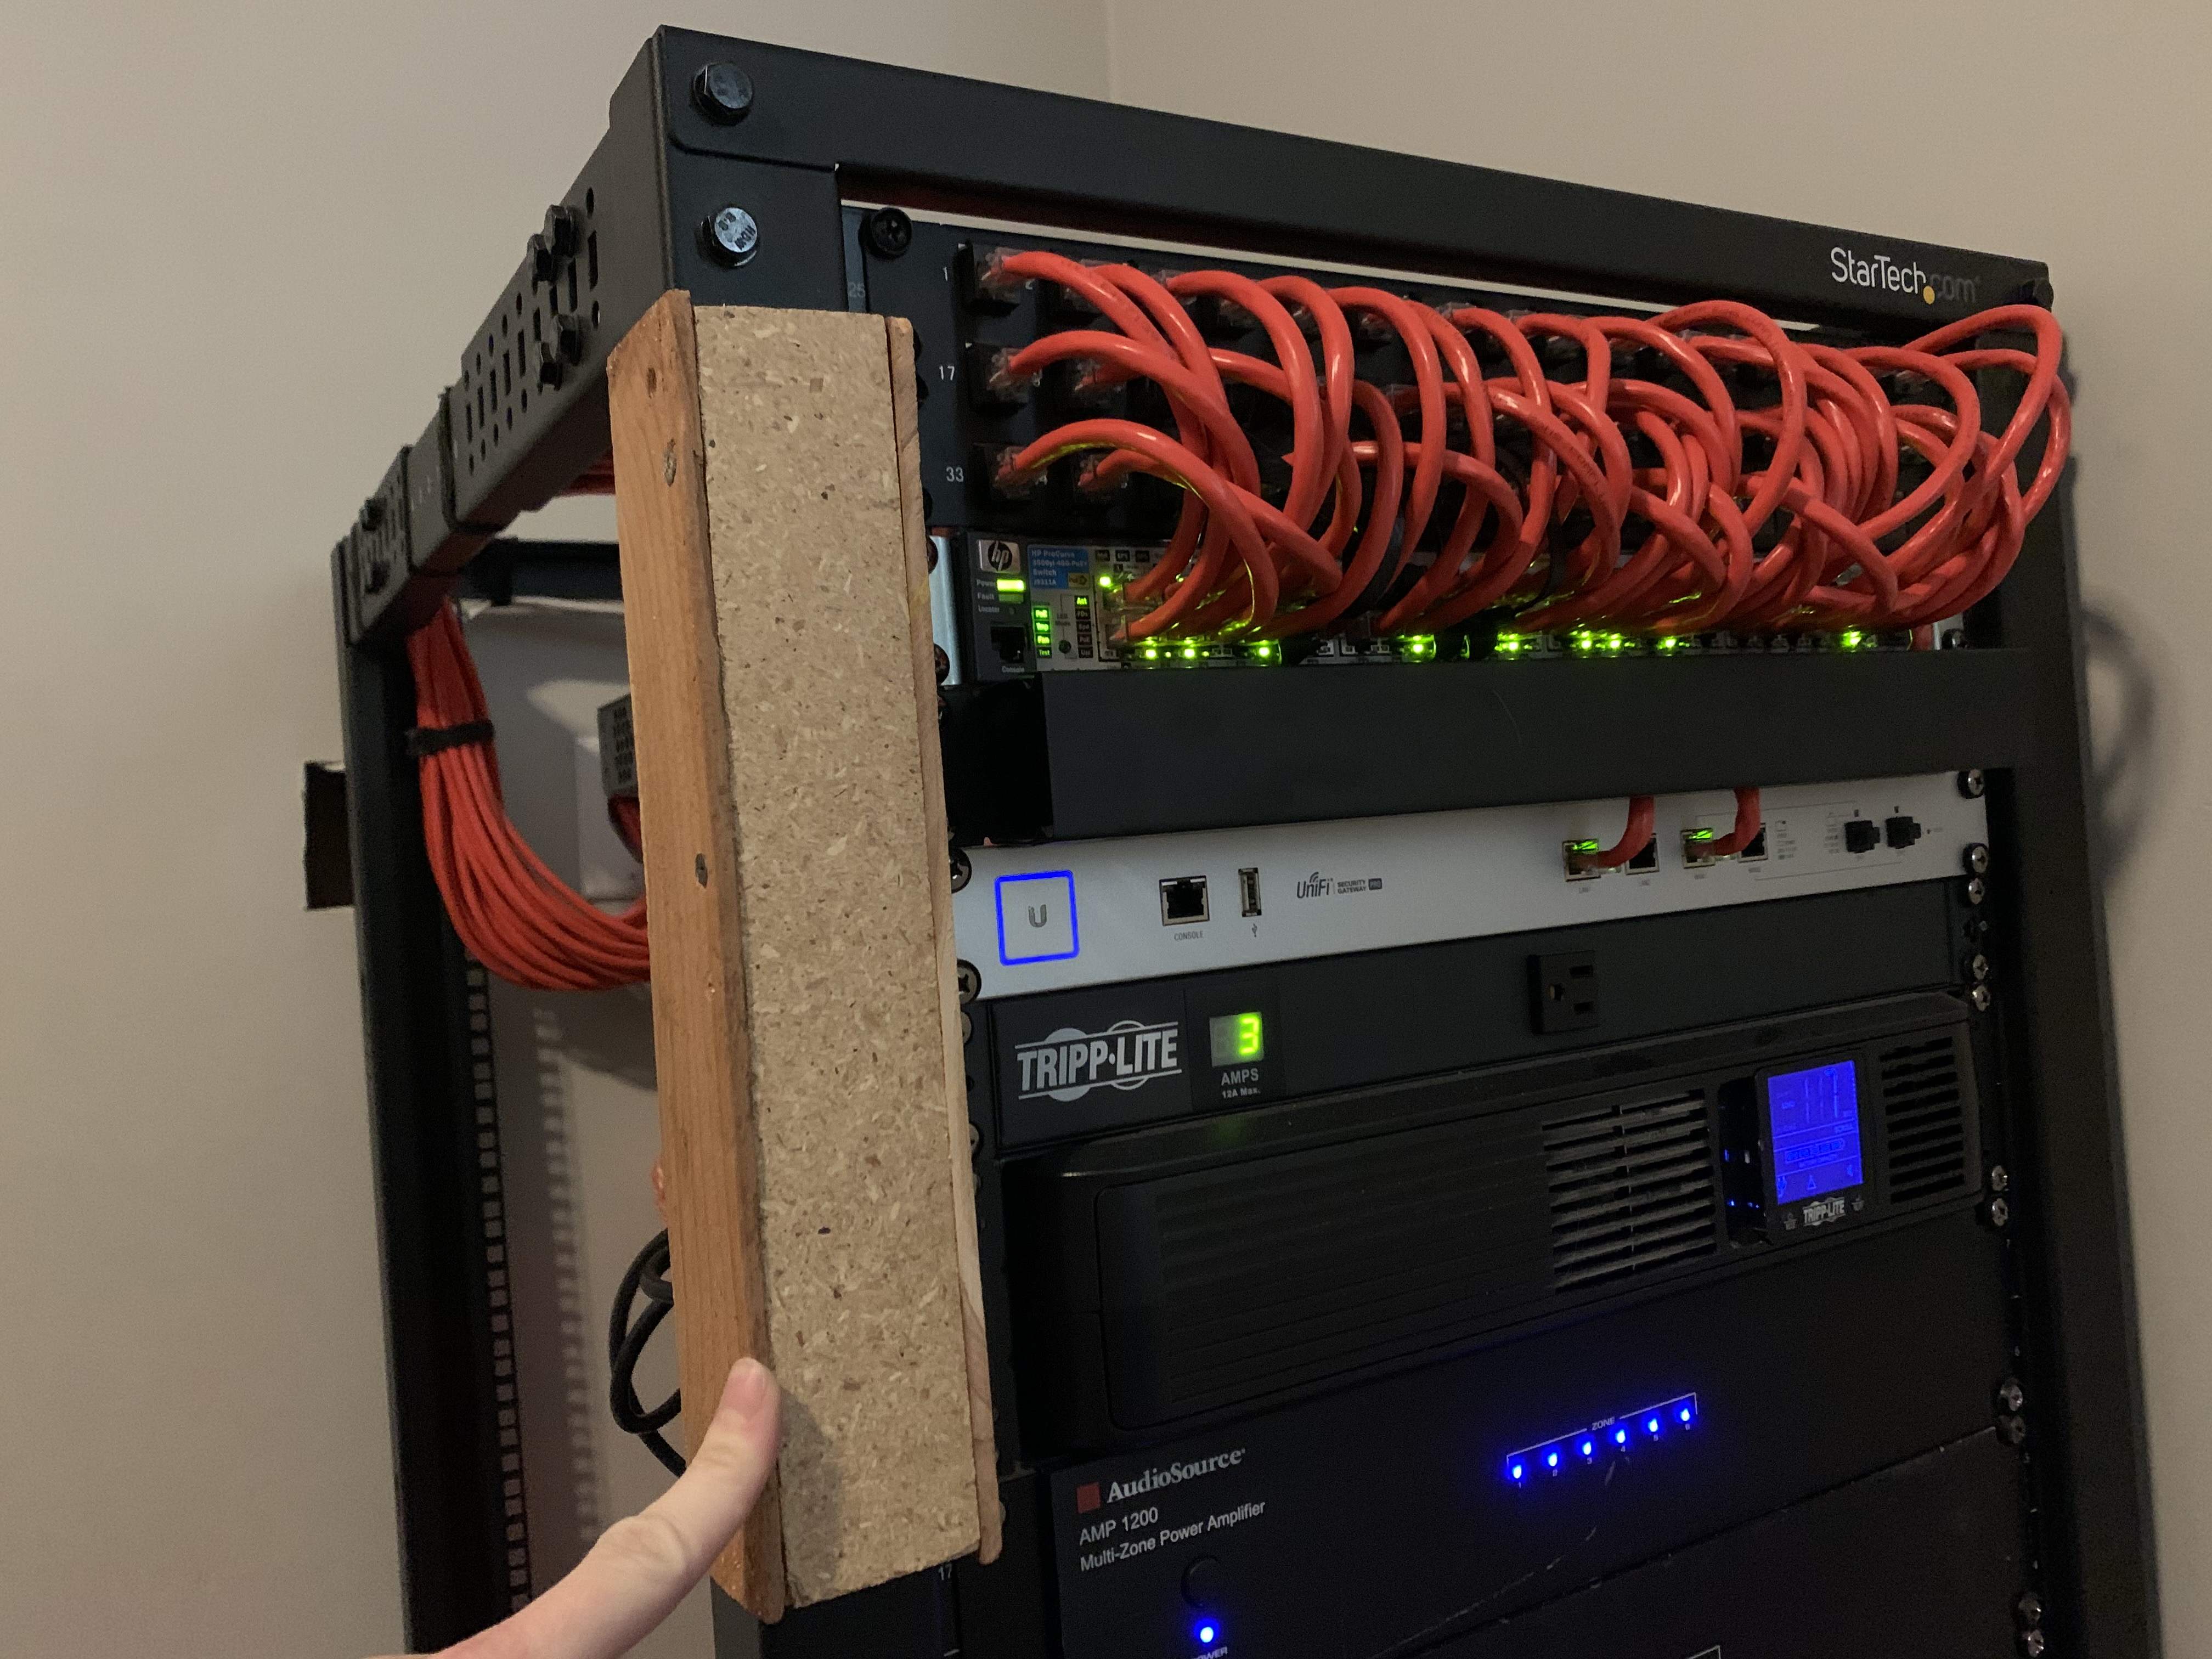
Rebuilding My Homelab
Because I no longer have any enterprise servers, I don’t need a full depth server rack anymore. When I put the server rack back together in the garage, I decreased the depth to make it as short as possible.
I ran speaker wire to a few more rooms for my Raspberry Pi controlled audio system before I put everything back together. It’s just easier with the rack not in my way while fishing wires through the wall up to the attic.
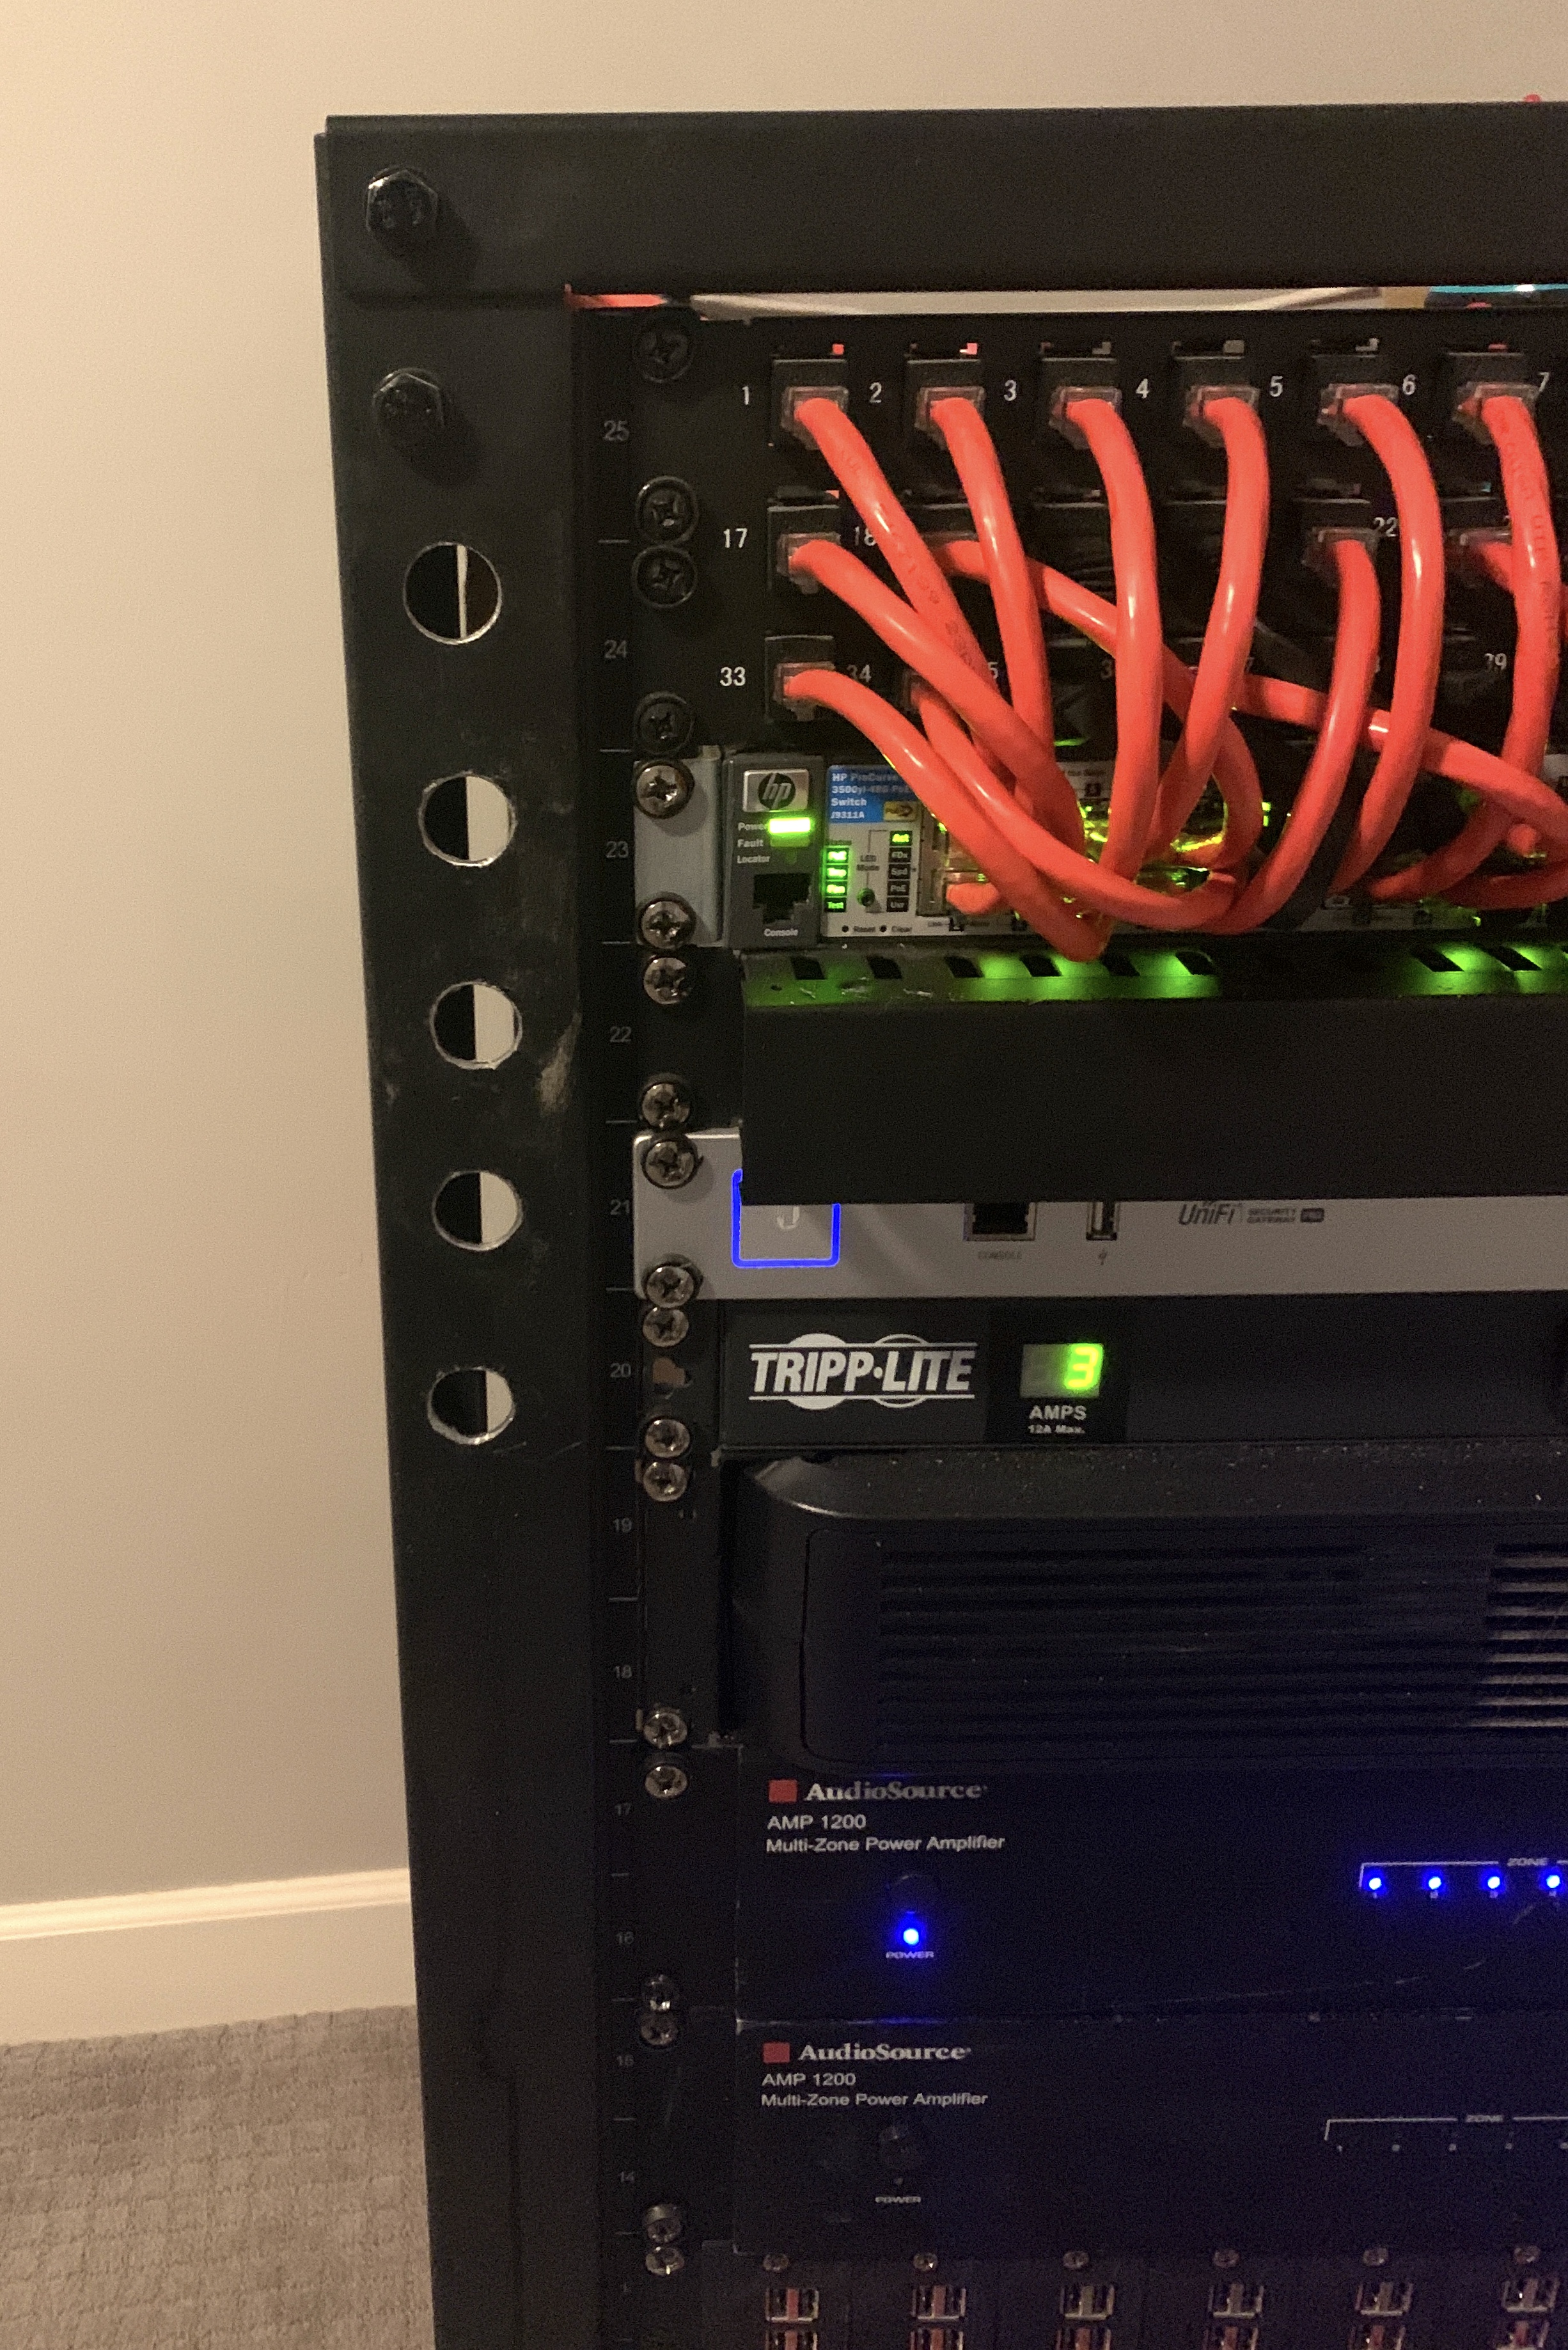
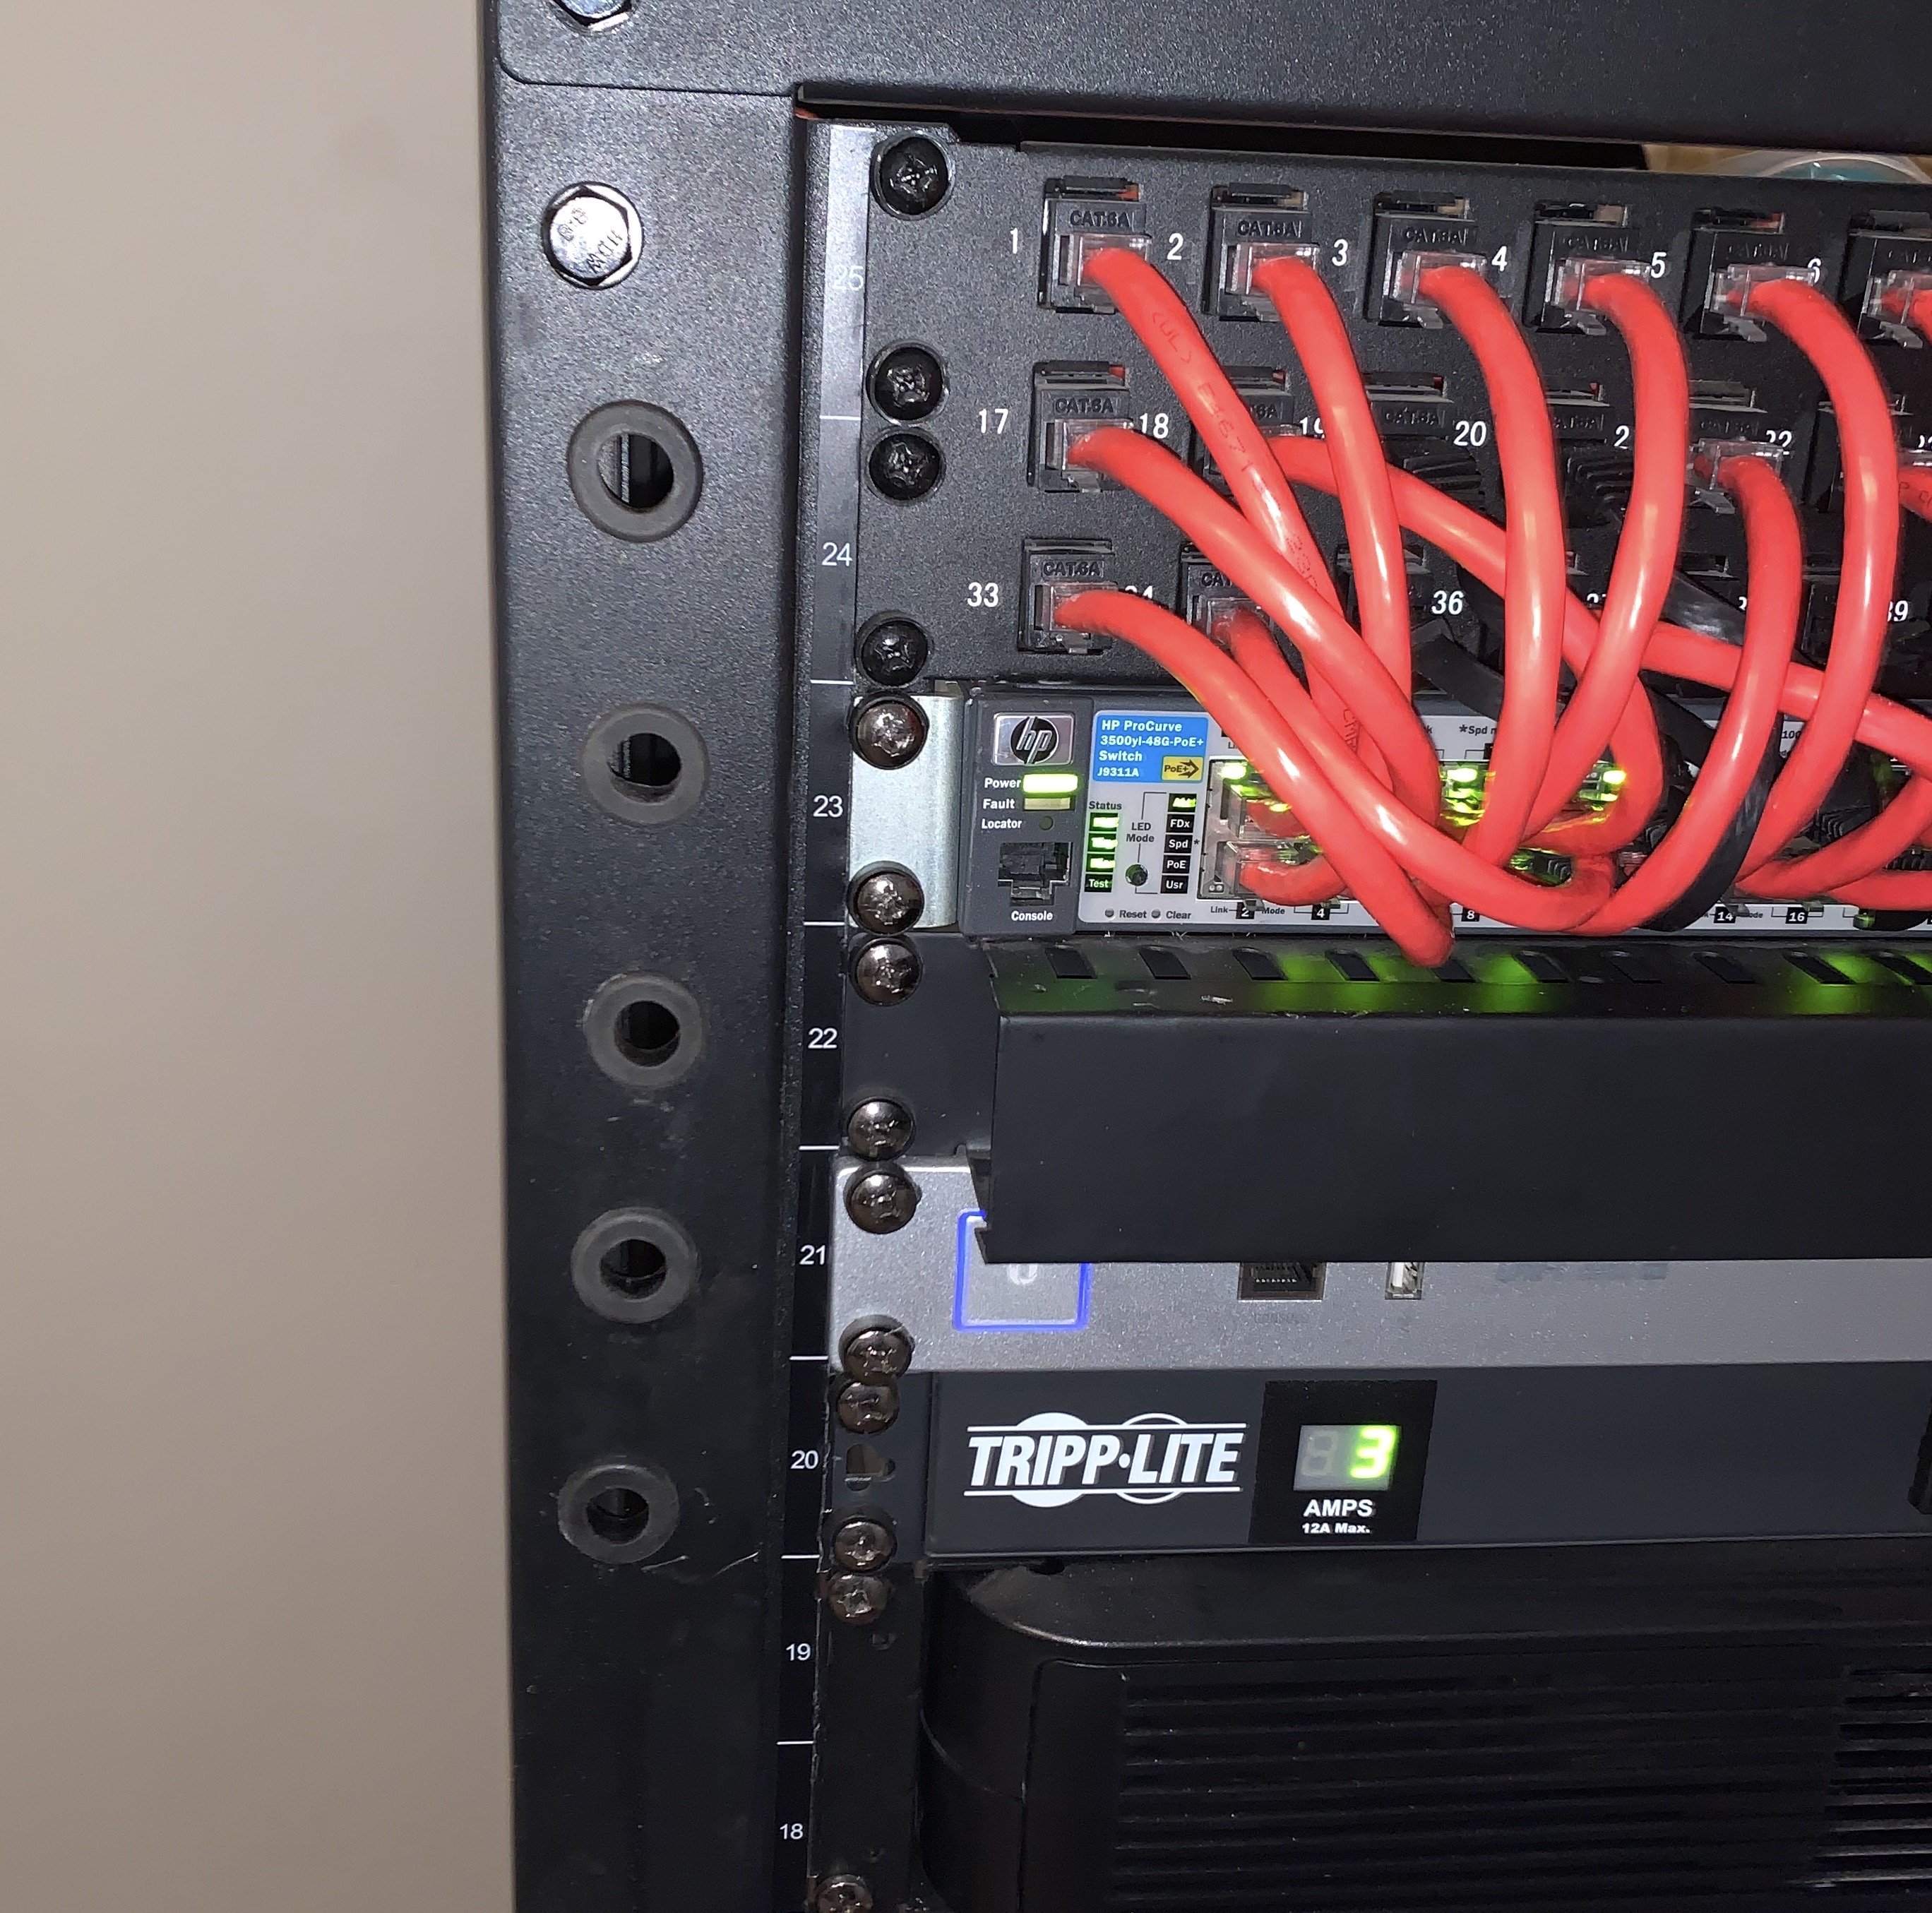
I moved my PDU/UPS closer to the bottom of the rack. This helps a bit with cable management inside the server rack.
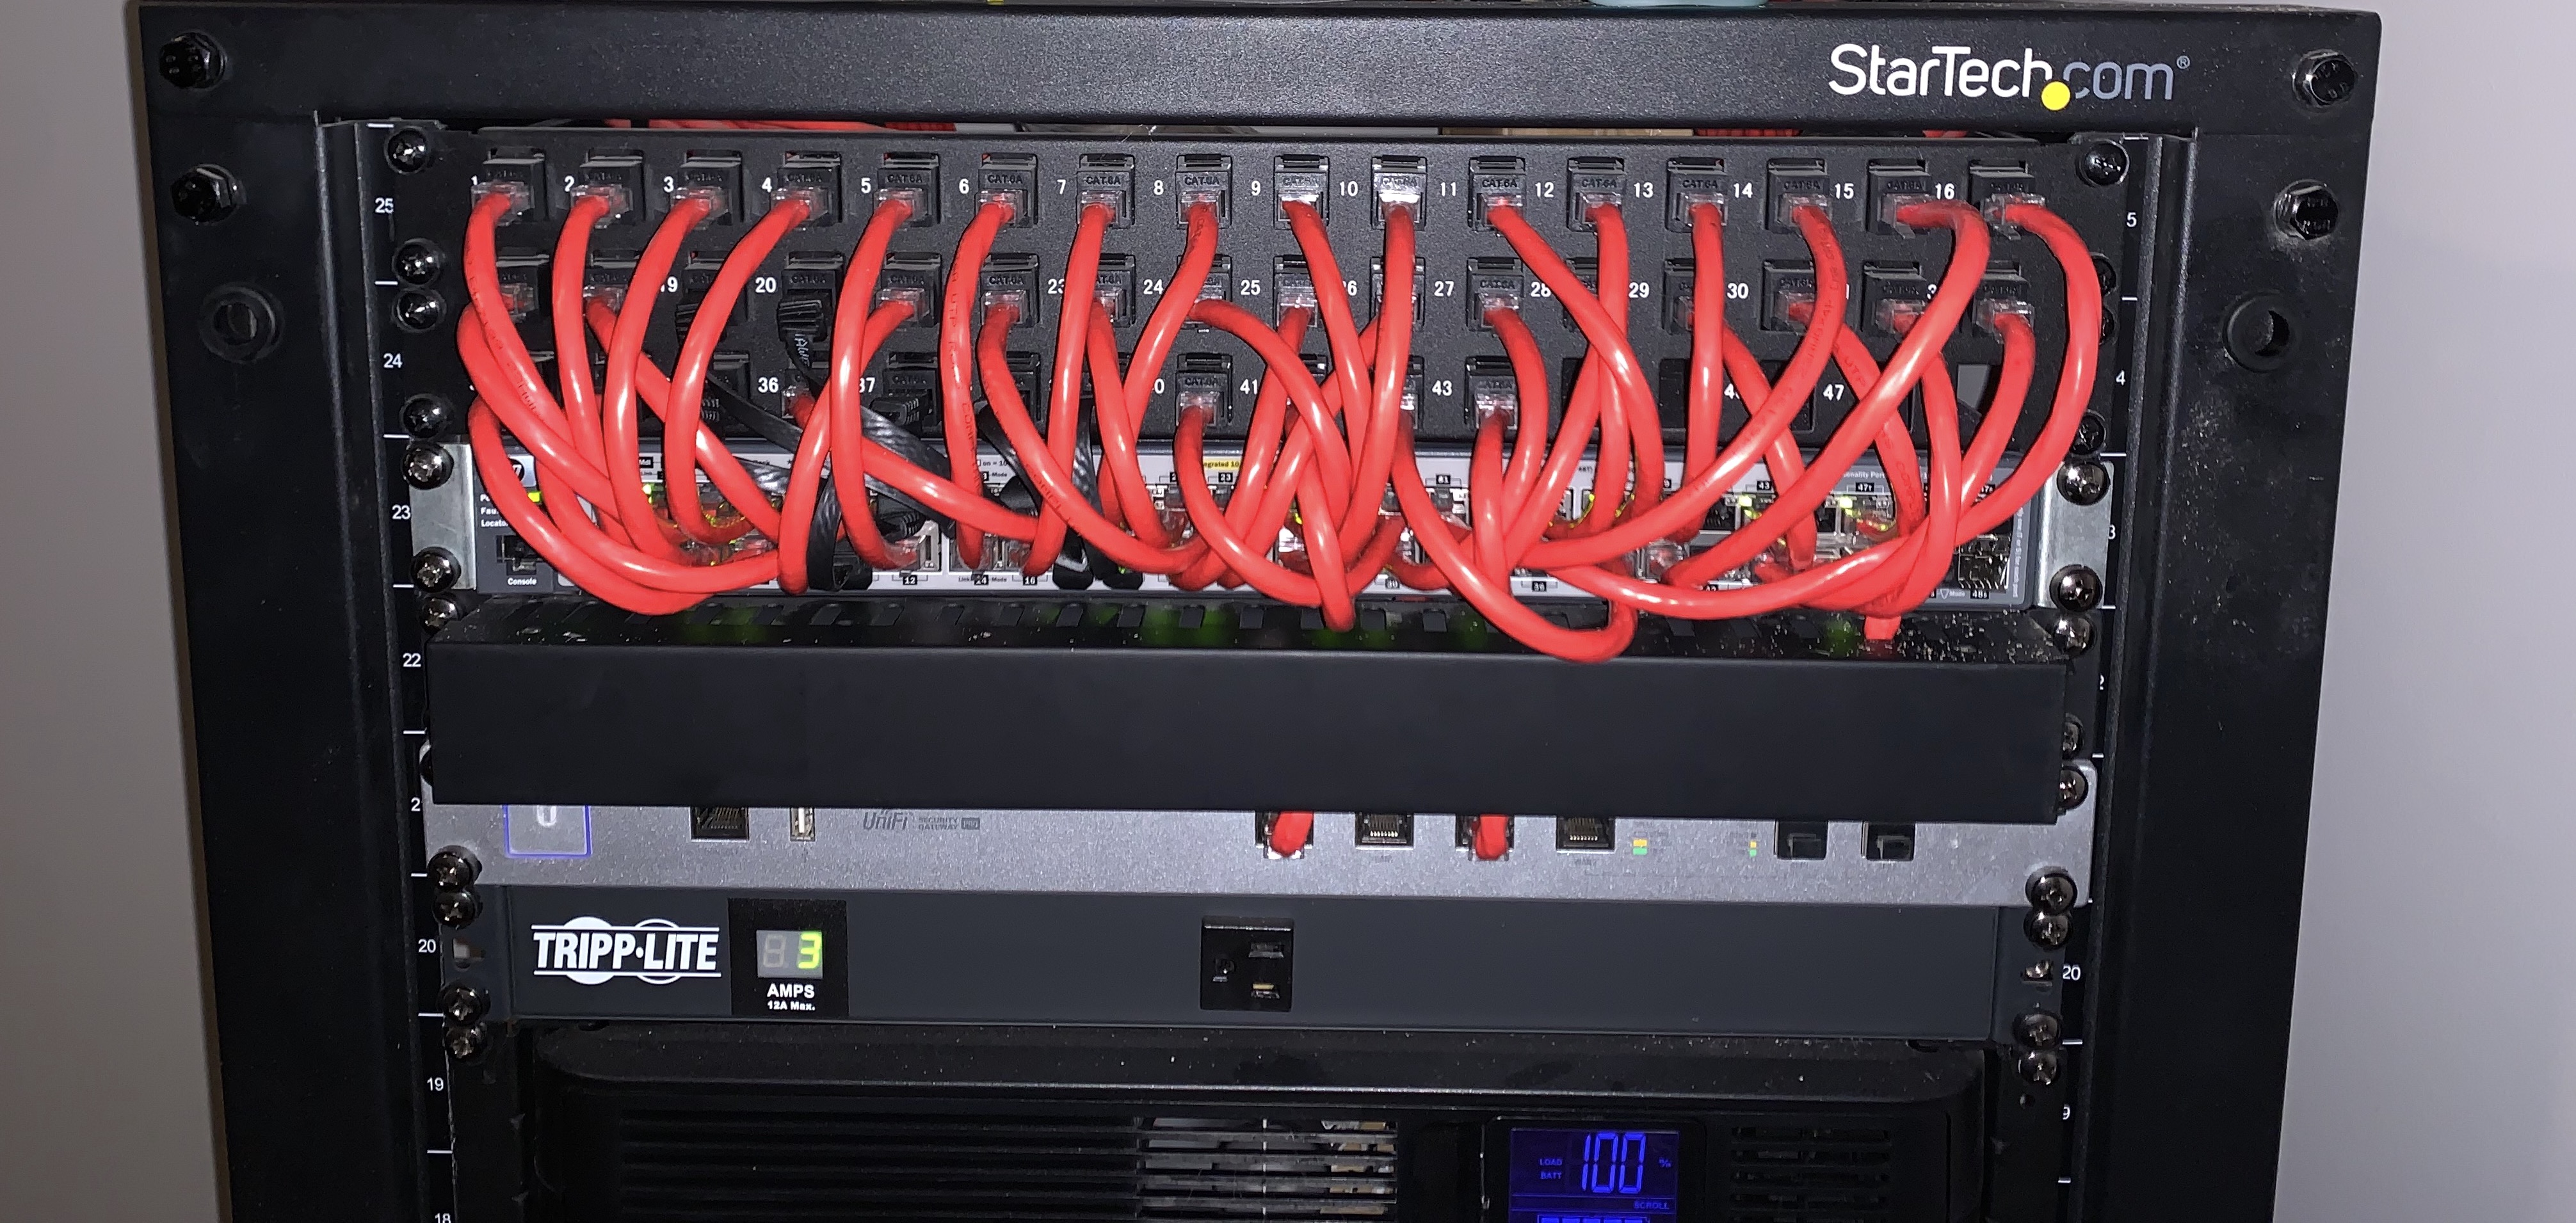
Here are a few pictures of the finished product!
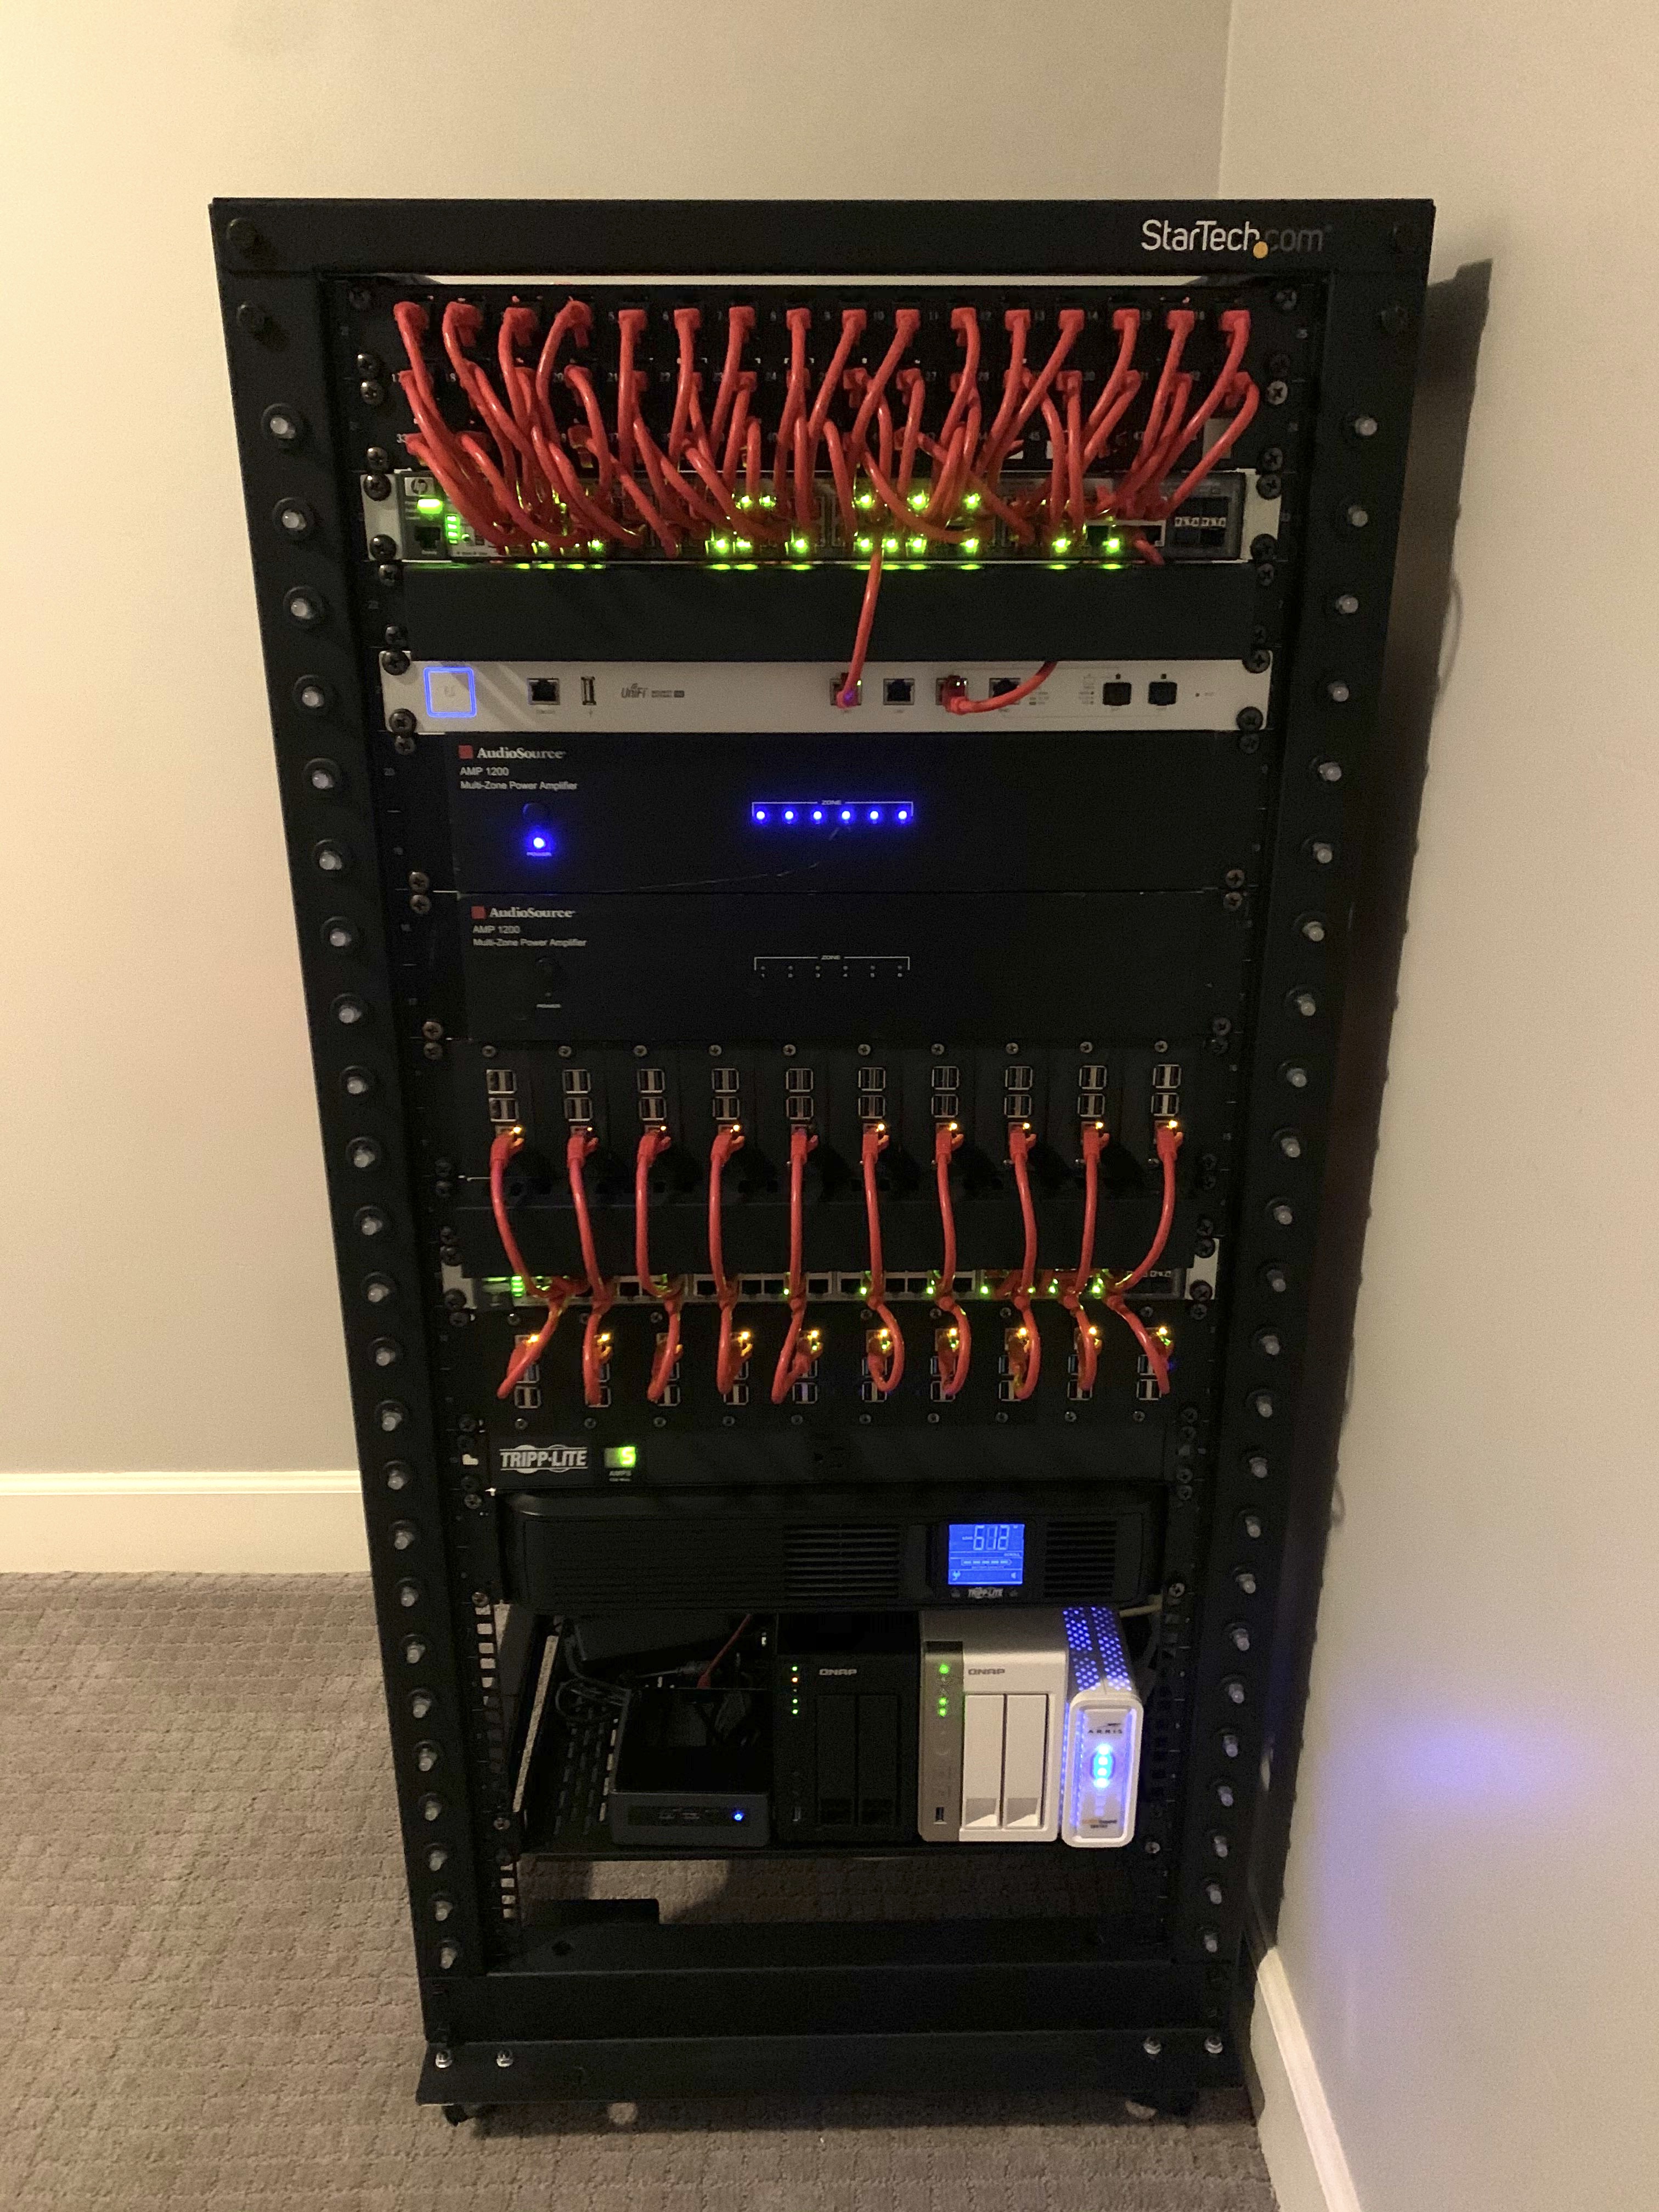
With the LEDs off.
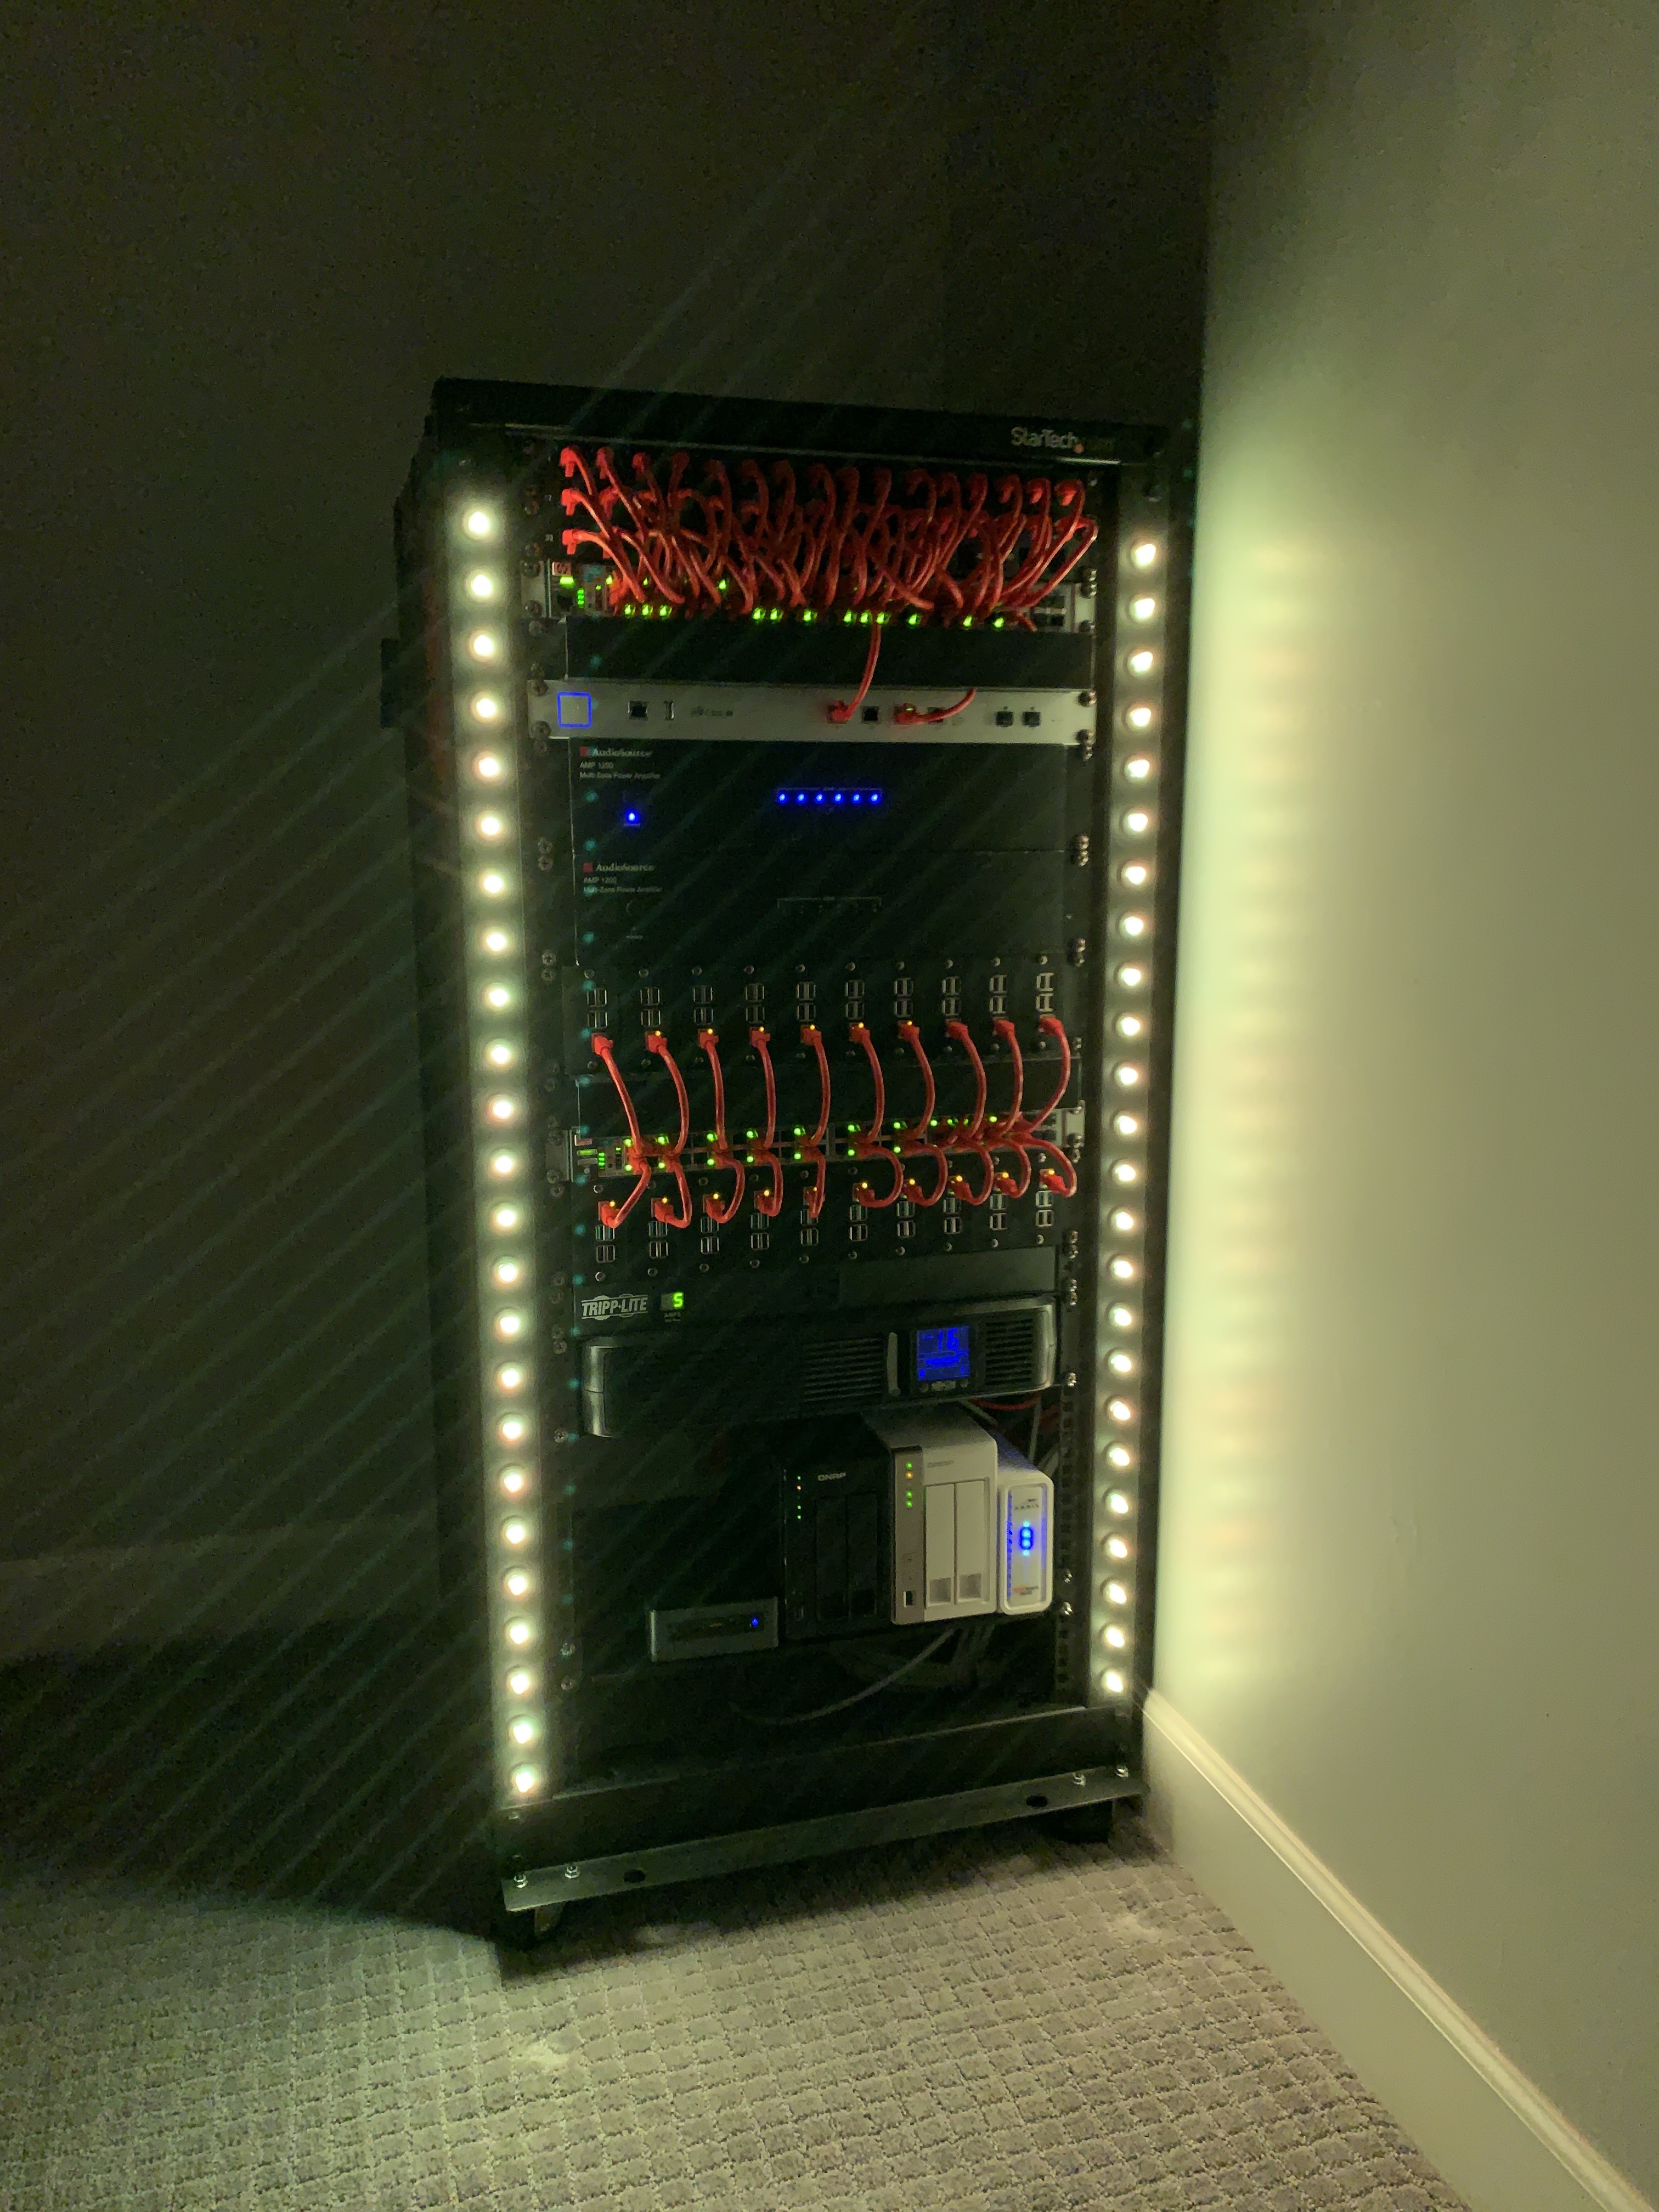
White LEDs.
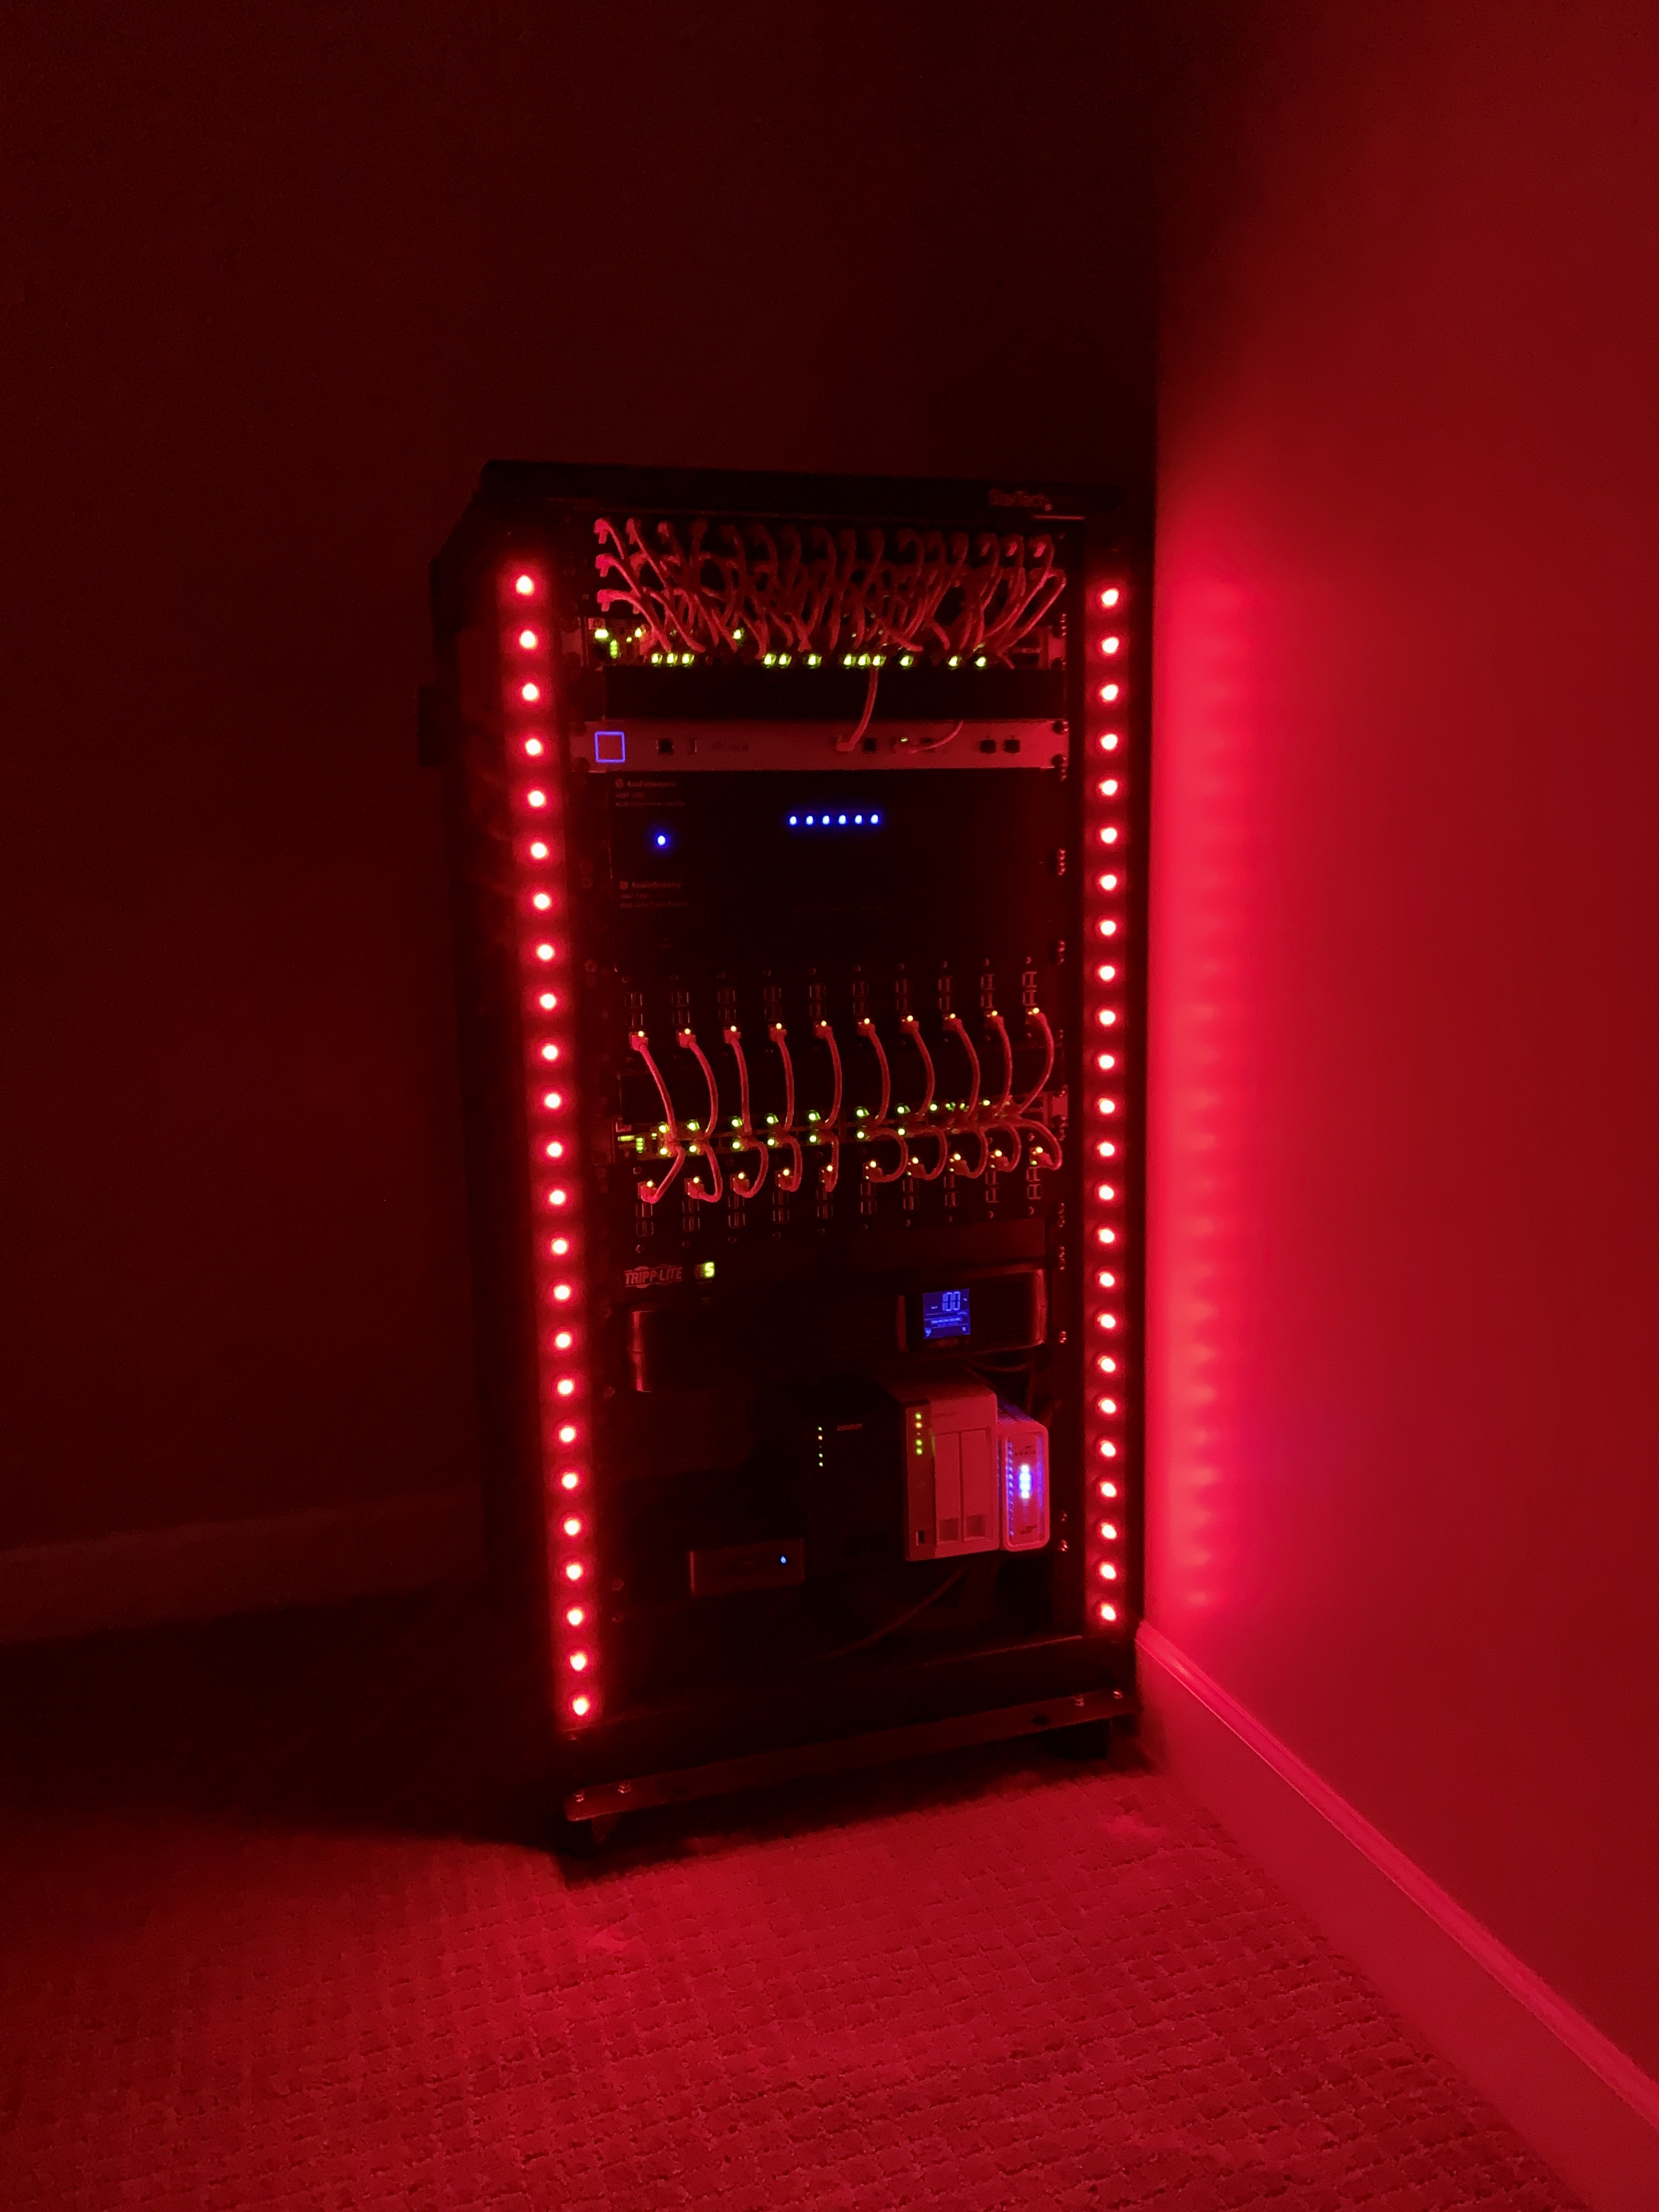
Red LEDs.
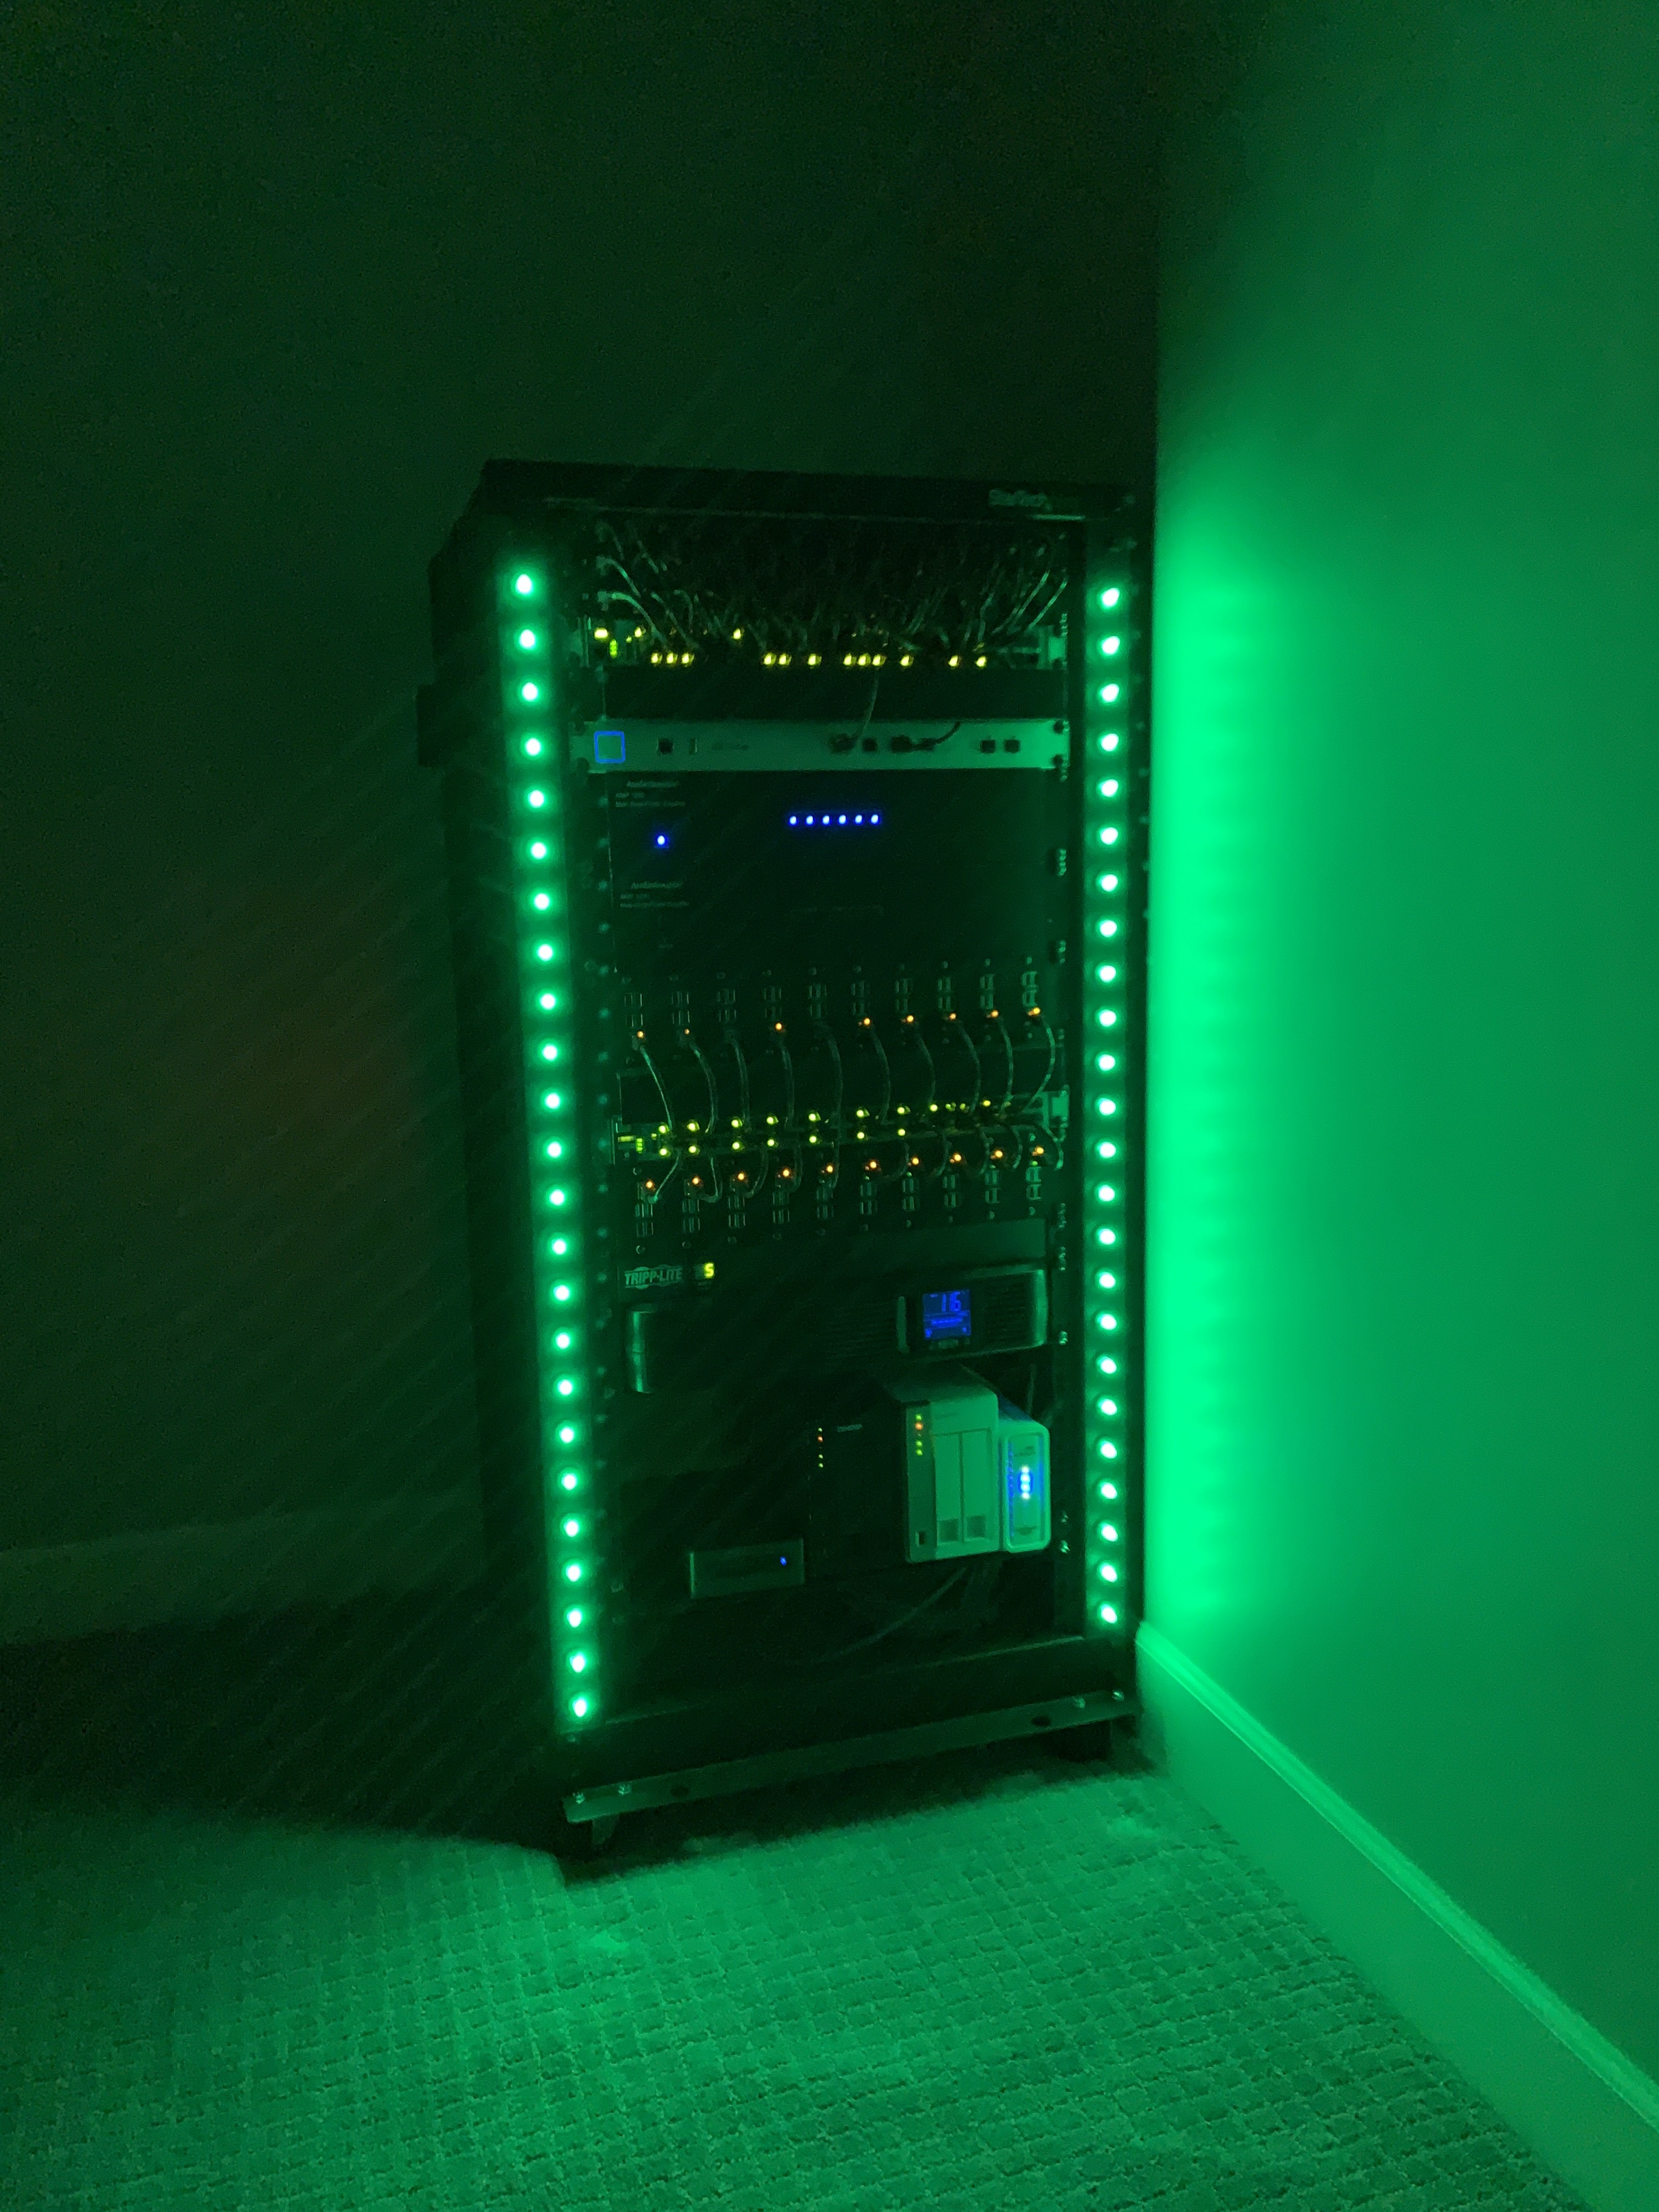
Green LEDs.
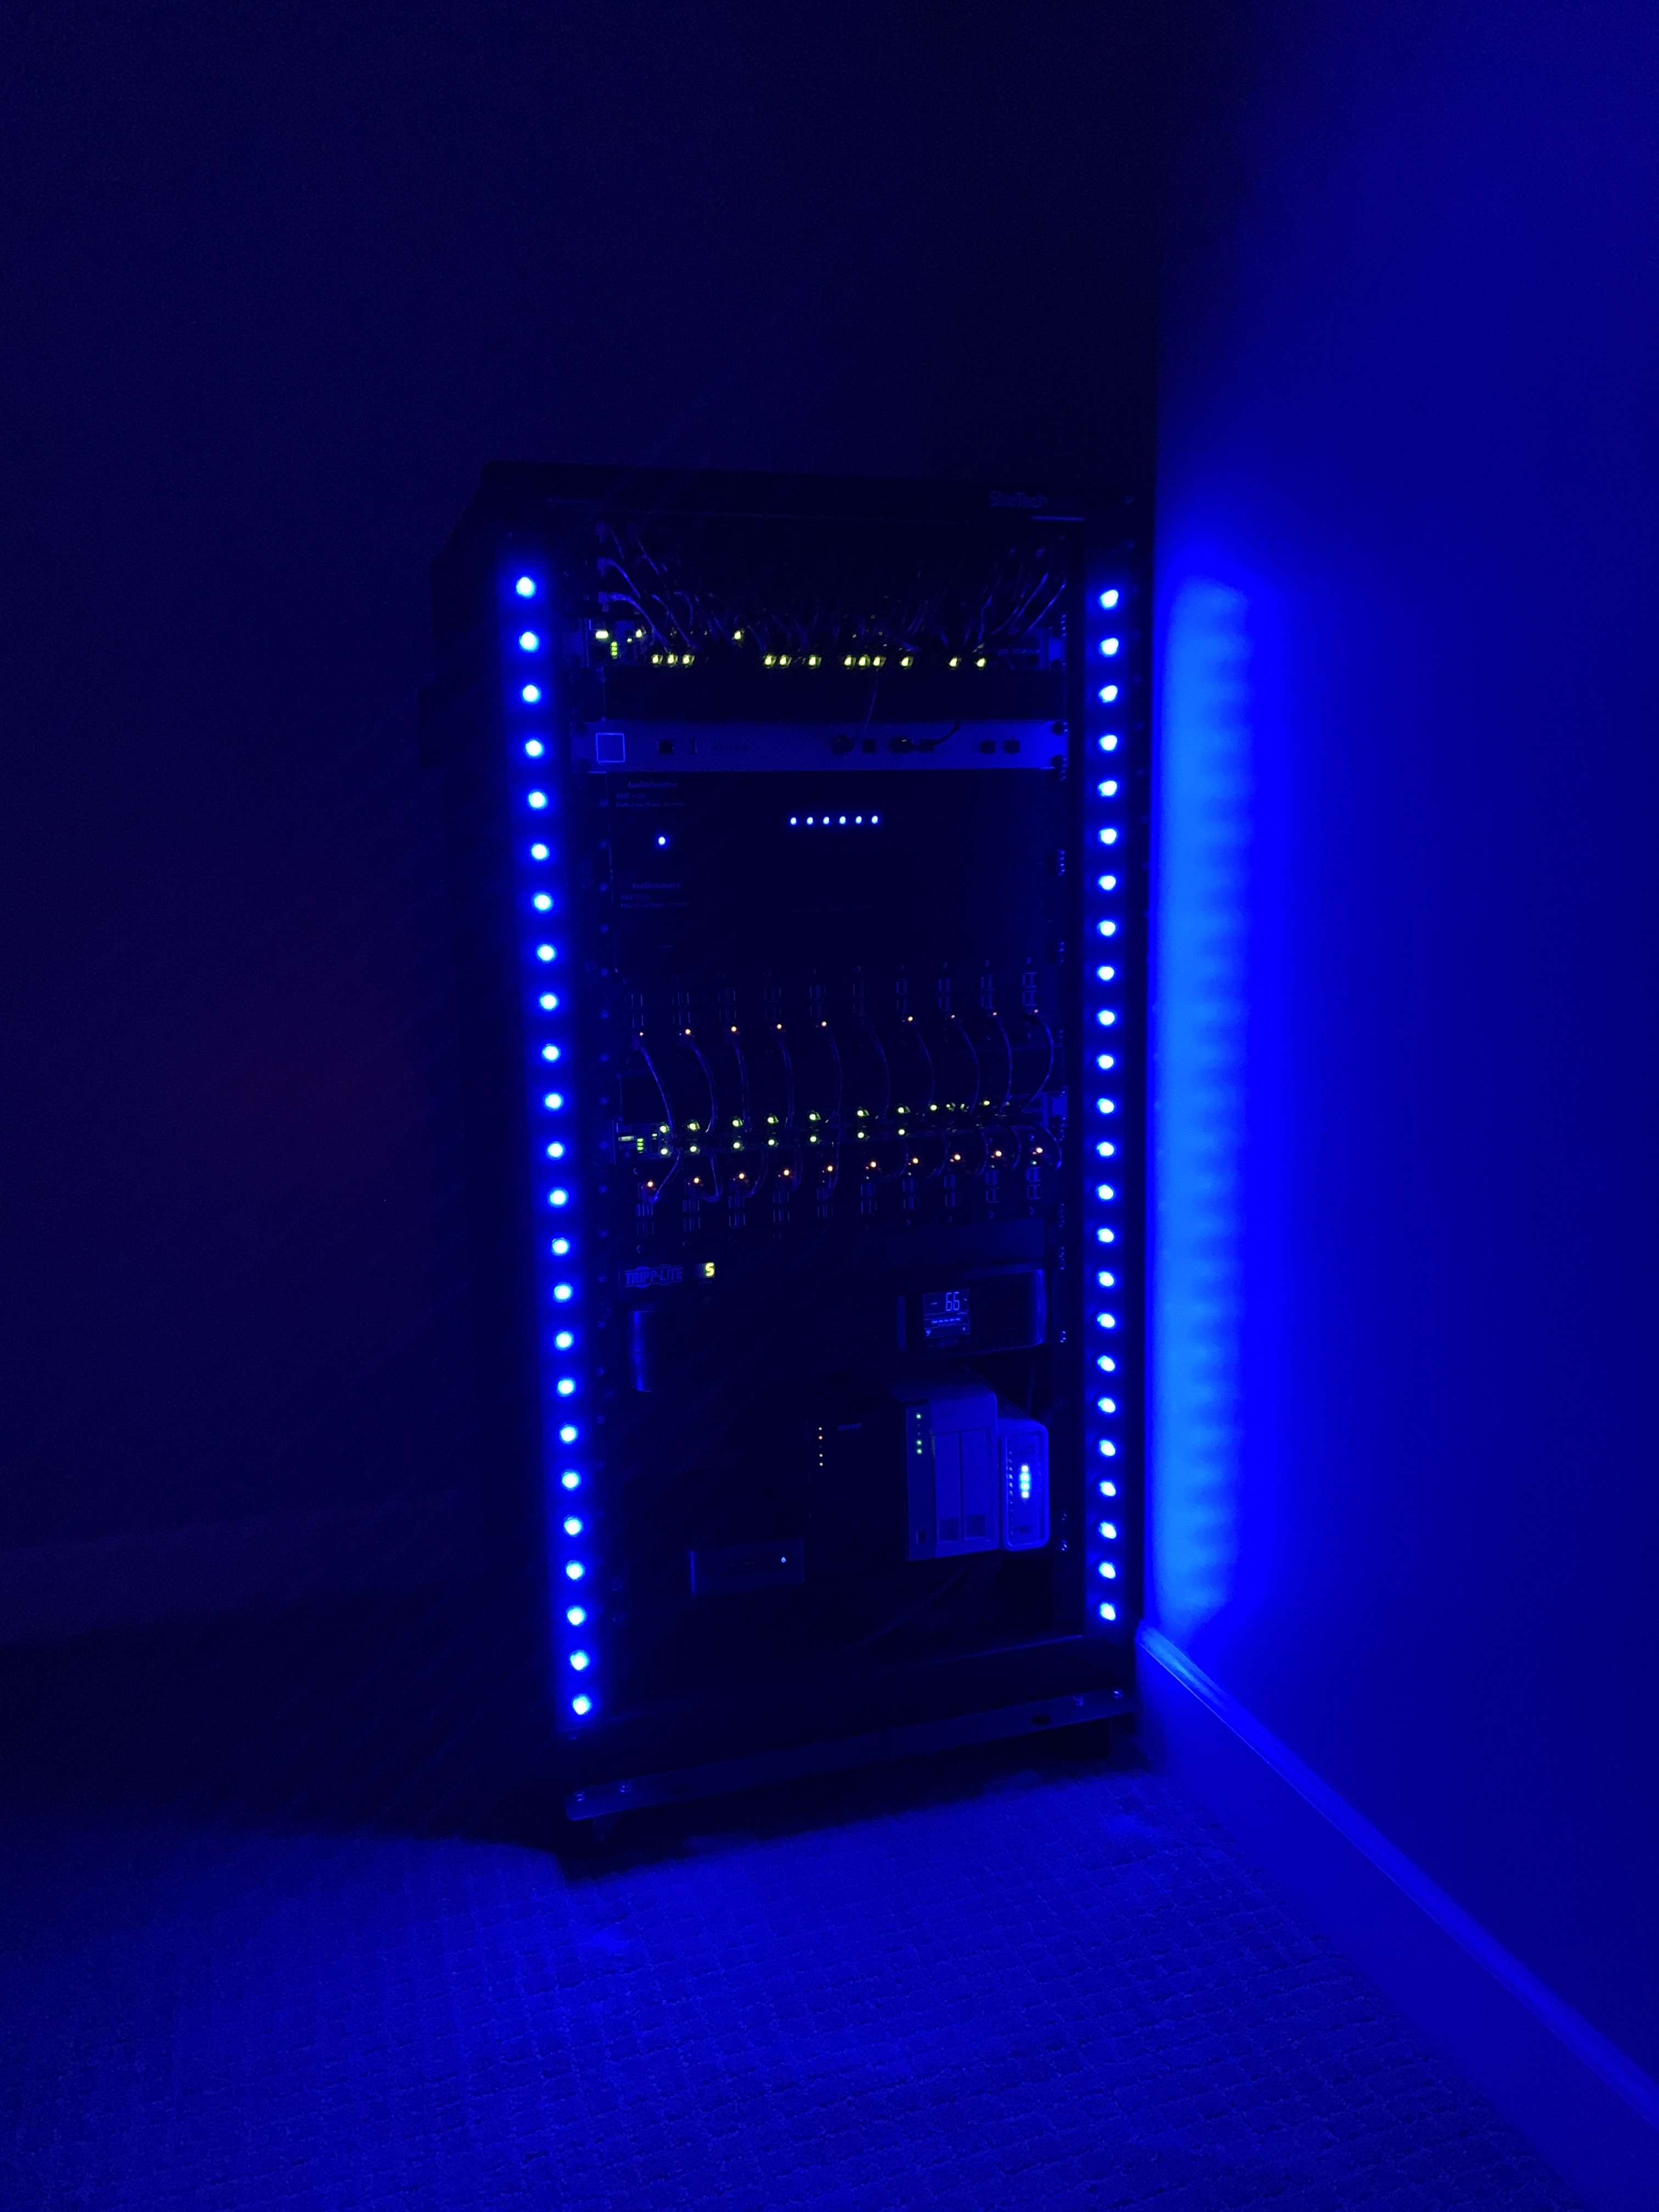
Blue LEDs.
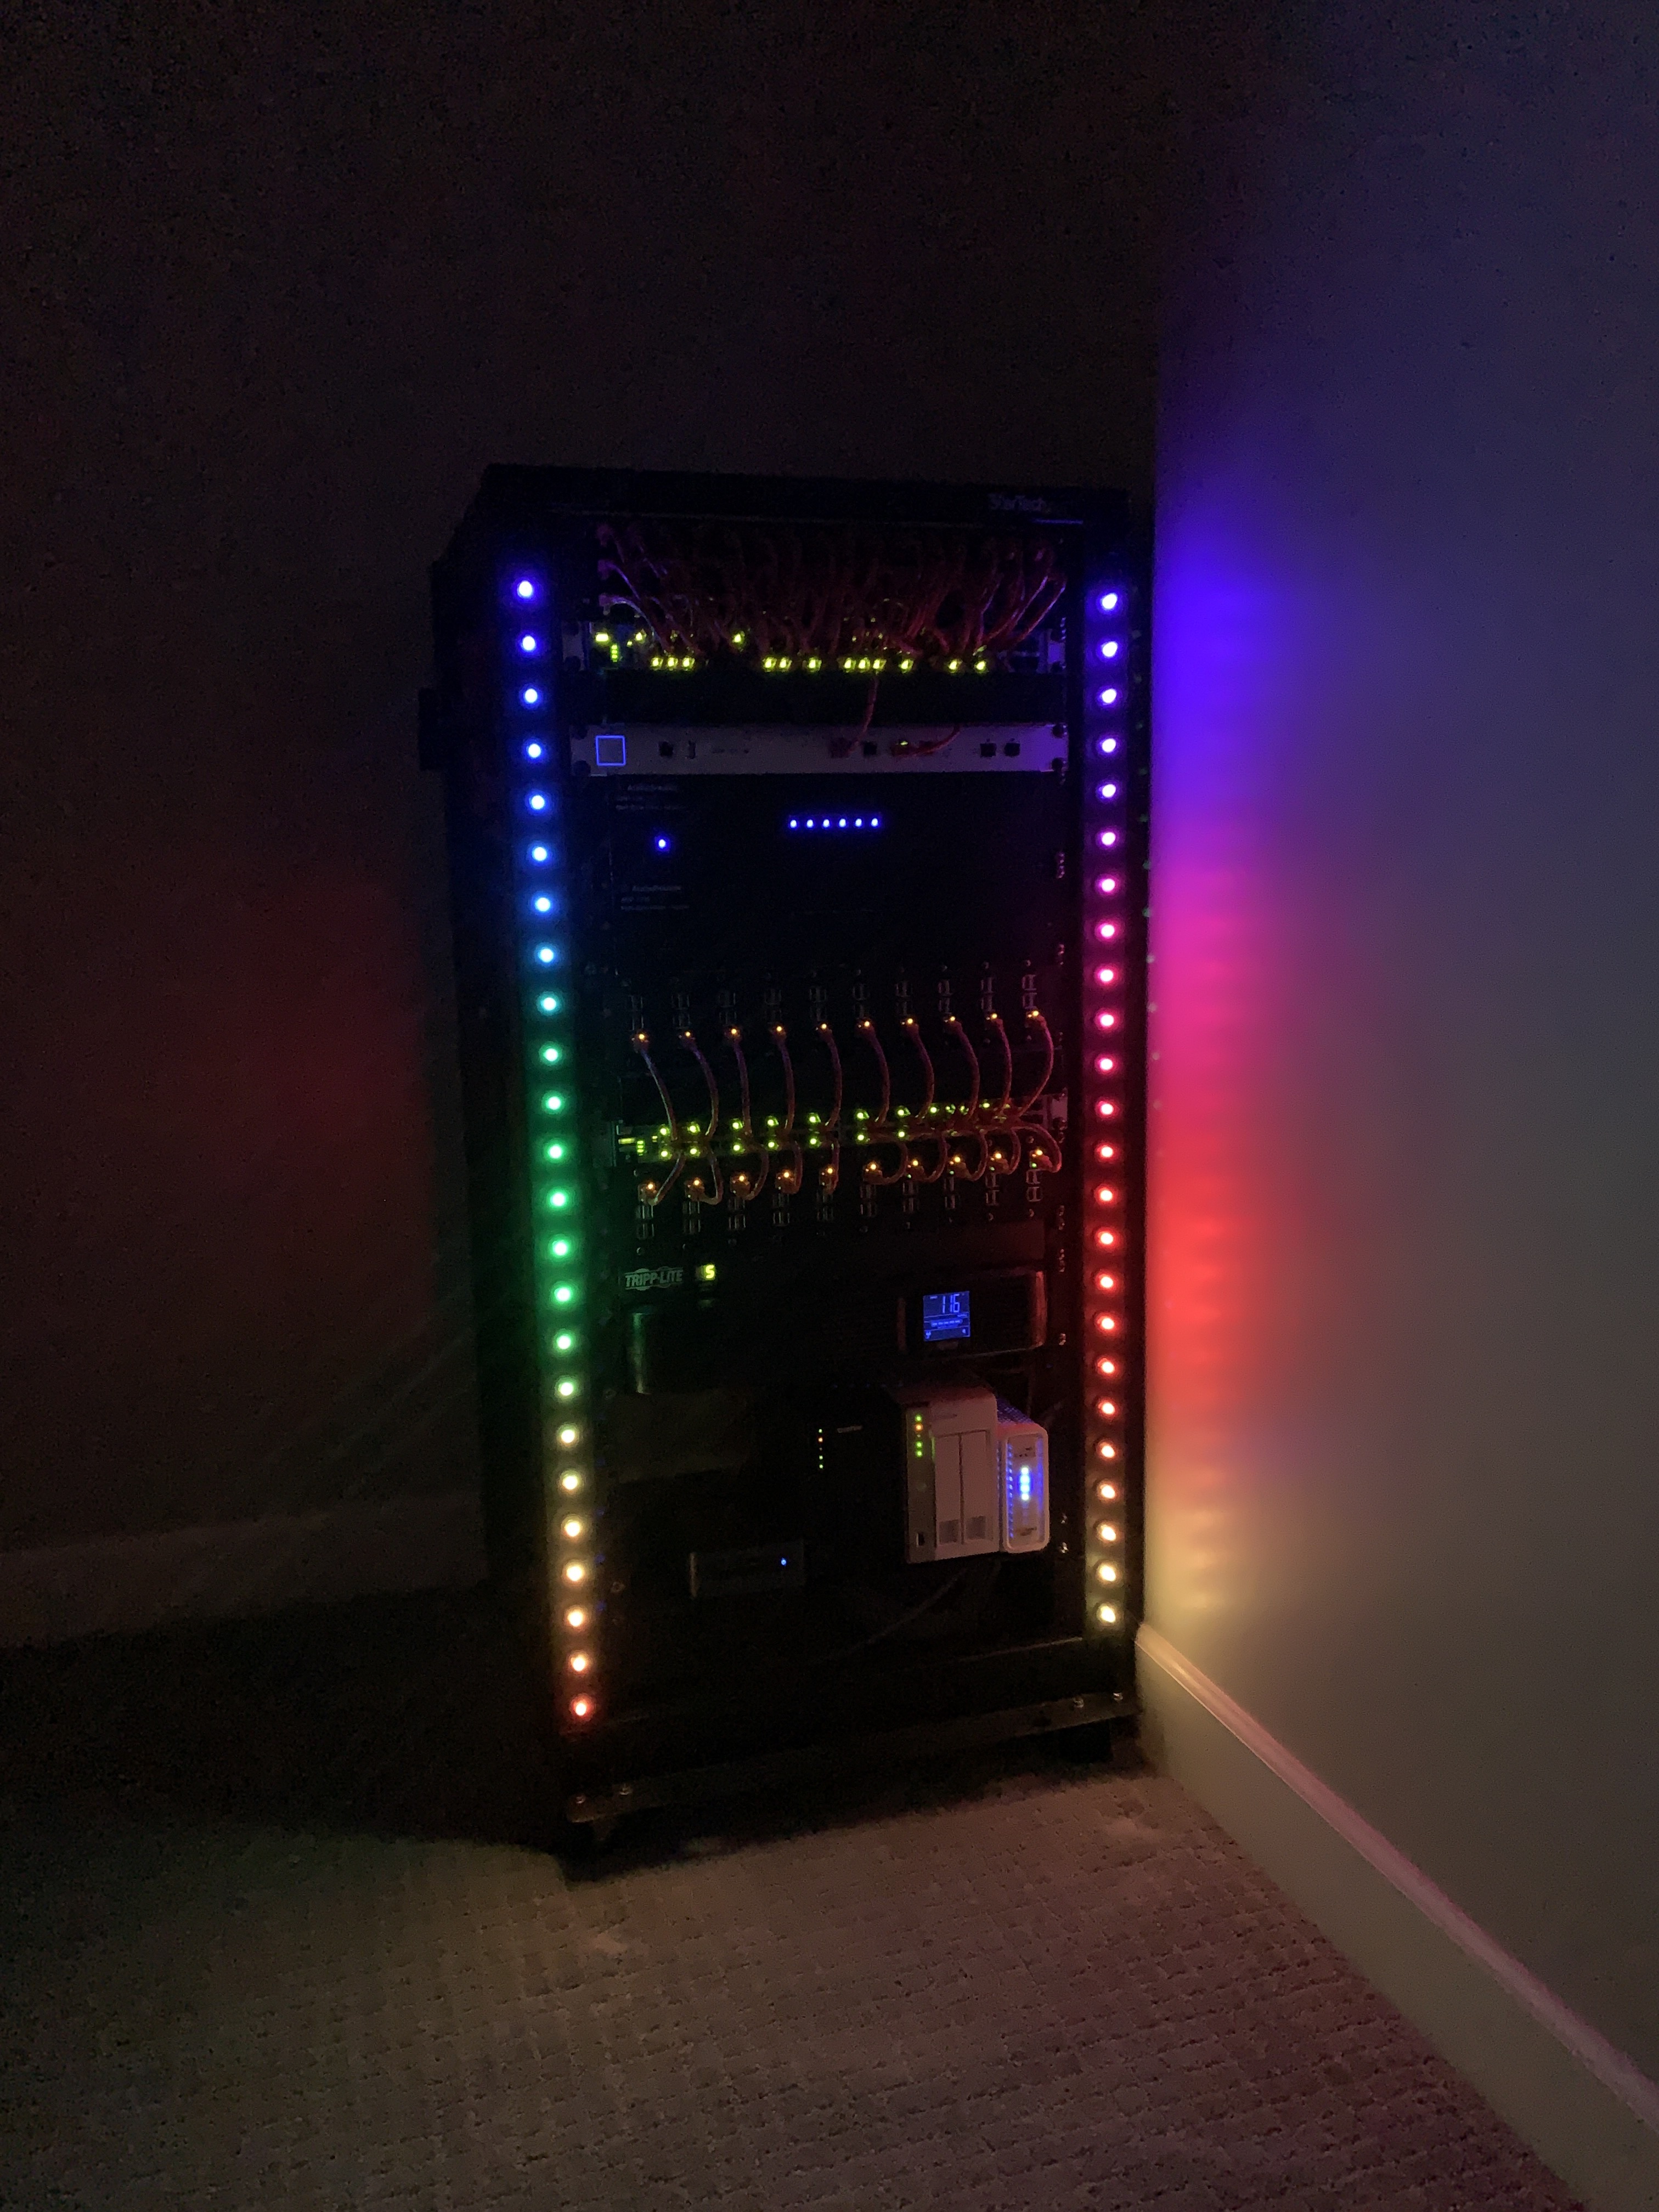
Multi-colored LEDs.
Takeaways
I am very happy with the end result on this project.
The main thing I learned (again) is to make sure you use the right tools for the job and don’t cut corners. It will always cost you in the end.
I am now the proud owner of a drill press. This tool will definitely come in handy on other projects. If I end up redoing the roofline LEDs on my house, I will definitely use this for that.
I think the homelab community should do more stuff like this. It’s really fun and I am interested in the cool stuff we could come up with.
Using these LEDs for some home automation is going to be awesome. I can’t wait to start writing some scripts using the WLED HTTP Request API to control them. I already listed a few of the ideas I have at the top of this post. Stay tuned!
Holler at me on Twitter if you have any questions about the build.
Subscribe to my mailing list below or follow me on Twitter to be notified when I post. You can also Buy Me A Coffee to help keep me going!