Raspberry Pi 4 Boot From USB

Raspberry Pi 4 Boot From USB
If you used this tutorial to install the beta version of the bootloader, scroll to the bottom for update instructions
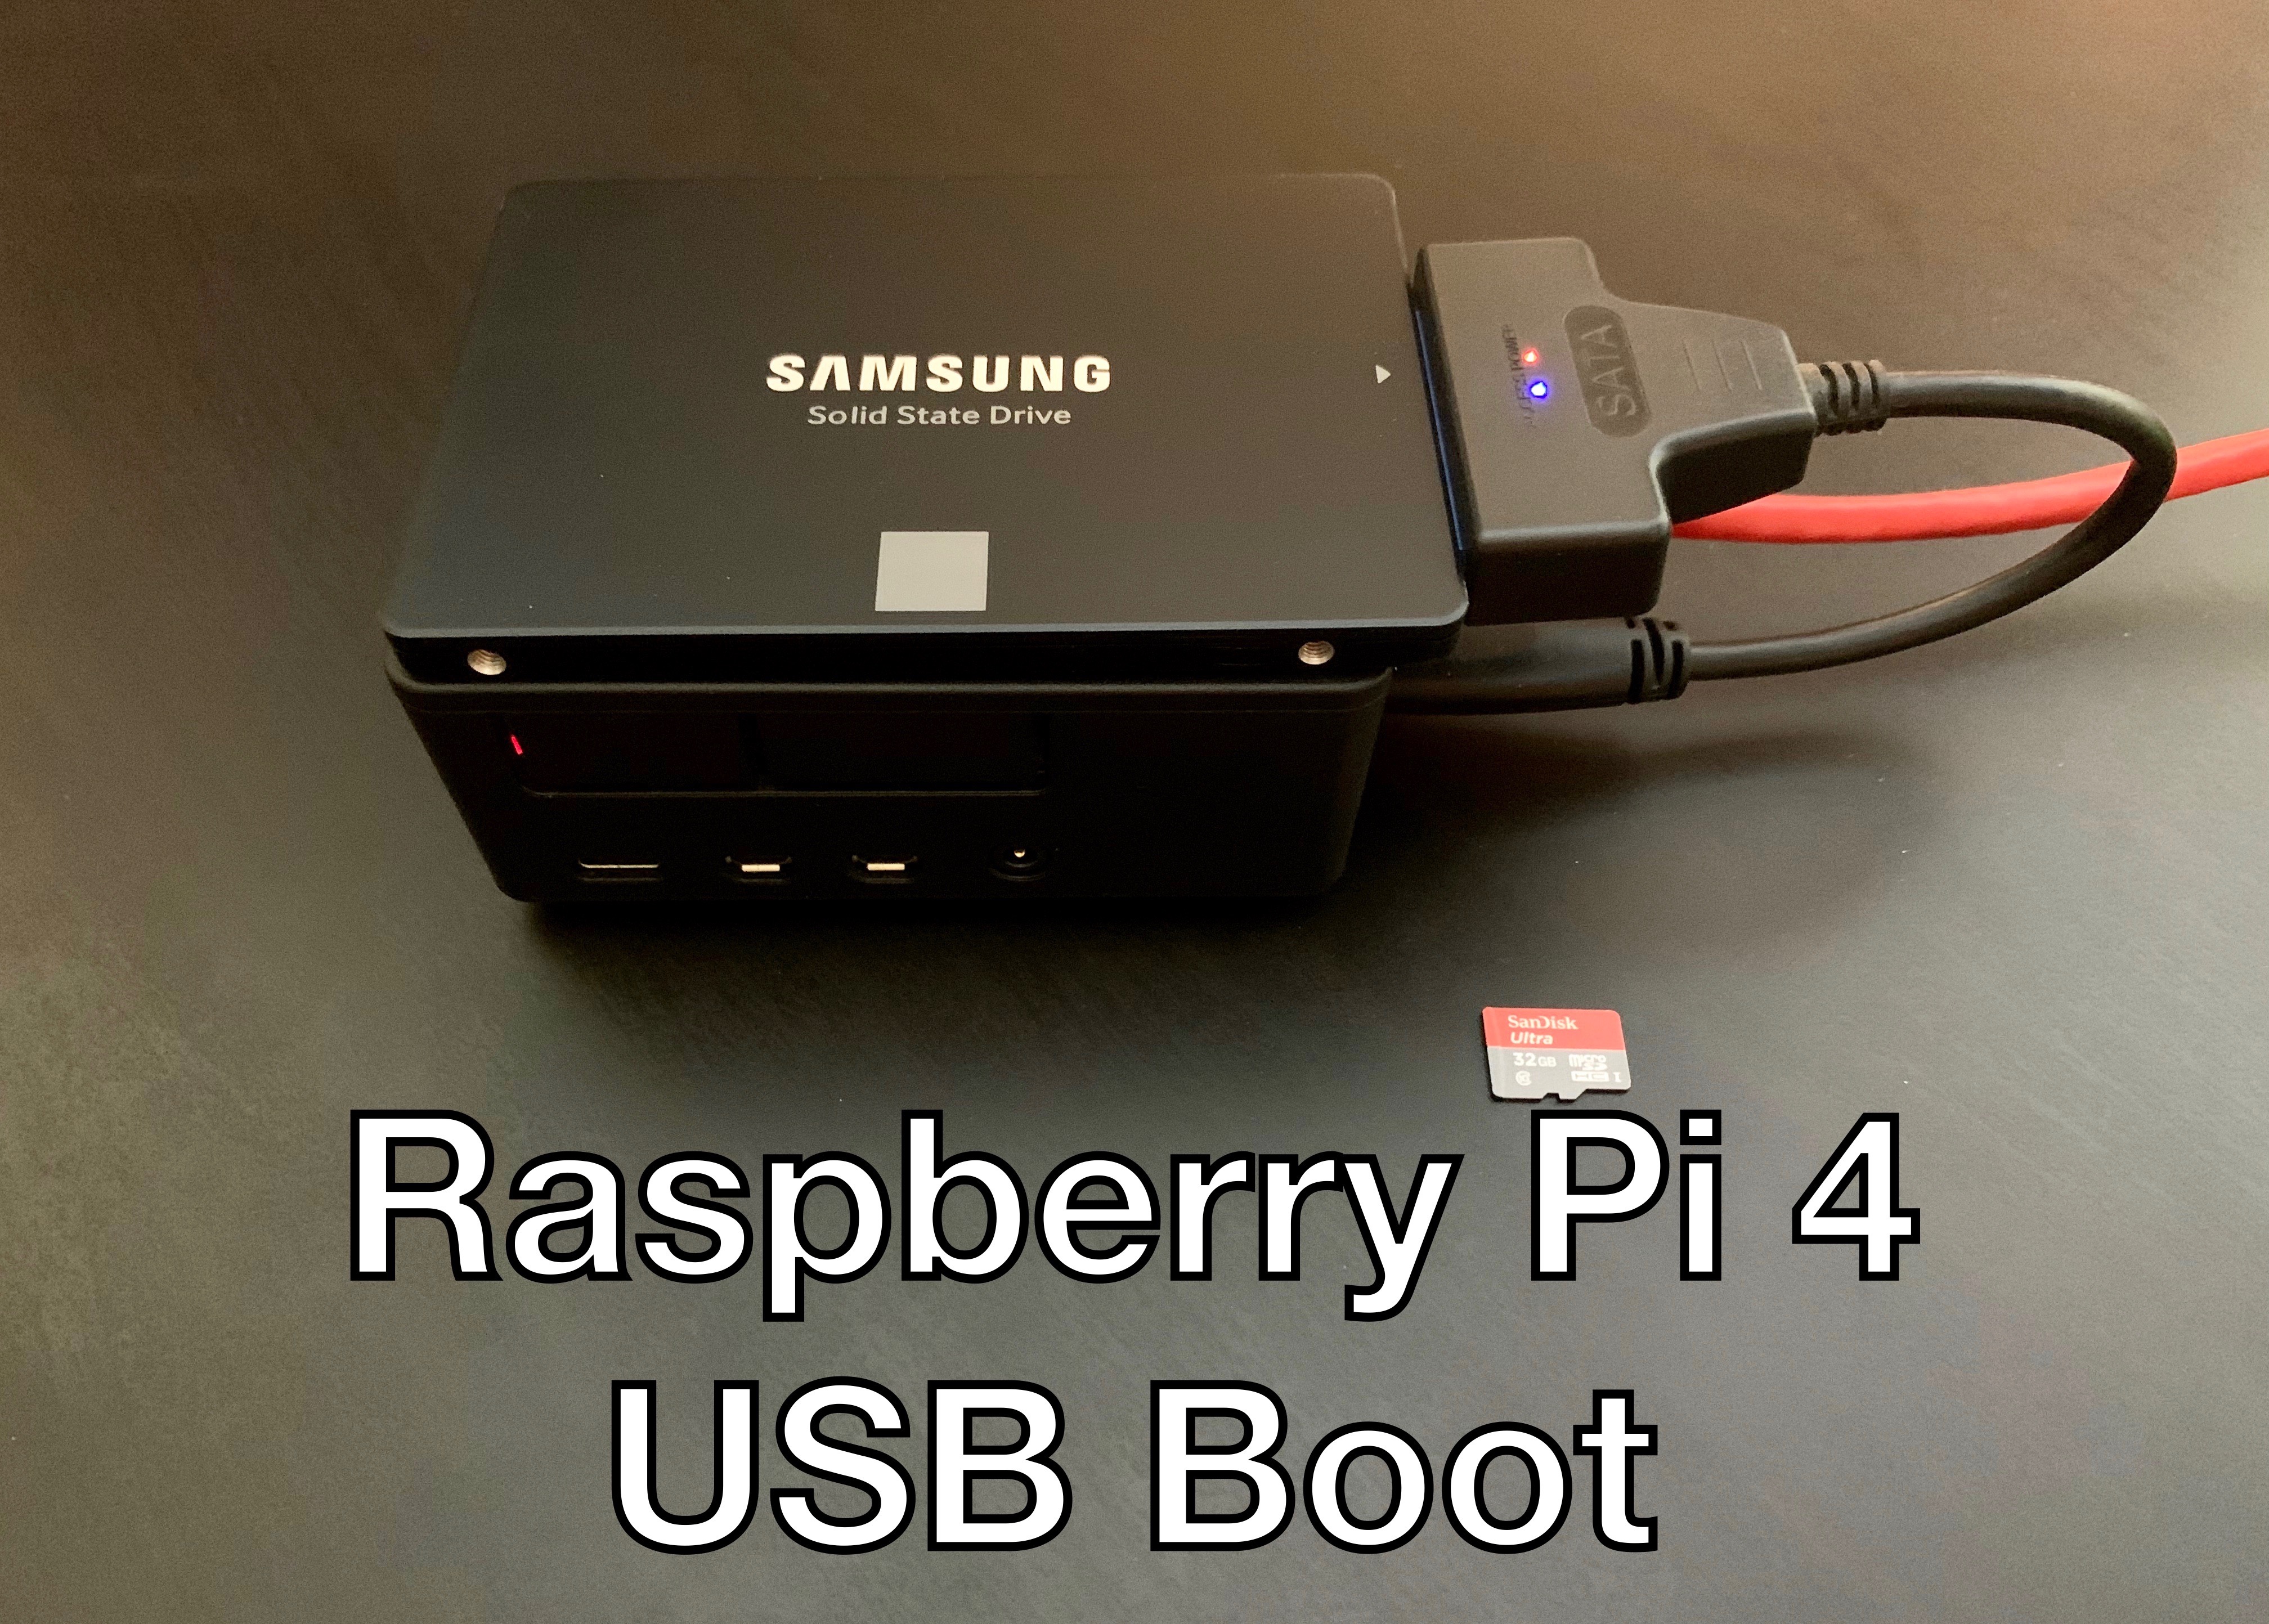
The Raspberry Pi 4 has been out for a while now. One of the things that it was previously lacking was the ability to boot from a USB drive. Before this USB boot was only officially supported on the Raspberry Pi 2B v1.2, 3A+, 3B, and 3B+.
Raspberry Pi has recently announced a new Pi 4 Bootloader Configuration to allow USB (thumb drive or SSD) boot!.
Before I go any further, I want to mention that this is the official solution from Raspberry Pi. There have been a few “hacks” to get this working in the past but none of them are really great if you like to do updates.
This is now a perfectly stable release from Raspberry Pi and no longer in beta. Meaning, it is officially supported by them.
Prerequisites
I am starting this tutorial with a fresh install of the latest Raspberry Pi OS on an SD card. Here is a parts list of everything I used during this post.
Pay special attention to the known working adapters. The Pi 4 is very choosy when it comes to the chipsets inside these adapters.
If you don’t have one of the known working models below, please get one and save yourself a headache. If you have one that is working that isn’t on the list, let me know on Twitter so I can add it to the list.
Known Working USB Adapters
| Adapter | Description |
|---|---|
| ELUTENG USB3 SATA Adapter | This is the exact USB adapter that you see in this post. It works great. perfect. This is the adapter I used in the design of my 3D printed case for SSD boot. |
| StarTech.com SATA to USB Cable | I have also personally used this device and confirmed it is working. |
| ORICO Hard Drive Enclosure 2.5 | Reported working by other users. |
| QNINE M.2 Enclosure, M2 SATA SSD | Reported working by other users. |
| SHINESTAR NVME to USB 3.0 Adapter | Reported working by other users. |
| UGREEN M.2 Enclosure | Reported working by other users. |
| mSATA SSD Adapter to USB 3.0 | Reported working by other users. |
| mSATA to USB 3.1 Gen2 | Reported working by other users. |
Parts Used
| Part | Description |
|---|---|
| Raspberry Pi 4 | I used a 4GB Pi for this project. Any variant of the Raspberry Pi 4B should work. With the introduction of gigabit ethernet on the Pi 4, it’s now a viable solution for a NAS device so I wanted to have as much RAM as possible. |
| HighPi Raspberry Pi 4 Case | This is my favorite Raspberry Pi 4 case. Tons of room for things like the PoE hat. An SSD stacks pretty well on the top. Later on I plan to design a case that allows you to insert an SSD. Or you can print this one I designed. |
| SanDisk 64GB Ultra | This part barely matters. You will only be using the card to setup the Pi. After you are done with the tutorial you can use this for something else. |
| Raspberry Pi PoE HAT | If you’ve read any of my other posts, you probably know that I’m a big fan of PoE hats. I wanted to verify this works when powered by PoE so I can eventually convert my whole Raspberry Pi Homelab to boot from SSDs on USB. |
| Samsung 860 EVO 500GB | This thing flies compared to an SD card. It’s about 10x faster. It’s a night/day difference on the Raspberry Pi 4. Think about when you transitioned from a spinning disk to an SSD on your desktop. |
| ELUTENG USB3 SATA Adapter | This is what I used but check the list above for other known working USB adapters. |
How To Boot From USB On Raspberry Pi 4
First we need to update our Raspberry Pi 4 with the latest packages, firmware and then reboot. Run the following commands. Press y to continue if prompted.
sudo apt-get update
sudo apt-get upgrade -y
sudo rpi-update
sudo reboot
After your Raspberry Pi 4 boots back up, run the following command to install the package that allows us to update our bootloader. The latest version of Raspberry Pi OS already comes with this but go ahead and run it for fun, just in case.
sudo apt install rpi-eeprom -y
Change your firmware preference to stable.
sudo sed -i 's/critical/stable/g' /etc/default/rpi-eeprom-update
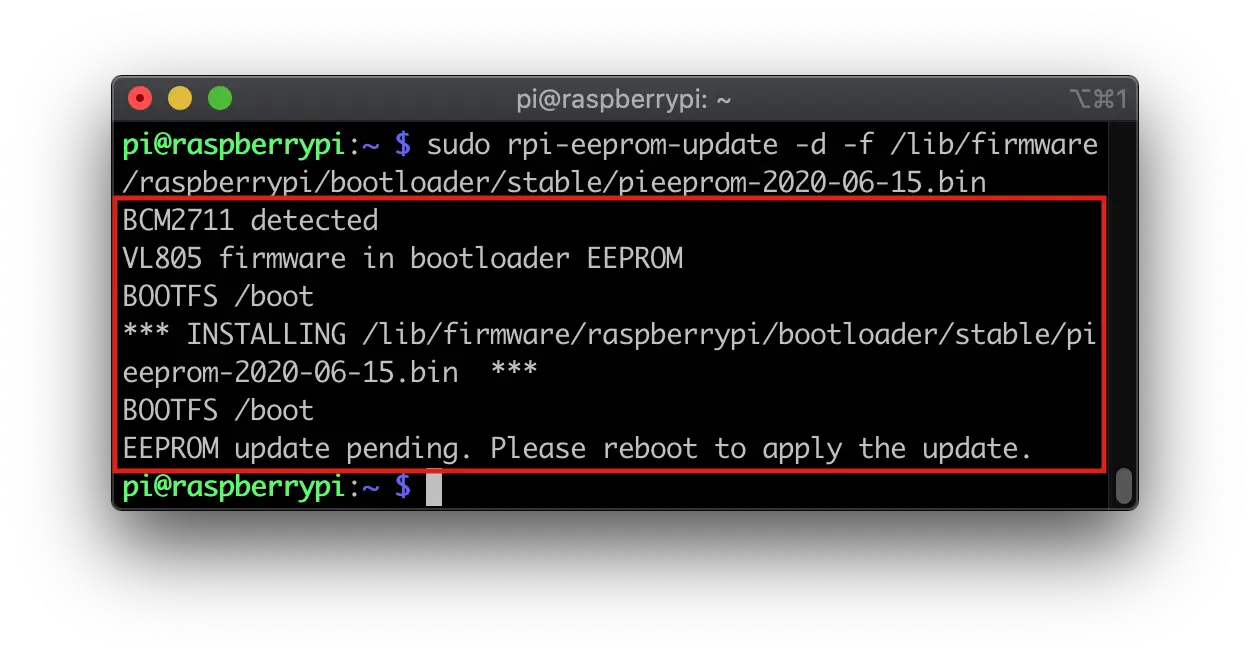
Now it is time to install the new bootloader. Run the following…
sudo rpi-eeprom-update -d -f /lib/firmware/raspberrypi/bootloader/stable/pieeprom-2020-06-15.bin
You should see some output similar to this.

If everything went well, do what it says and reboot the Pi to apply your changes.
sudo reboot
After the Pi boots back up, you should run these commands to check that everything went as intended.
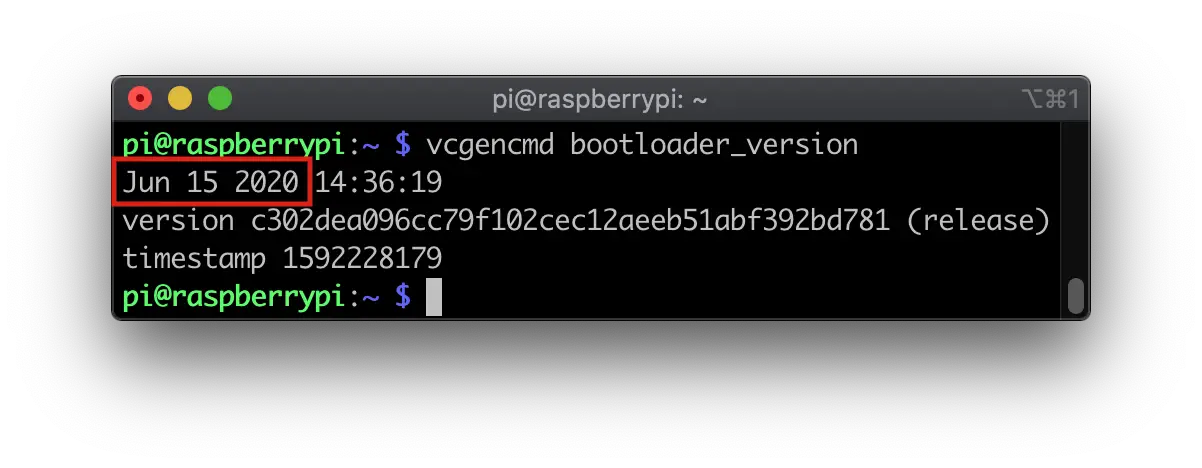
vcgencmd bootloader_version
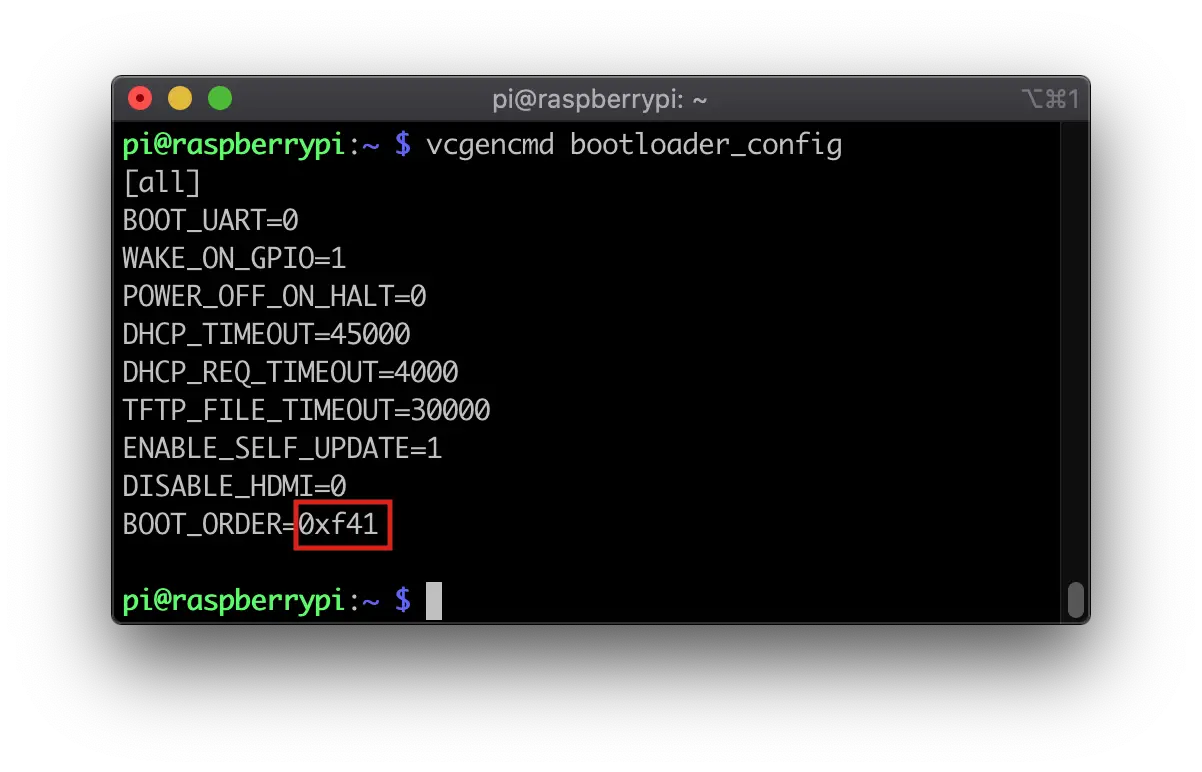
vcgencmd bootloader_config
The first command will tell you the version of the bootloader. You should see a date of Jun 15 2020 or newer.

The second command will show us what boot order we are using. We are looking for 0xf41 as the BOOT_ORDER value.

As noted on the Pi 4 Bootloader Configuration page, 0xf41 means “try SD then USB mass storage”. The meaning of all of these values are listed on that page as well.
The next thing you need to do is grab your external SSD or USB thumb drive and install Raspberry Pi OS (others might work) on it. Do it just like you did for your SD card. The process shouldn’t be any different.
Before plugging it in, run ls /dev/sd* to get a list of the devices on your Pi.
Plug your USB drive in and run ls /dev/sd* again. You should see something new in here. We are interested in the partition with 1 at the end. That is the boot partition. We need to put our new files there.
pi@raspberrypi:~ $ ls /dev/sd*
/dev/sda  /dev/sda1  /dev/sda2
pi@raspberry-pi:~ $
/dev/sda1 is the partition I need. You can mount it with the following commands
# make a directory to mount the drive to
sudo mkdir /mnt/usb

# mount the drive to your new directory
mount /dev/sda1 /mnt/usb

# copy the .elf and .dat files to you the boot partition on your SSD
sudo cp /boot/*.elf /mnt/usb
sudo cp /boot/*.dat /mnt/usb
After the files are copied, it is time to power down your Raspberry Pi and remove the SD card.
sudo halt
Turn power back on after removing the SD card and cross your fingers! You are done.
Troubleshooting
As stated at the beginning of this article, the Raspberry Pi 4 has problems with quite a few USB adapter chipsets. If you followed all the steps here and your Pi doesn’t boot, this is almost certainly the issue.
I had issues with both of the USB thumb drives I tested.
If you want to be certain your SSD USB drive works, use one of the adapters on the known working list at the top of this page. They have all been confirmed by me or other users to be working.
Enjoy your new lightning fast Pi 4 with SSD booting! Twitter is best to get ahold of me if you have any questions.
Subscribe to my mailing list below to be notified when I make a new post or follow me on Twitter. I’d appreciate either!
Update From The Beta Bootloader
I’ll keep this part right to the point.
# make a new directory and switch to it.
# this will make it easy to clean up later on
mkdir bootfiles
cd bootfiles

# download the new boot files from the raspberry pi firmware github repo
# this is kind of a backdoor way to get just those files
# otherwise this would take a very long time
wget -O - https://github.com/raspberrypi/firmware/archive/master.tar.gz | tar -xz --strip=2 "firmware-master/boot"

# copy the .elf and .dat files to your /boot directory
sudo cp *.elf /boot/
sudo cp *.dat /boot/

# this should still show as beta
sudo cat /etc/default/rpi-eeprom-update

# change your firmware preference to stable
sudo sed -i 's/beta/stable/g' /etc/default/rpi-eeprom-update

# reboot your Pi
sudo reboot
After booting back up, check to make sure you are back on the stable releases in the FW DIR section. Also make sure that the CURRENT matches the LATEST. That will let you know that you are now running stable firmware again.
root@raspberrypi:~# rpi-eeprom-update
BCM2711 detected
Dedicated VL805 EEPROM detected
BOOTLOADER: up-to-date
CURRENT: Mon 15 Jun 13:36:19 UTC 2020 (1592228179)
 LATEST: Mon 15 Jun 13:36:19 UTC 2020 (1592228179)
 FW DIR: /lib/firmware/raspberrypi/bootloader/stable
VL805: up-to-date
CURRENT: 000137ad
 LATEST: 000137ad
root@raspberrypi:~#
Good luck and enjoy!

