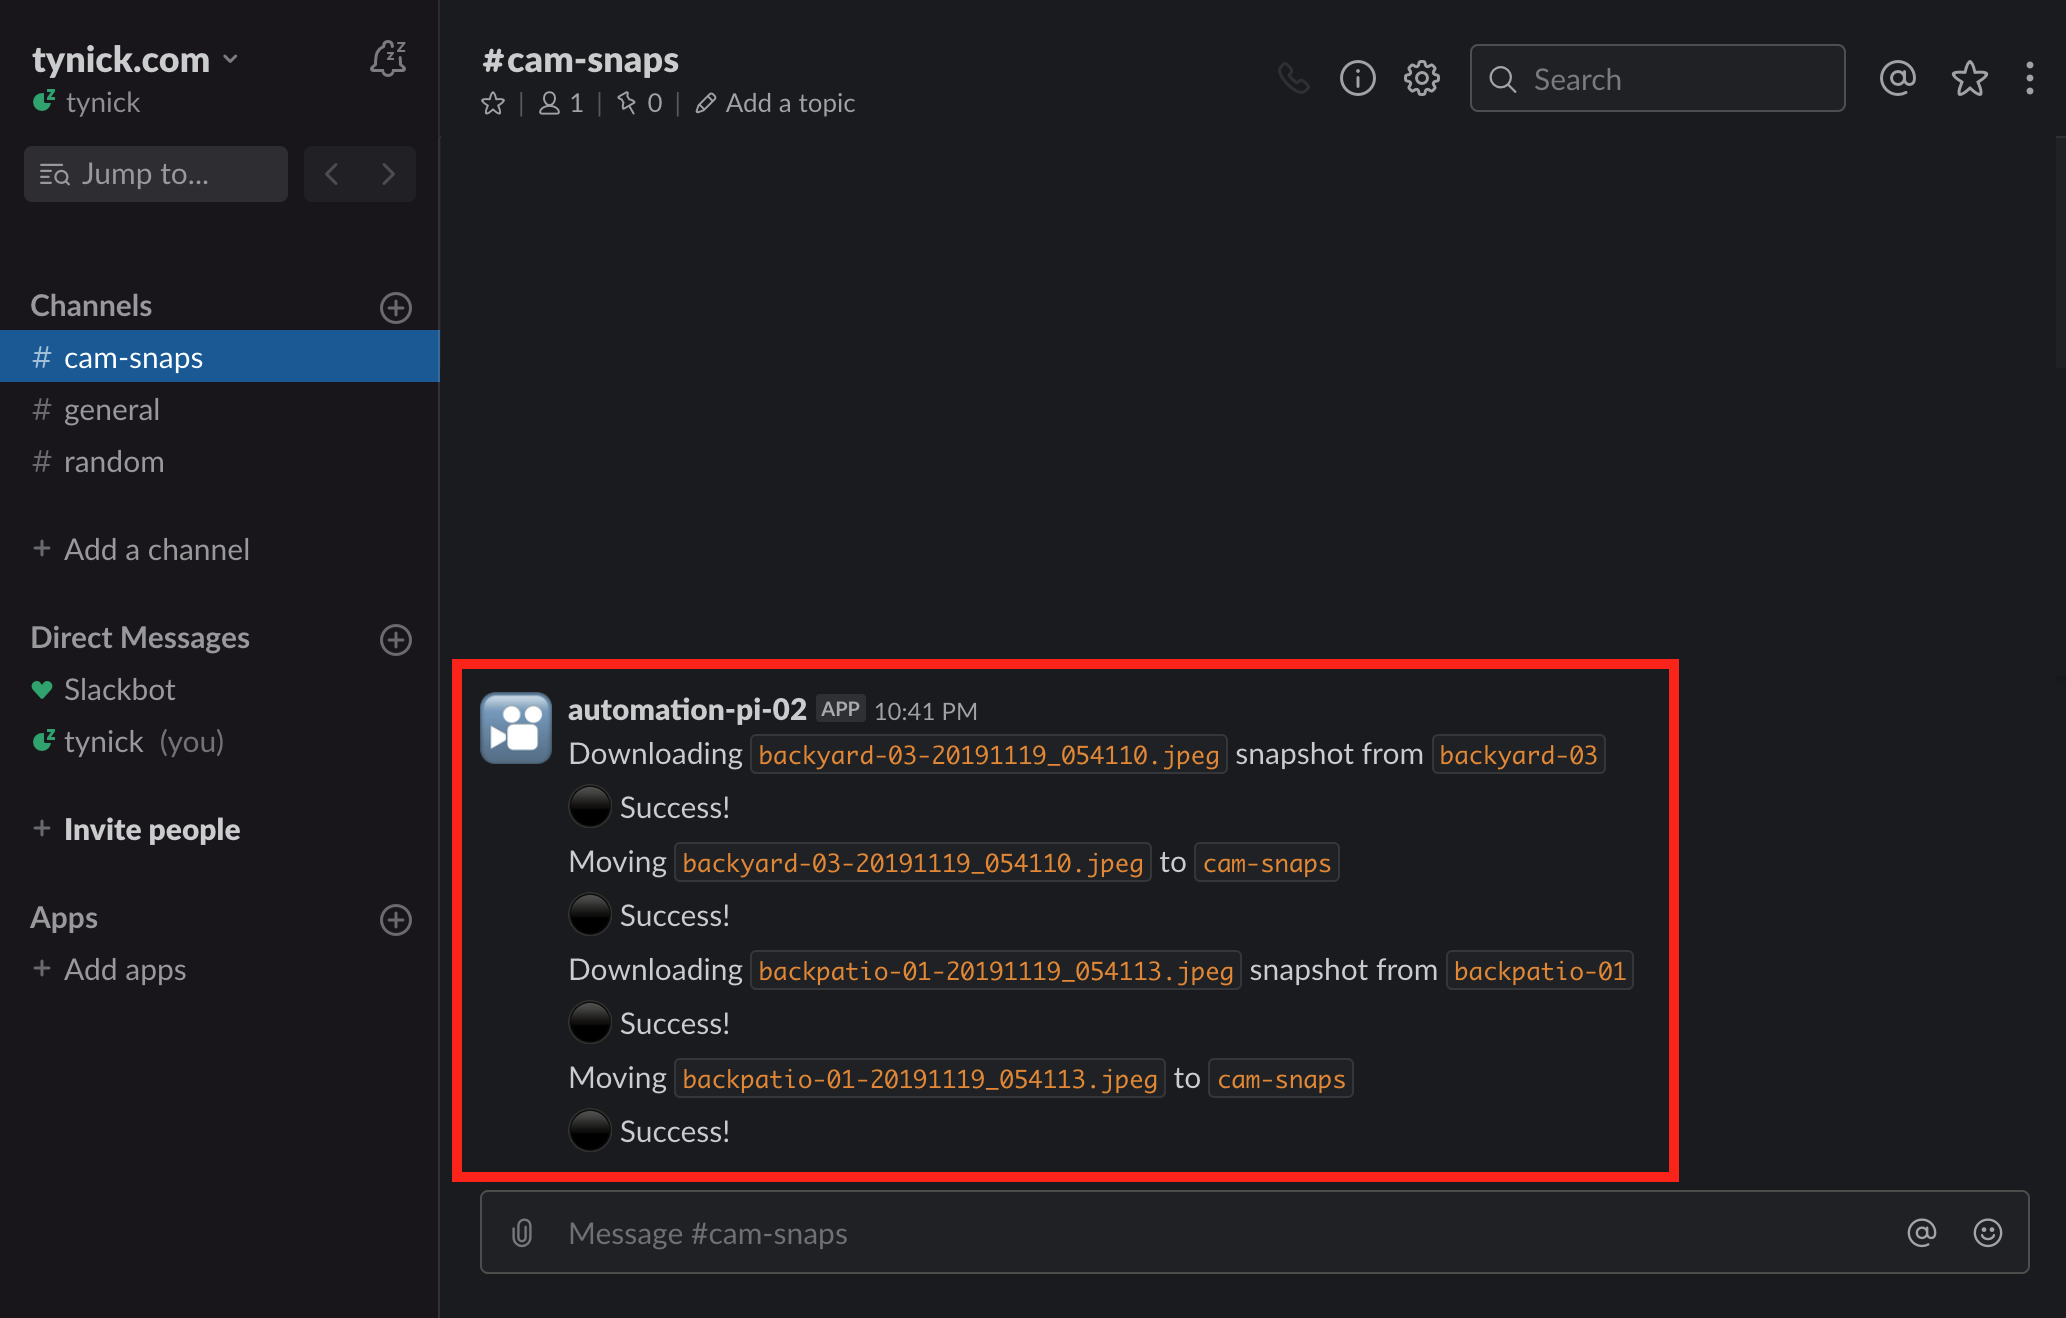
This tutorial will show you how to automatically take snapshots of your Blue Iris cameras. It will then upload the snapshot to an AWS S3 bucket and report success or failure to a Slack channel of your choosing.
This post contains affiliate links, which means I earn money from purchases. This never affects the price that you pay but helps with costs to keep the site up and running.
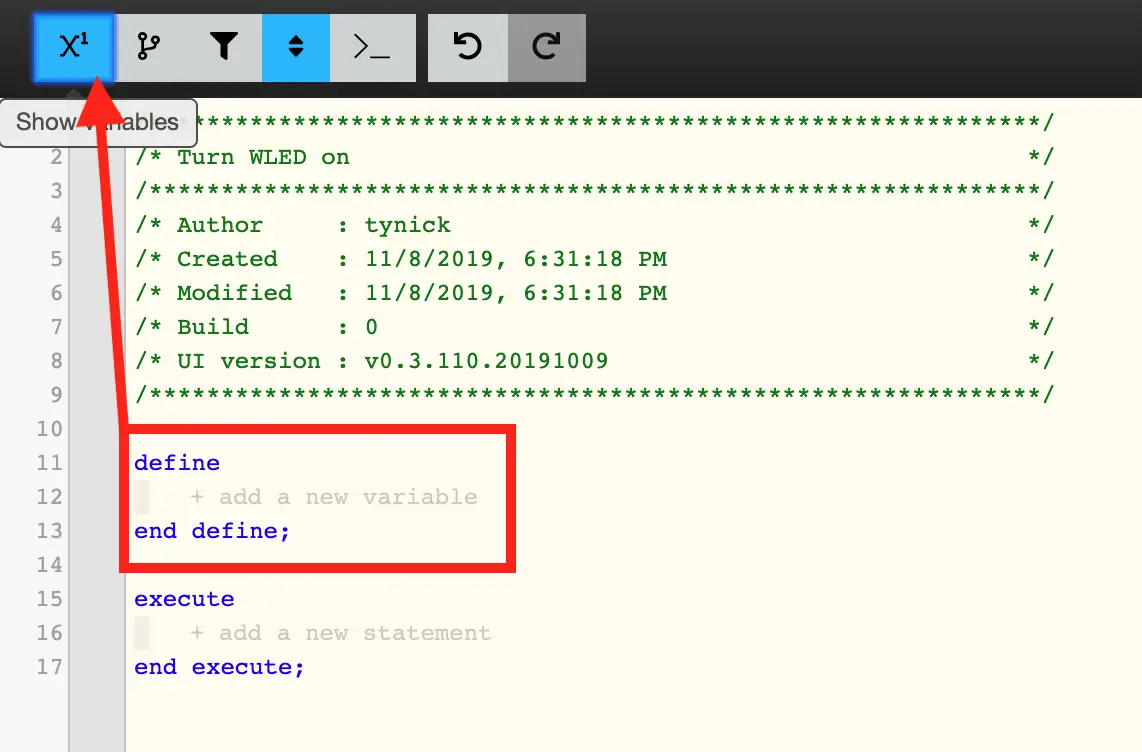
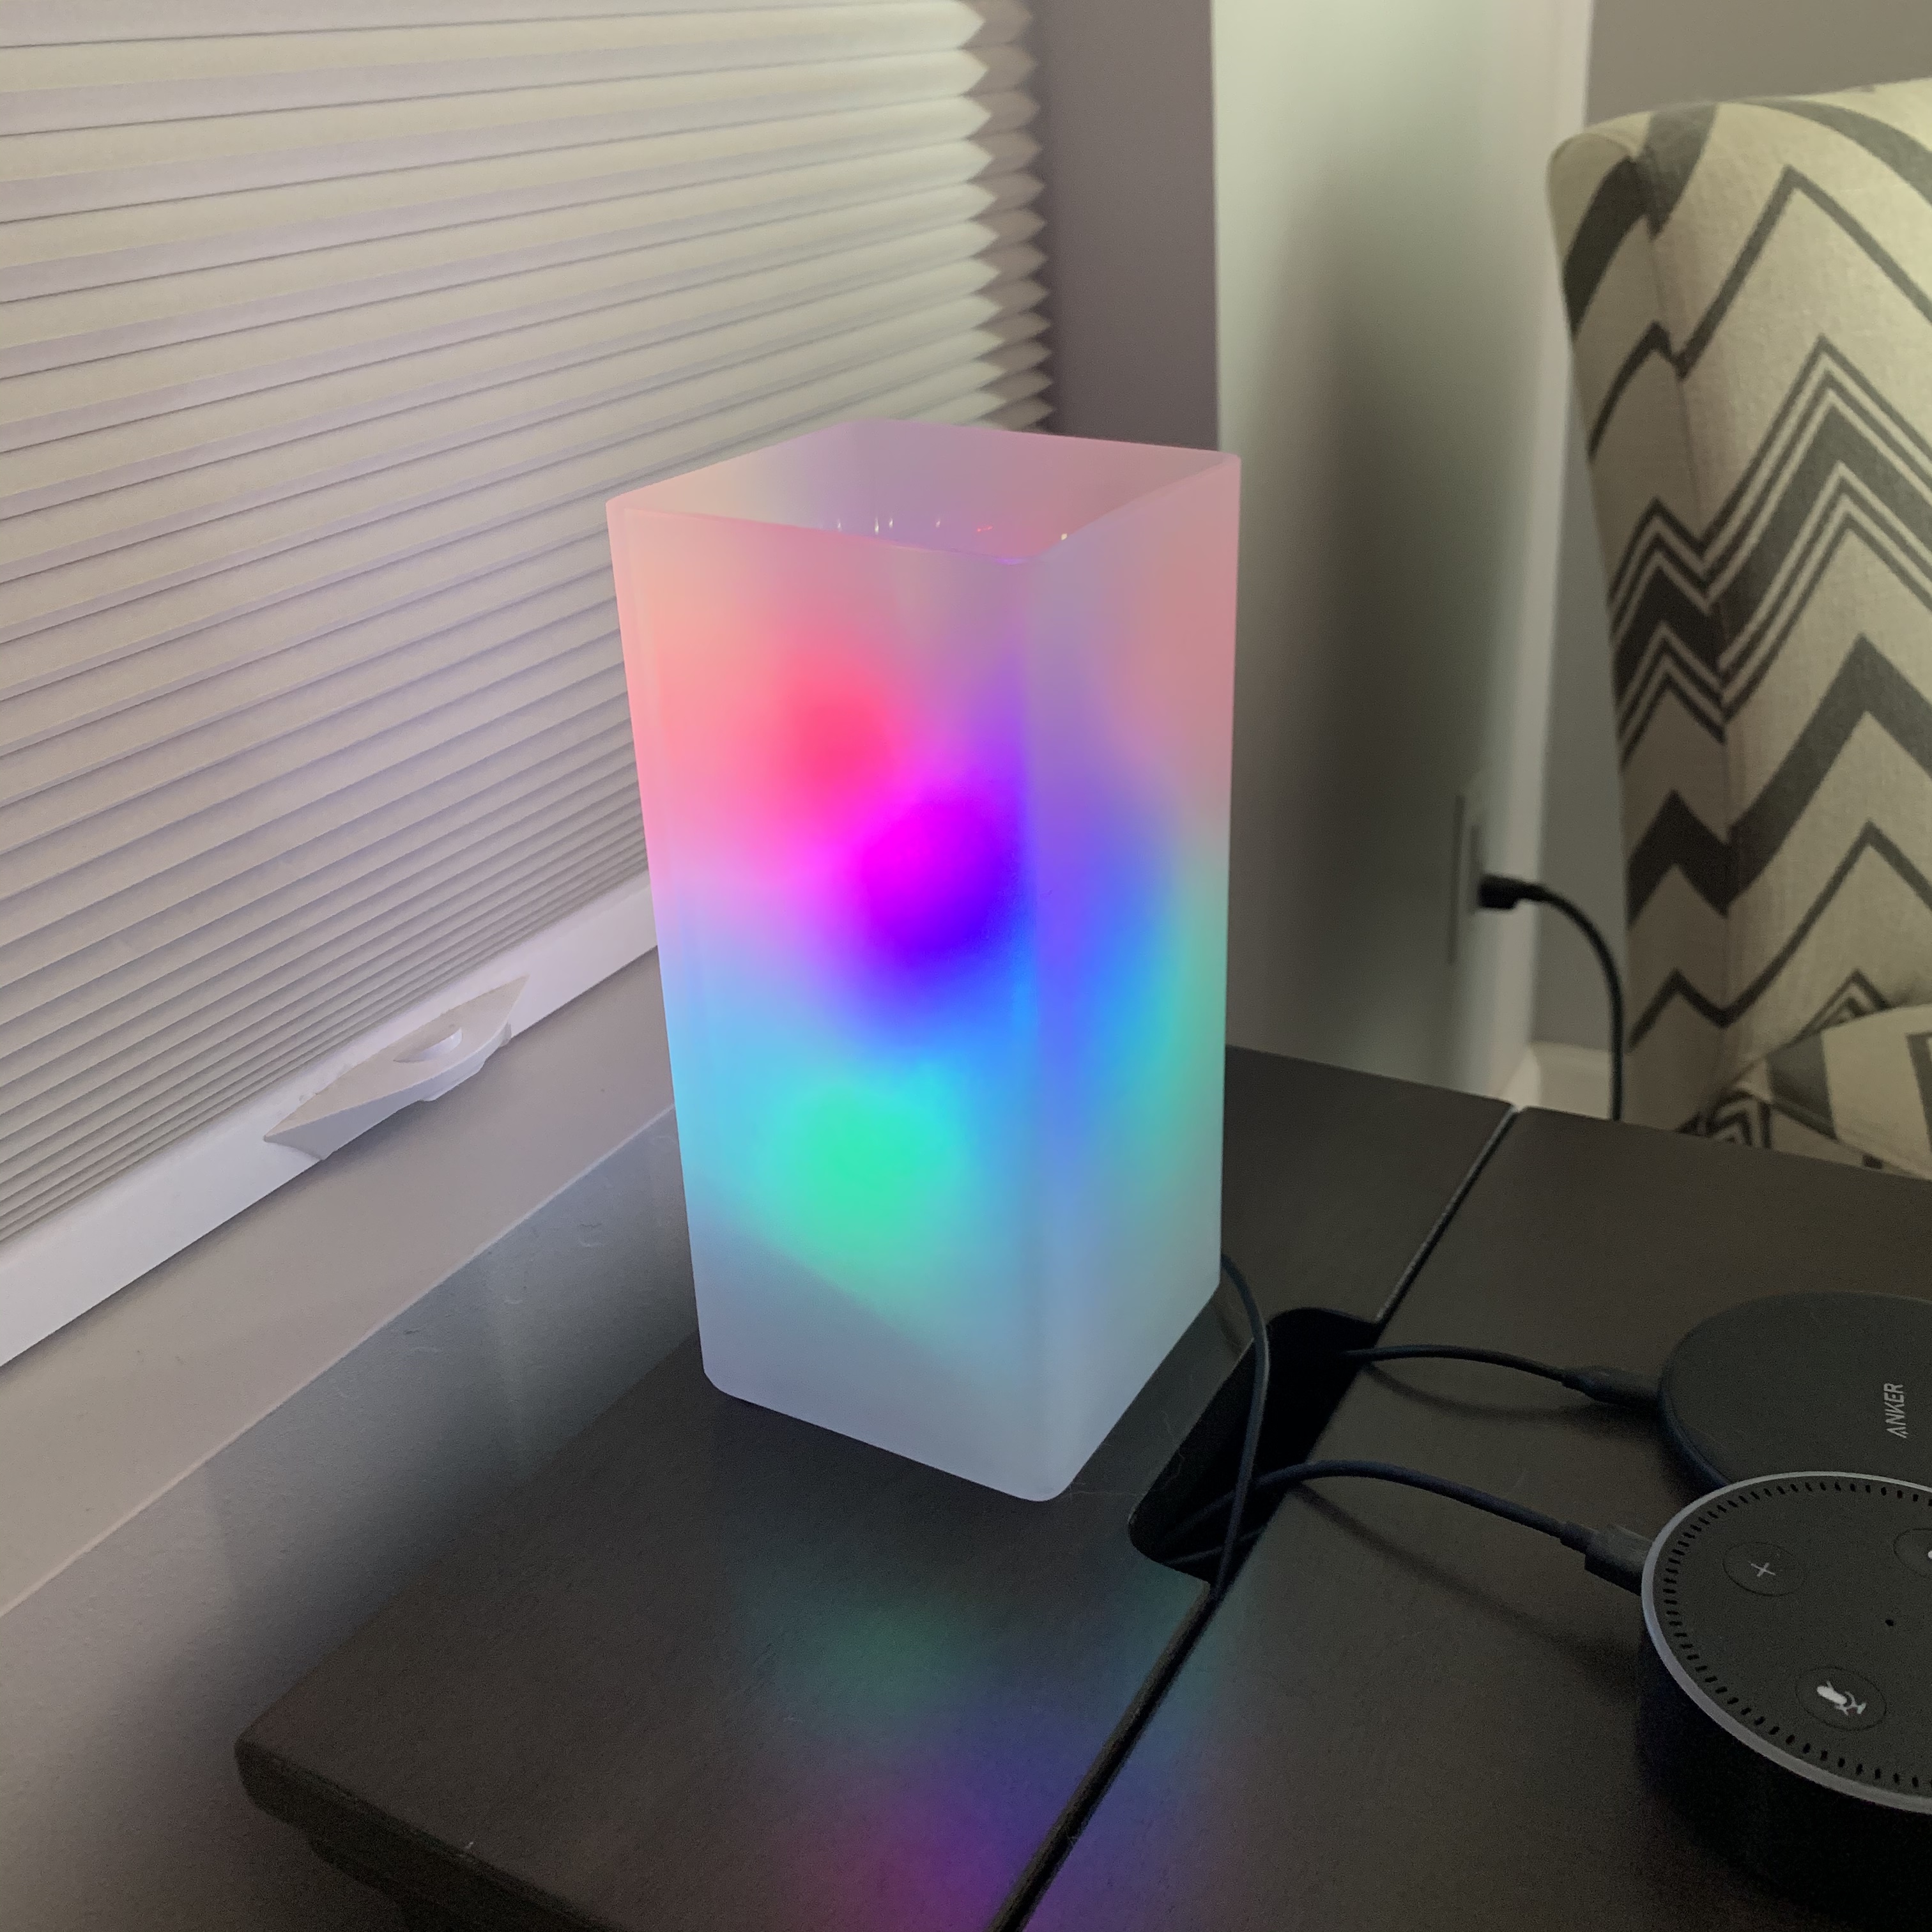
Hopefully you’ve already read my tutorial on getting started with WLED on ESP8266. If not go check it out. This post will probably make a lot more sense.
This post contains affiliate links, which means I earn money from purchases. This never affects the price that you pay but helps with costs to keep the site up and running.
How To Setup A UniFi Controller On Raspberry Pi With Docker
Parts Used For Project
Part
Comment
Link
Raspberry Pi
I am using a Raspberry Pi 4 4GB to run my UniFi controller but it’s definitely not needed. You can absolutely get by with a Raspberry Pi 3 B+. The Raspberry Pi 4 is still sort of hard to come by and you might already have a Raspberry Pi 3 B+ sitting in your desk drawer.
I have been using the Samsung MicroSDHC EVO Select cards for a while. I havent had an issue yet. All of my Raspberry Pis are using either a 32GB or 64GB. They are great for the price.
All of my Raspberry Pis are using a Raspberry Pi PoE HAT but that isn’t a requirement. You just need a power supply that puts out a good amount of power(at least 2.5A). This one puts out 3A and has an on off switch built in. Make sure you select the Raspberry Pi version you are using. All Raspberry Pis use Micro USB except the Raspberry Pi 4, which uses USB Type C.
I have one of these inside my house and another mounted on the ceiling of my back patio. I don’t have a single dead zone on my property. These are really great access points. They can be powered via PoE if you a PoE switch.